Welcome to Moda Fabrics!
Spin. Collapse. Pop.
Spin. Collapse. Pop.
And twirl.
They're all terms used to describe the technique of this...
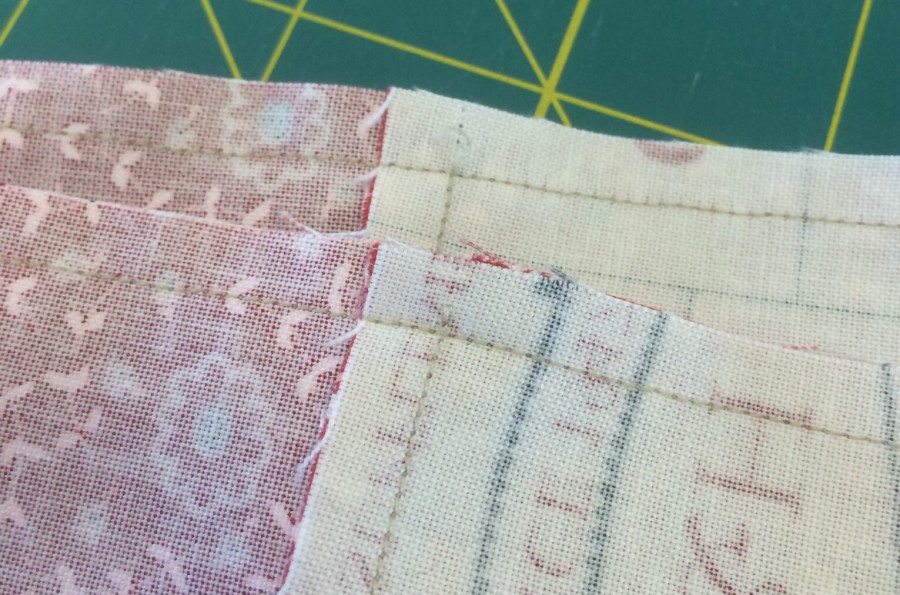
Simple description - the stitches above the seam line joining the two halves of the block are removed so that the center can be opened up. This makes the center junction nice and flat - in large part because the seams are pressed in opposite directions. One technique - two big benefits.
I've always called it "popping" the seam, but I've heard it referred to as collapsing, opening, spinning and twirling. Whatever it's called, it is one of my favorite techniques because it works for so many things. It's not just a "tool for the toolbox" kind of technique, this is a heavy-duty power tool technique.
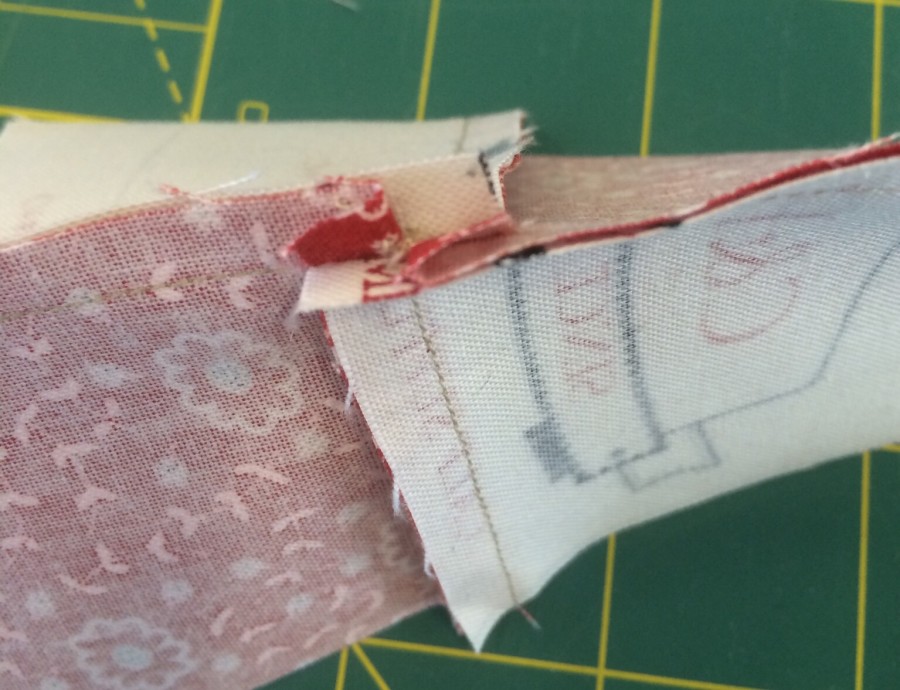
This is how it's done. There are two ways to "open" the seam - by removing the stitches with a seam ripper or by "popping" the stitches with your fingers. Popping the stitches with your fingers works best if your stitches are longer - 10 or 12 to the inch instead of 14 - not "set", and your fabric is not a loose weave.
Just put your fingers right next to the seam and gently twist them away from each other - it's the same kind of motion you'd use to tear a small piece of paper. Remember - gently.
Most of the time, I use a seam ripper to remove the stitches above the horizontal seam line. I prefer to slip them out rather than break them, but as I've never had a seam come apart because of doing this, it probably doesn't matter. Trimming that little thread tail is optional.
Now do the other seam - the other side. As there are two seams at this junction, the stitches need to be removed on both seams.
Now press.
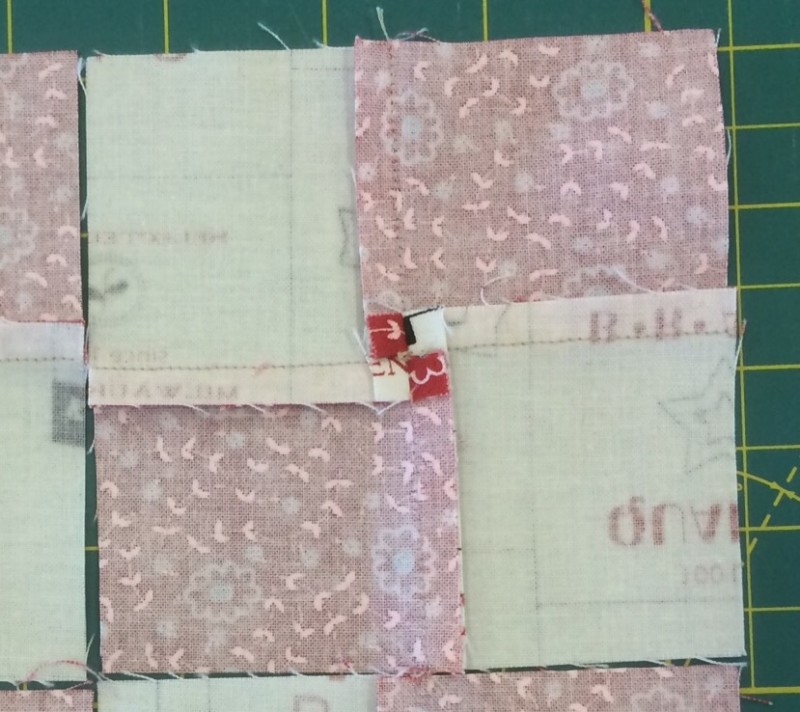
The seam at the center of the block is popped/twirled/collapsed/spun/open - the right side of the fabric will be showing in a mini-four-patch. The center is now flat and smooth. Using this technique with pinwheel blocks helps keep points sharp. It also minimizes the fabric in the center of the block.
This technique is particularly useful when sewing four-patches, pinwheels and any block with four-parts together - especially when those blocks will be joined without sashing. But to make it work, all of the seams need to be going in the same direction - clockwise or counter-clockwise. It rarely matters, so long as all of the blocks are going in the same direction.
The trick to making that happen is to sew the block parts together in exactly the same way - the pieces must be aligned the same way.
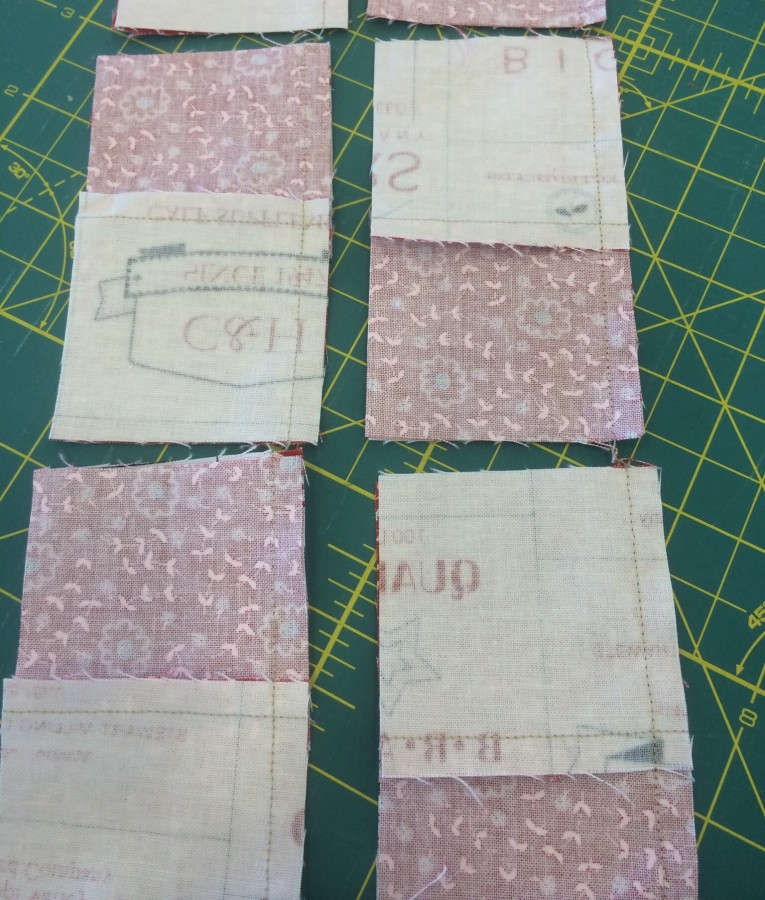
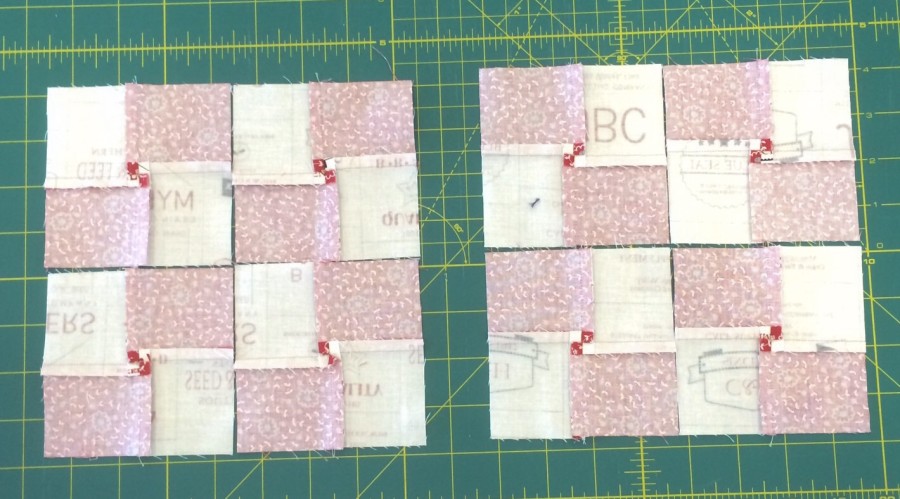
Left - seams up. Right - seams down.
By up and down, I mean the direction the cross-wise seam is pressed as the lengthwise seam is being stitched. These four-patches will look the same on the front but the seams will be going in the opposite direction on the back
On the left, the patches with the seams down results in clockwise seams. And on the right, the patches pieced with seams up results in counter-clockwise seams.
Even if you get a piece turned sideways, the seams are still abutting. Which is good, and bad. Good because that might be what you're trying to do in some places... bad because you won't realize it's wrong until after the block is assembled. Been there... ripped that out.
Aren't you glad it's Friday and I'll stop jabbering for the weekend.
I'm having a terrific time in Utah at the American Quilting Retreat. Amy McClellan is an exceptional shop owner, teacher and person, and she's assembled an amazing staff. And the ladies attending retreat... they've made me feel so welcome, so part of their group, that I'm going to be really disappointed if I don't get to come back.
I'd come back in a heartbeat even if there wasn't an on-site bakery at the resort.
Happy Friday!

Comments