Welcome to Moda Fabrics!
At the Seashore - Seaside Dreams
At the Seashore - Seaside Dreams
Published:
Aug 10 2019 - 23:00
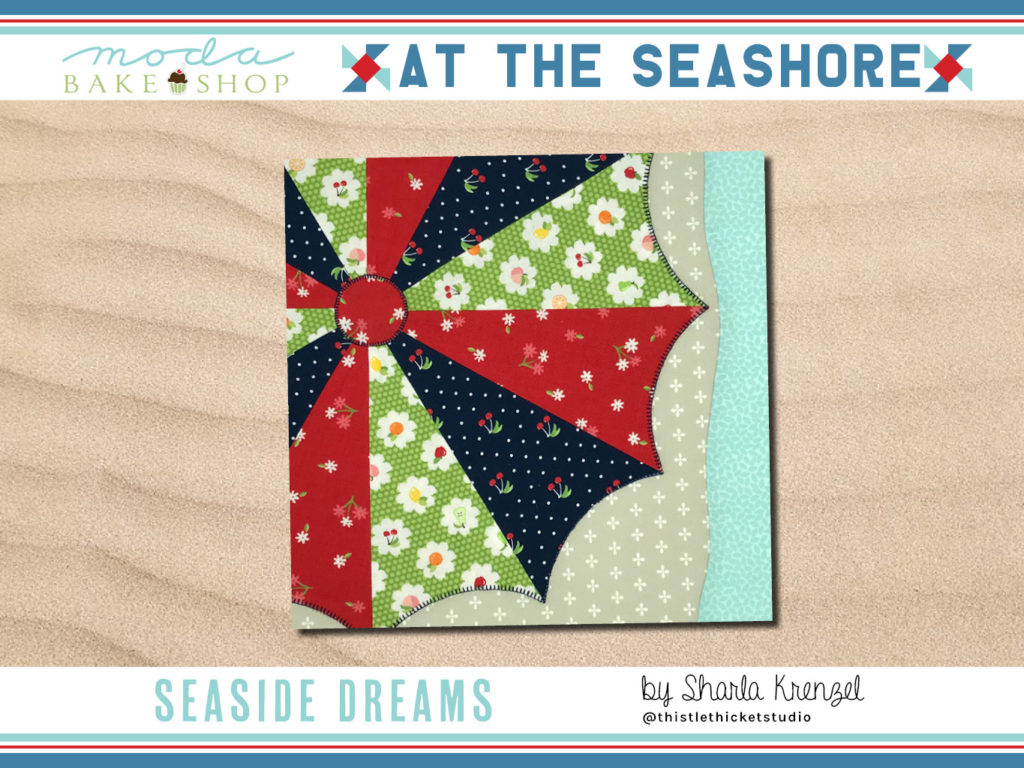
Welcome back to the seashore! Living in the middle of the United States, I don't get the chance to visit the seashore often, but when I do, you'll find me relaxing on a lounge chair, under a beach umbrella, with a cute umbrella drink in hand. This bright-colored block was made with Orchard by April Rosenthal.
This post is part of our summer quilt-along series. Find the rest of the posts by clicking {here}.
![]()
Fabric A: 1 Fat Quarter of tan fabric for sand
- 1 - 14" x 13" rectangle
Fabric B: 1 Fat Eighth of blue or aqua fabric for water
- 1 - 4" x 13" rectangle
Fabric C: 1 Fat Eighth of red print for beach umbrella
- 4 umbrella blades and 1 umbrella circle (from templates)
Fabric D: 1 Fat Eighth of green print for beach umbrella
- 4 umbrella blades (from template)
Fabric E: 1 Fat Eighth of navy print for beach umbrella
- 4 umbrella blades (from template)
![]()
- Interfacing, paper-backed fusible, freezer paper, fabric glue or other supplies for your favorite method of applique.
- Templates for Umbrella Center and Umbrella Blade. Click HERE for templates.
![]()

Notes:
- RST - Right Sides Together
- All seams are .25" unless otherwise noted
Step 1: Lay the 14" x 13" tan square right side up on a cutting mat. Layer the 4" x 13" blue rectangle, right side up, on top of the tan square, aligning the top edge and sides of both fabrics. Using a rotary cutter, cut a slightly wavy line from right to left across both fabrics. Discard the top portion of the cut tan fabric and the bottom portion of the cut blue fabric. Pin the blue fabric to the tan fabric RST along the wavy edge, easing the curves of the blue fabric to match the tan fabric. Sew. Press seam towards the blue fabric.

Step 2: Sew a red umbrella blade to a navy umbrella blade along the long side of the blade. Press seam open. Sew a green blade to the navy blade. Press seam open. Repeat to make 4 sets. Sew 2 sets together. Press seam open. Repeat to make 2 sets. Sew the 2 sets together. Press seams open. Press umbrella flat. Trim any seam allowances that extend beyond the umbrella's scalloped edge even with the scalloped edge.

Step 3: Sew the umbrella circle to the center of the umbrella using your favorite applique method.
- For raw edge applique, trace circle ring (see template) onto iron paper-backed fusible and cut out inner circle. Iron fusible to wrong side of circle fabric and cut out on outer line. Remove paper and iron circle to center of umbrella. Sew along raw edge of circle with a blanket stitch by hand or machine.
- For interfacing applique, draw umbrella circle pattern from template onto interfacing. Place interfacing on top of the right side of circle fabric. Sew on line around circle. Trim .25" from seam. Cut a small X in center of interfacing only and turn circle inside out. Smooth seam edge with a fabric turner. Press circle. Attach circle to umbrella center using small dots of applique glue along edge of circle and let dry. Sew around circle edge by hand or machine.
- For needle turn applique, draw umbrella circle pattern onto freezer paper and cut out. Iron freezer paper, shine side down, onto the wrong side of circle fabric. Trim .25" from paper edge. Using an iron, gently fold fabric over paper edge and press. Remove paper when applique is cool. Attach circle to umbrella center using small dots of applique glue along edge of circle and let dry. Sew around circle edge by hand or machine.
To reduce bulk in the center of the umbrella, trim the center of the blades behind the umbrella circle staying .25" from circle seam. Do not cut through the umbrella circle.

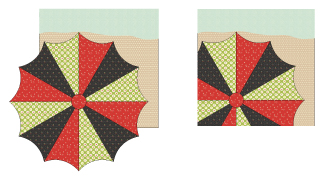
Step 4: Sew the umbrella to the background square using your favorite applique method. Use the block diagram for placement.
- For raw edge applique, trace blade swags (from template) onto paper-backed fusible and cut out on lines. Iron fusible swags to wrong side of each blade that will make contact with the background. Remove paper, position on background square and press. Sew along raw edge of umbrella with a blanket stitch by hand or machine.
- For interfacing applique, place umbrella right side down on top of a 15.5" x 15.5" square of interfacing. Sew .25" inside umbrella edge around the entire umbrella. Trim interfacing .25" from seam. Cut a small X in center of interfacing only and turn umbrella inside out. Smooth seam edge with a fabric turner. Press. Attach umbrella using small dots of applique glue along edge of circle and let dry. Sew around umbrella edge by hand or machine.
- For needle turn applique, trace around blade pattern (without seam allowances) onto freezer paper 12 times to create the umbrella shape and cut out. Center freezer paper umbrella, shine side down, onto the wrong side of the umbrella and press. Using an iron, gently fold fabric over paper edge and press. Remove paper when applique is cool. Attach umbrella to background using small dots of applique glue along edge of umbrella and let dry. Sew around umbrella by hand or machine.
After umbrella is sewn to background, trim background behind umbrella .25" - .5" from umbrella seam to reduce bulk. Trim and square block to 12.5" x 12.5".
![]()
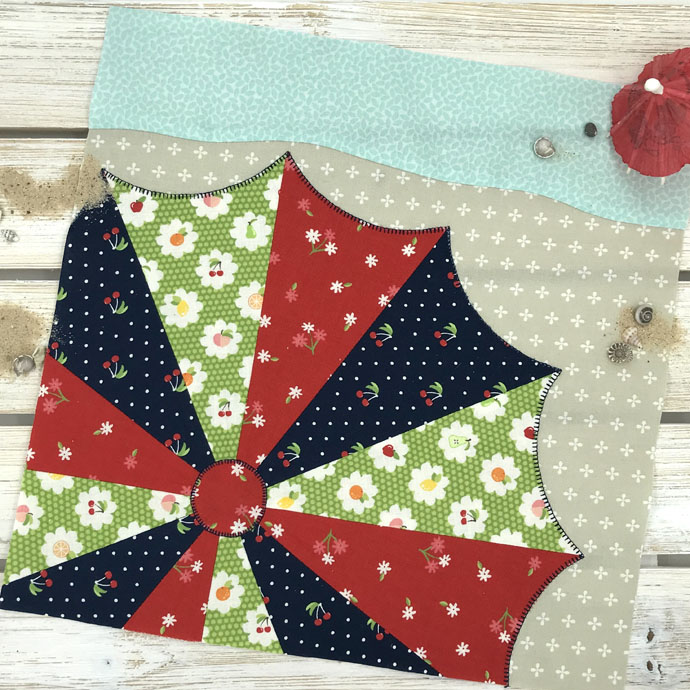
This block measures 12.5" x 12.5" unfinished.
Hope to see you under a beach umbrella at the seashore soon! I would love to see your beach umbrella blocks so tag me on Instagram (@thistlethicketstudio) so I can see! When I'm not at the beach (ha, ha, I wish), you can keep up with me on my blog Thistle Thicket Studio.
Sharla Krenzel
{blog: www.thistlethicketstudio.com}
{instagram: @thistlethicketstudio}
{facebook: Thistle Thicket Studio}
![]()
Comments