Welcome to Moda Fabrics!
Path A: Goose Grove
Path A: Goose Grove
Published:
Jul 15 2018 - 23:00

![]()
Welcome campers! I'm camp counselor Kristin Esser from Simple Handmade Everyday here to guide you to Goose Grove. I hope you are all enjoying your time at camp--we've been so busy there's been no time to be homesick! I've been having fun jumping back and forth between Path A and B--and seeing all the amazing unique quilts popping up in the Moda Bake Shop Bakers Facebook group and on Instagram (#chooseyourownadventureqal).
I packed snacks--so let's head on over to Goose Grove.
NOTE: This is one post in a series of quilt-along posts. Start from the beginning with the first post {here}.
After this border, the quilt top finishes at 52.5" 52.5".
Flying geese units finish at 2" x 4" (2.5" x 4.5" unfinished).
![]()
- 4 fat quarters or 12 layer cake squares
- 7/8 yards background fabric
![]()
Before beginning:
- Read through the entire instructions
- Right sides together is abbreviated as RST
The Goose Grove block is a traditional flying geese block. There are many ways that you can assemble these blocks. The method I am sharing today is the "stitch and flip", but feel free to use your favorite method. Over on my blog I've shared 5 Ways to Make a Flying Geese Block, if you are feeling adventurous. You need a total of 96 flying geese units for this border. If you choose the cornerstone version of this border, you will need 88 flying geese units.
This is quite a flock of flying geese! It's a great opportunity to go super scrappy or just alternate between a couple colorways, like I've done. Choose your own adventure!
Cutting Instructions
- From layer cakes or fat quarters: cut (96) 2.5" x 4.5" strips (If doing cornerstone option, cut 88 strips)
- From background fabric cut (192) 2.5" x 2.5" squares (If doing cornerstone option, cut 176 squares)
Assembling the Block

- Gather the (192) background 2.5″ squares and draw a line diagonally corner-to-corner on the wrong side of the fabric. If you don't want to do all that marking, there are products available, like the Clearly Perfect Angles cling, that allow you to skip the marking.
- Place a background square on the left side of a 2.5″ x 4.5″ rectangle, right sides together, making sure that the diagonal line travels from the upper left to the bottom right corner of the square. Sew on the pencil line. (This is a perfect opportunity for chain piecing all 96 units.)
- Trim the corner, leaving a 1/4" seam allowance as shown. Press unit open.
- Repeat on opposite side.
Finished flying geese block measures 2.5" x 4.5". Repeat to create a total of 96 flying geese units.
Assembling the Round
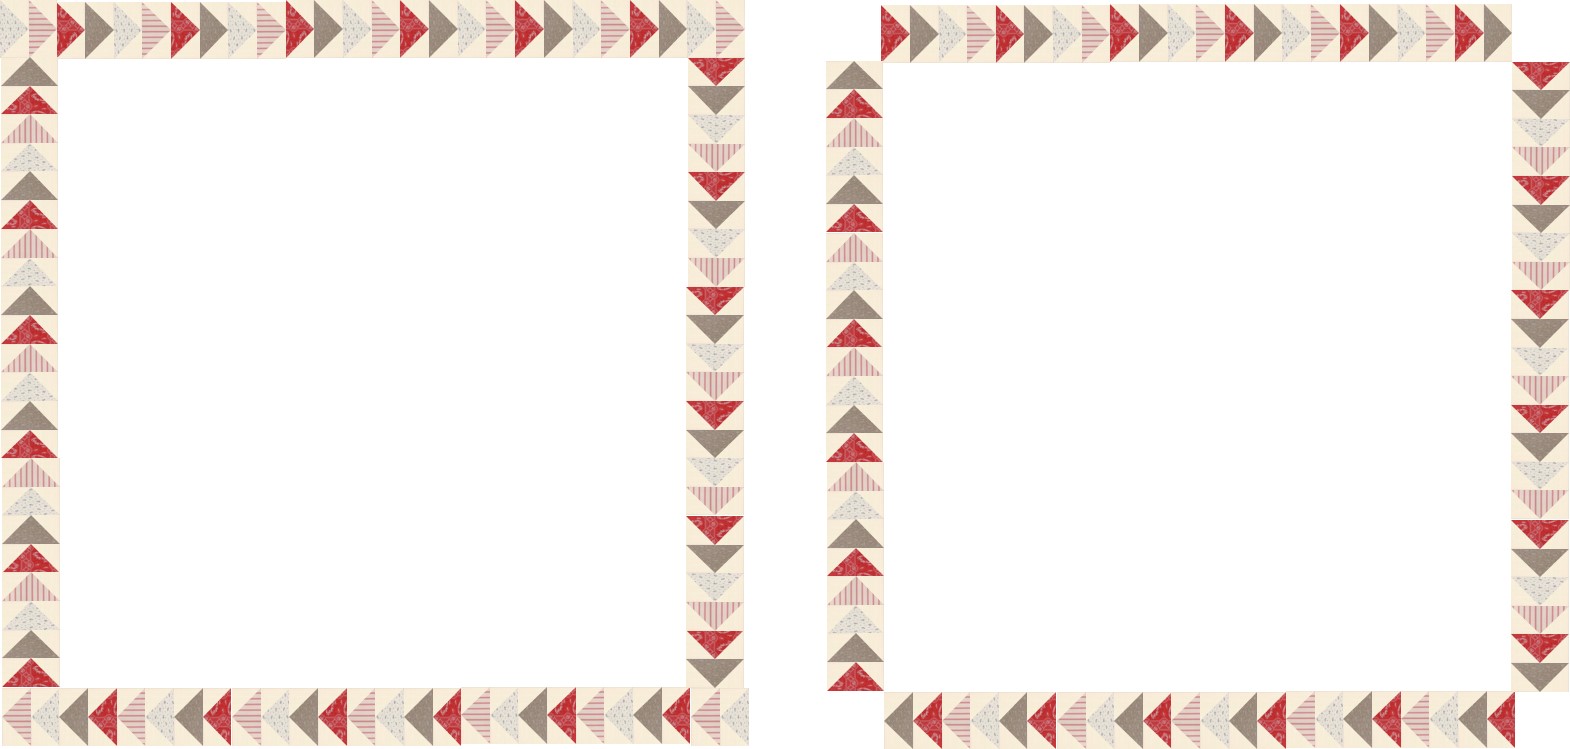
We have shown the geese traveling in one direction around the quilt but you can vary the placement as you like!
Assemble blocks into rows as desired.
Without cornerstone:
- Sew 2 rows of 22 flying geese to attach to the sides
- Sew 2 rows of 26 flying geese to attach to top and bottom
With cornerstone:
- Sew 4 rows of 22 flying geese for all sides. The cornerstones will replace the 8 corners left blank as shown below.
Note: If you are having trouble getting your units to come out 2.5" x 4.5", you may consider making all the units bigger (2.75" x 4.75" strips and 2.75" squares), sew the block, and then trim to exactly 2.5" x 4.5".
![]()
At this point your unfinished quilt should measure 52.5" x 52.5".
I hope you enjoyed your trip to Goose Grove, I had a ton of fun! Stay tuned for Path B, which will be available on Wednesday (and it's a good one!). Cornerstone option comes out on Friday!
Kristin Esser
[Blog: Simple. Handmade.Everyday.]
[Instagram: @kristin_esser]
[Facebook: Simple. Handmade. Everyday.
![]()
Posted in:
Comments