Welcome to Moda Fabrics!
Christmas 1968 Quilt
Christmas 1968 Quilt
Published:
May 1 2018 - 23:00

![]()
After I finished one of my last years Moda Bake Shop projects ''On Point Baby quilt'', the wheels started turning with more possibilities with this basic technique. I love on point quilts, but really don't like making quilts with assembly on the diagonal, setting triangles, etc. My favorite part of quilt making is the top assembly, so I like to make it as simple (fun) as possible. So, this quilt is also made with two large pieced 'blocks', cut on the diagonal, then reassembled into the final quilt top with on point blocks. You can choose to fussy cut the center blocks or not, it is really up to you! When I saw Swell Christmas popping up on blogs and social media here and there, it just brought me back to childhood Christmas memories and my grandparents. I knew I had to make a quilt with this fabric!
This quilt/project finishes at 88" x 88".
![]()

2 jelly rolls (you will use 60 strips) {Swell Christmas by Urban Chiks}
3 1/2 yards background fabric {Moda Bella Snow}
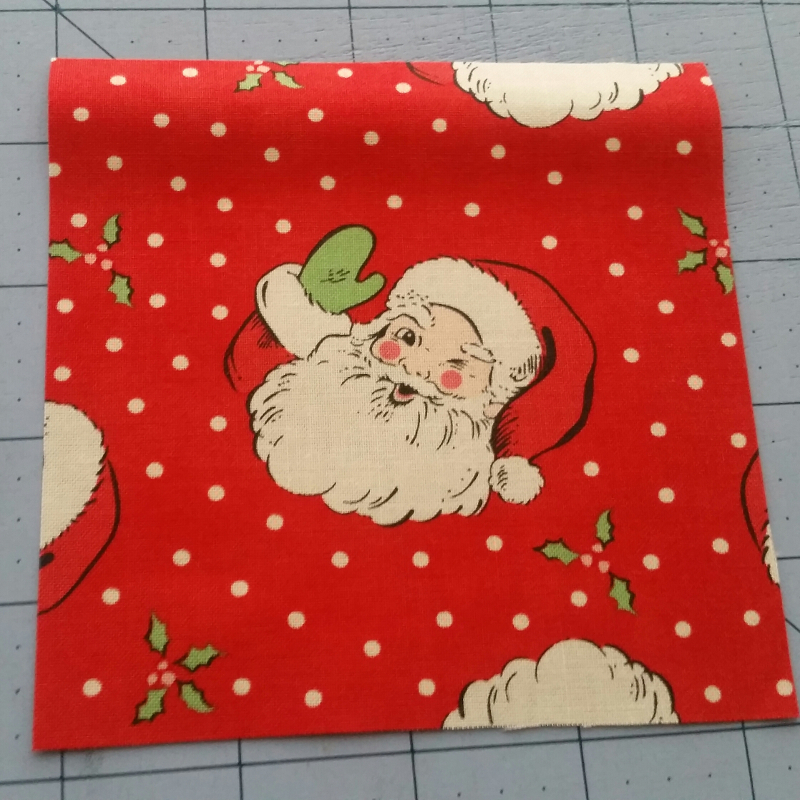
2+ yards* focus fabric {31120 13 - red Santa print}
5.5 yards backing fabric {31120 14 - green Santa print}
2/3 yards binding fabric {31122 11 - red/green plaid}
*I was able to get my semi-fussy-cut Santas and the star points cut from 2 yards of the red Santa print. You may need more depending on what print you use.
![]()
CUTTING:
Focus print (red Santa print)
cut 12 @ 2.5''xWOF (Subcut into 200 @ 2.5''x2.5'')
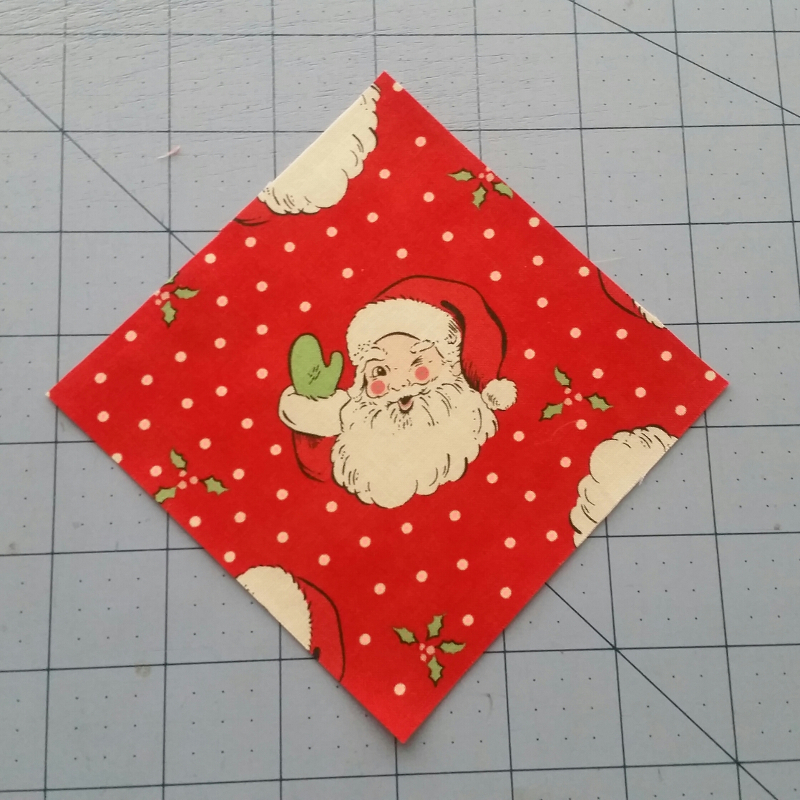
cut 50 @ 4.5''x4.5'' (if you are doing fussy cutting, fussy cut at least 40 of these, 10 of them will end up being cut in half diagonally so those can be cut from the scraps from the fussy cutting) I have a little 4.5'' square ruler that was perfect for the fussy cutting. Some of my Santas were perfectly centered, some were not. Some tilted left or right a bit - but I didn't want them all to be exactly the same anyhow!

if you want your focal point to be straight in the final quilt, then they should be cut so they are straight when the piece is on the diagonal (since this will be an on point quilt).
Background (Moda Bella Snow):
cut 12 @ 3.5''xWOF (subcut into 200@ 3.5''x2.5'')
cut 12@ 5.5''xWOF (subcut into 200@ 5.5''x2.5'')

PRE-ASSEMBLY PREP:
to get ready for assembly, you will be drawing diagonal lines on all of the 2.5''x2.5'' squares:
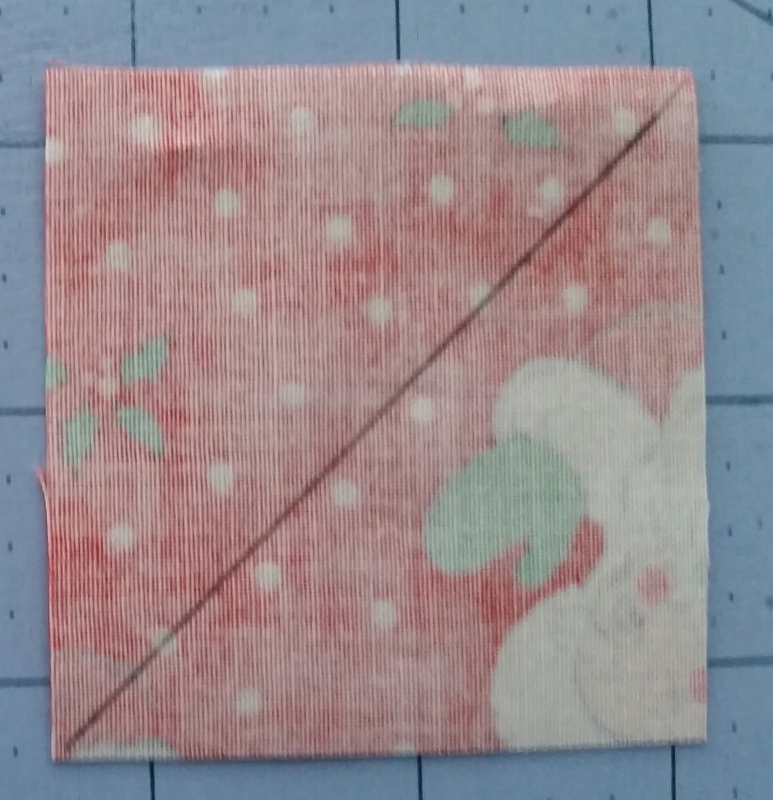
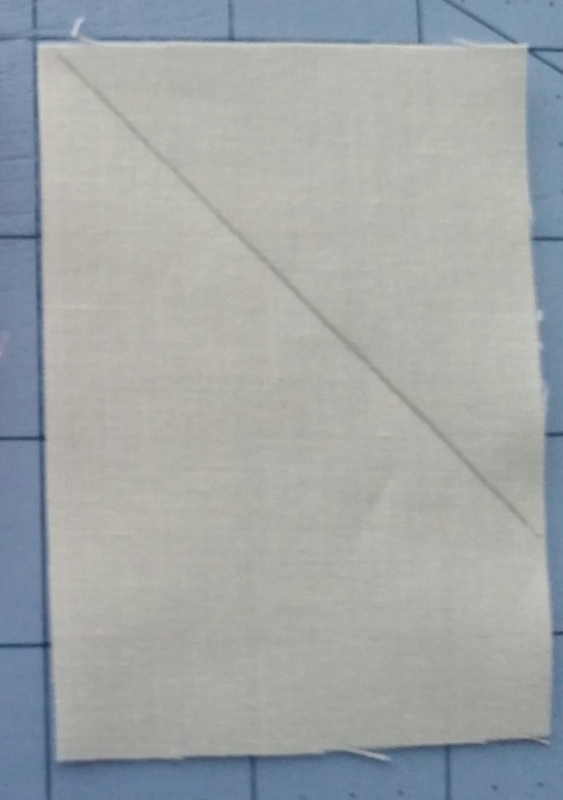
You will also be drawing diagonal lines on half (100) of the 3.5''x2.5'' rectangles as well as half (100) of the 5.5''x2.5'' rectangles. I used a small ruler with a diagonal line to help me get a perfect 45 degree diagonal. Draw all the diagonals going the SAME direction, just as I have it here:


ASSEMBLY:
Now we can start assembly!
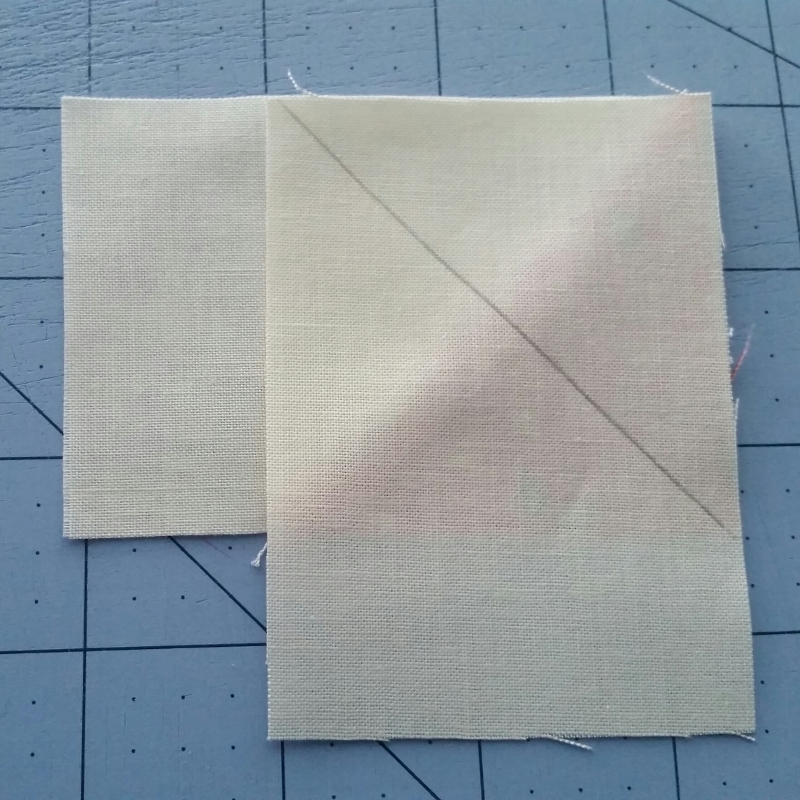
Start by taking half (100) of your 2.5''squares and align them on the right side of your UNmarked 3.5''x2.5'' rectangles with the diagonal line as shown:


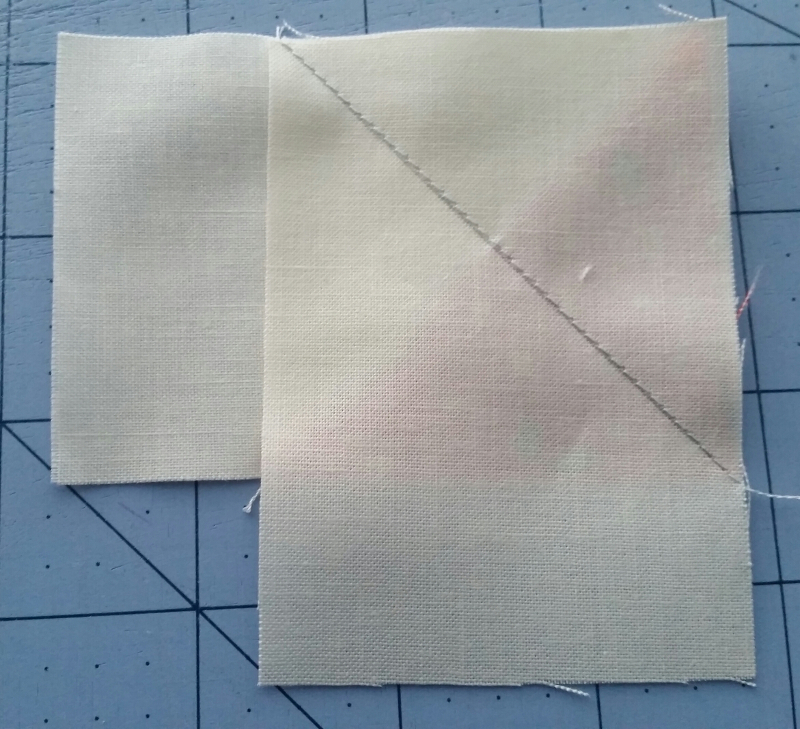
Stitch along that diagonal line:

Trim, leaving a 1/4'' seam allowance:
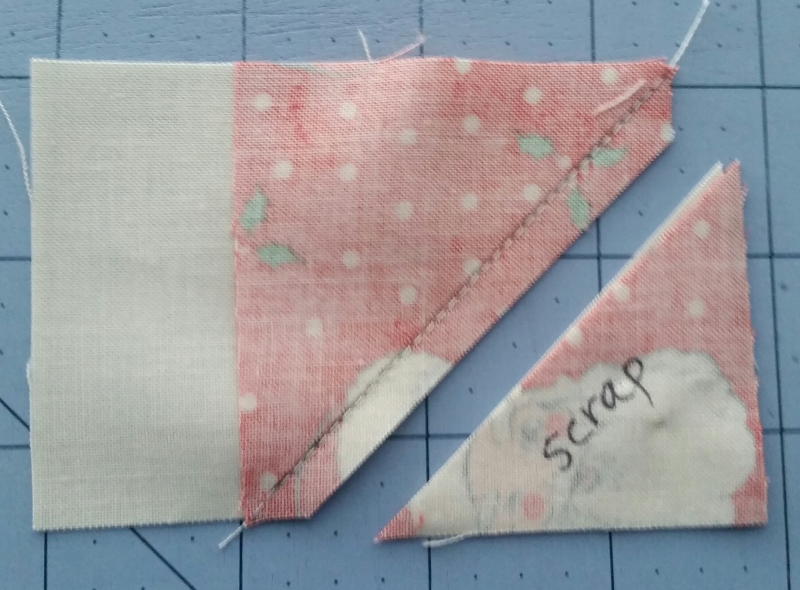
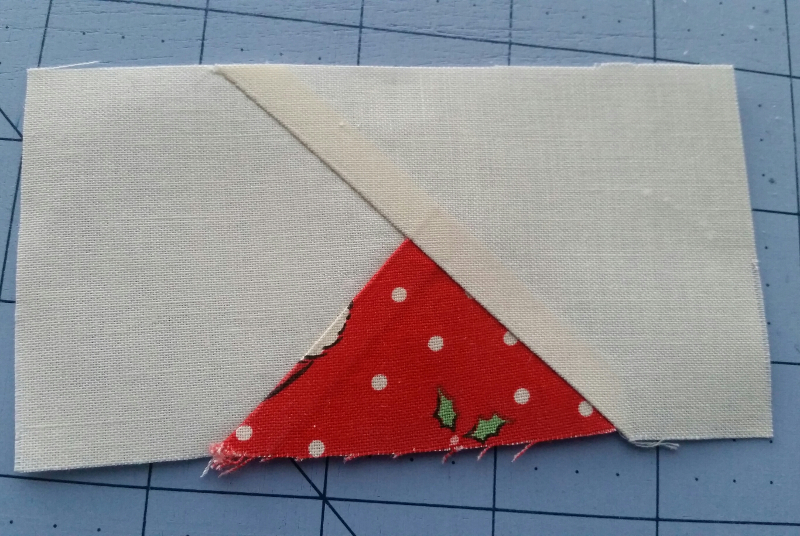
Press:

Now, take your marked 3.5''x2.5'' rectangles an align them as shown:

stitch along the diagonal line:
trim leaving 1/4'' seam allowance:

Press:
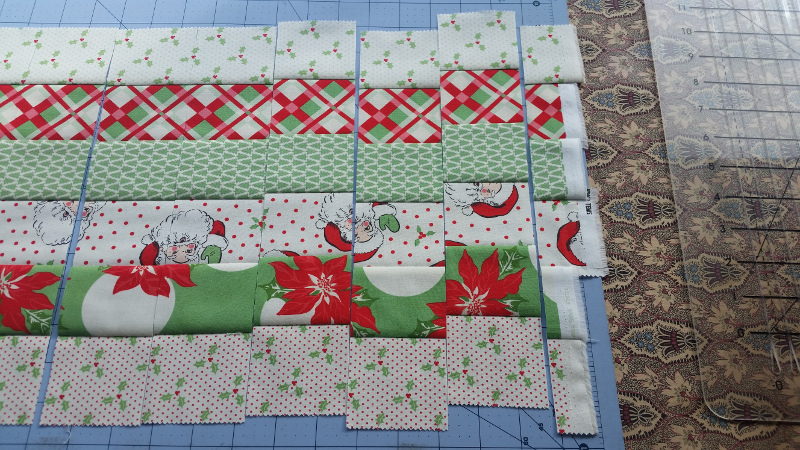
Now, follow the SAME steps with your 5.5''x2.5'' rectangles. You should end up with 100 pieces measuring 4.5''x2.5'' and 100 measuring 8.5''x2.5'':

Now, we will work on the strip sets:
You will need a total of 60 of your jelly roll strips. I chose to leave out most of the mainly pink prints for my strip sets, trying to choose 15 mainly green and 15 mainly red prints from each of the 2 jelly rolls so I could alternate the colors for even distribution.
sew 6 strip sets @ 6 strips wide (3 sets of 6 from each jelly roll)

sew 6 strip sets @4 strips wide (3 sets of 4 from each jelly roll)

Subcut each of these strip sets into 2.5'' wide sections. You should get 17 pieces from each strip set (with VERY little waste) for a total of 102 from each. You will need a total of 100 sections of from the 6-wide strip sets and 100 sections from the 4-wide strip sets.

BLOCK ASSEMBLY:
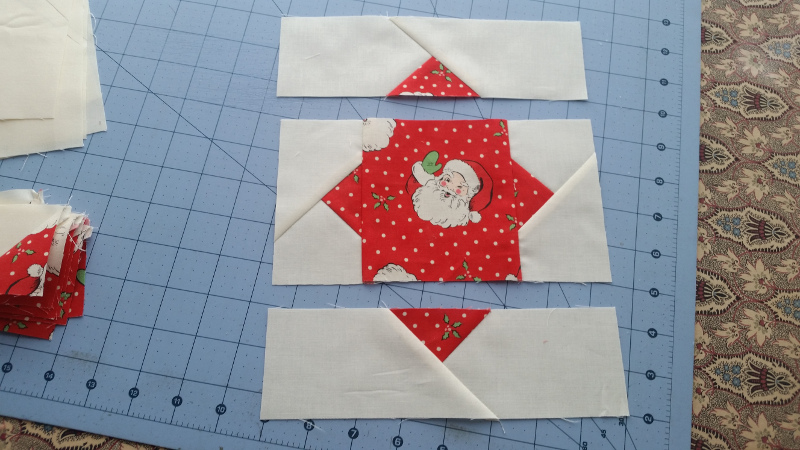
To two sides of the 4.5'' center square, stitch two of your 4.5''x2.5'' triangle units as pictured:
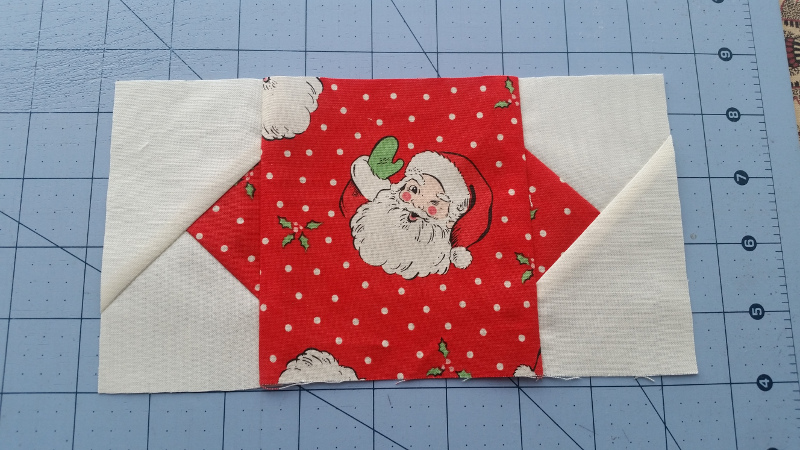
To the other two sides, stitch your 8.5''x2.5'' triangle units:
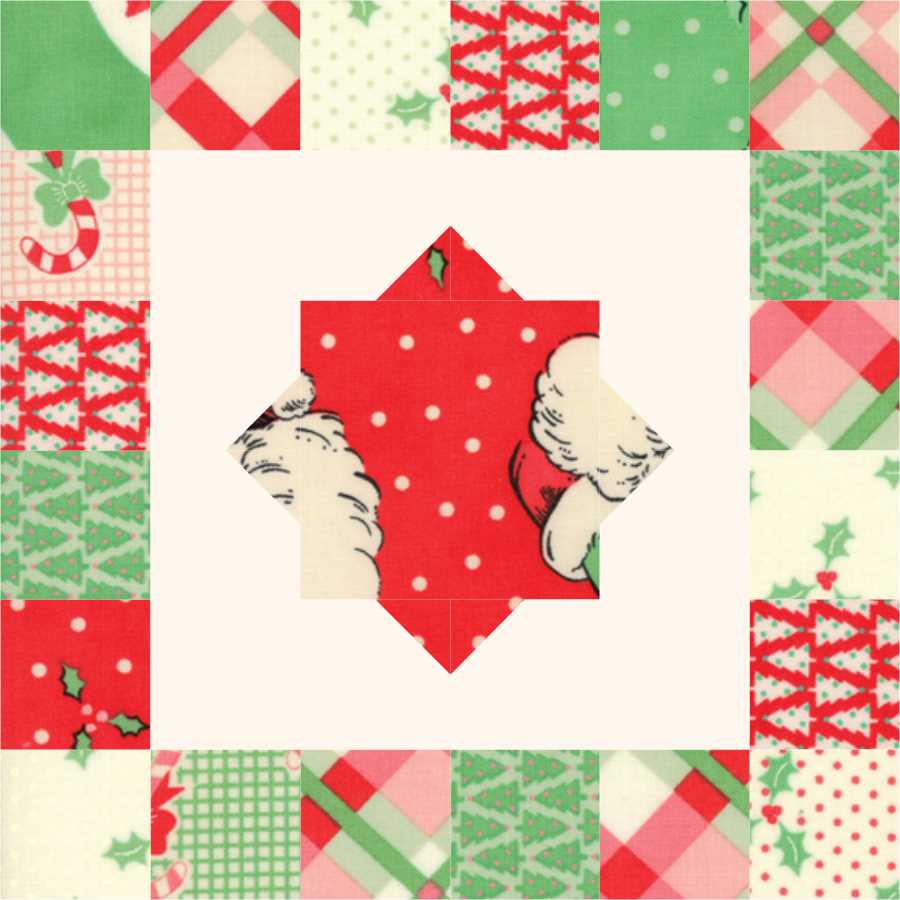
Next, stitch 2 sections from the 4 piece strip set onto two opposing sides of your center block:

Then, on the other 2 sides, stitch 2 sections from the 6 piece strip sets. You now have your finished blocks! Excuse the EQ pictures instead of real pictures, I accidentally deleted a few pictures.) There will be 50 of these blocks in total.
You will assemble these into TWO larger blocks of 25 - in a 5x5 layout. These will be set on-point... so if your center blocks are fussy cut, make sure they are pointed in the direction you want them to be when they end up on point. These larger blocks will be cut in half diagonally, so the center blocks along one diagonal should be your least favorites since they will be cut in half on the diagonal :)

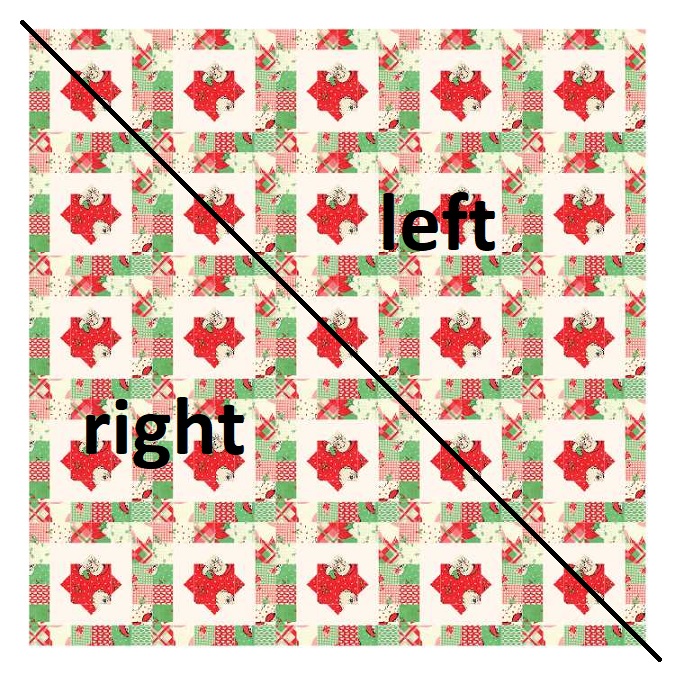
One large block, which will be the left and right of your on-point quilt, will be cut on the diagonal like this:
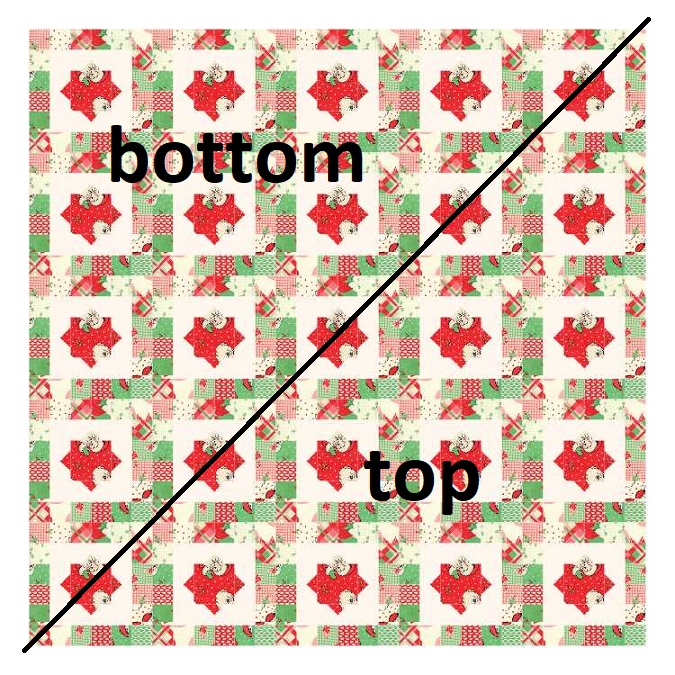
The second large block will be the top and bottom and will be cut on the diagonal like this:
I *highly* suggest that you stay-stitch 3/16'' away from the cut line on both sides of these diagonals to avoid stretching the edges since they will now be on the bias. It wouldn't be a bad idea to do the stay-stitching before you do the cutting even.
You will assemble your 4 resulting triangles like this:

Finally, add your 2.5'' border of Moda Bella Snow. This will help to stabilize those bias edges as well. You now have your finished quilt top!

Layer with batting/backing, baste, and quilt as desired.
![]()
This quilt finishes at 88" x 88".
Karin Vail
{cascadequilts.com}
![]()
Posted in:
Comments