Warehouse Closed On July 4th
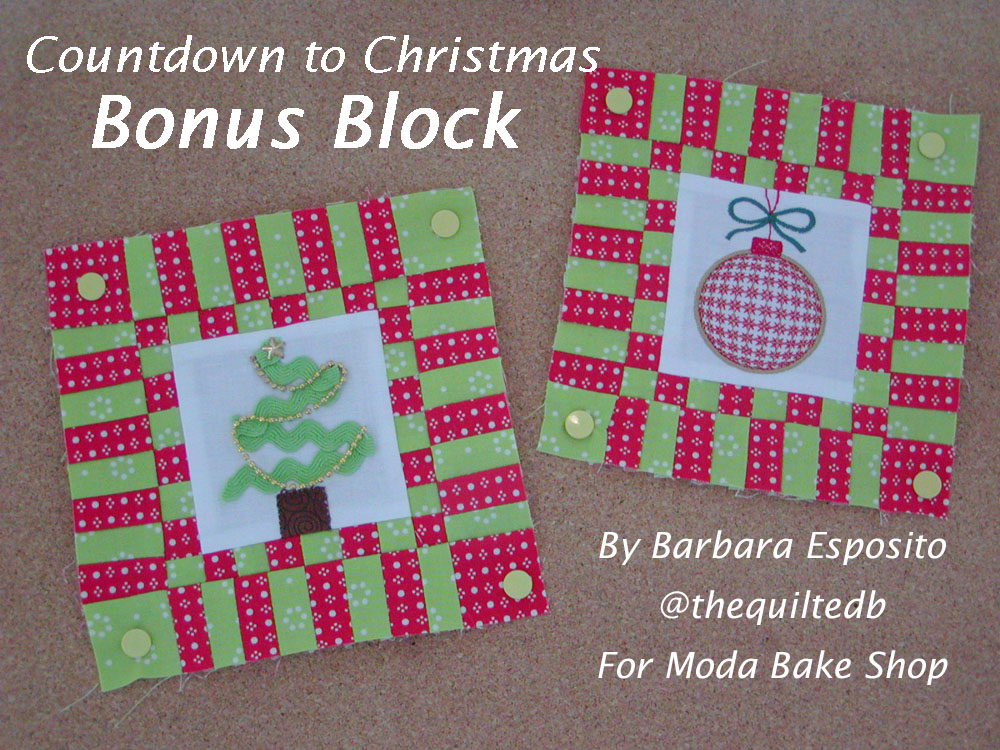
Count Down to Christmas: Bonus Block
Count Down to Christmas: Bonus Block
Published:
Dec 25 2017 - 23:00
Happy Boxing Day! We have a bonus block for you today.
![]()
Greetings! I am Barbara Esposito @thequiltedb wrapping up this awesome Countdown to Christmas 6” block tutorial project. I hope your Holiday was everything you hoped it would be. This block is the Bonus Block and I loved creating it because it can be an additional block or your project label. The center is solid white, offering a place for embellishment or your message. As with all of the Count Down to Christmas blocks, this block finishes at 6" by 6". Now let’s sew!
![]()
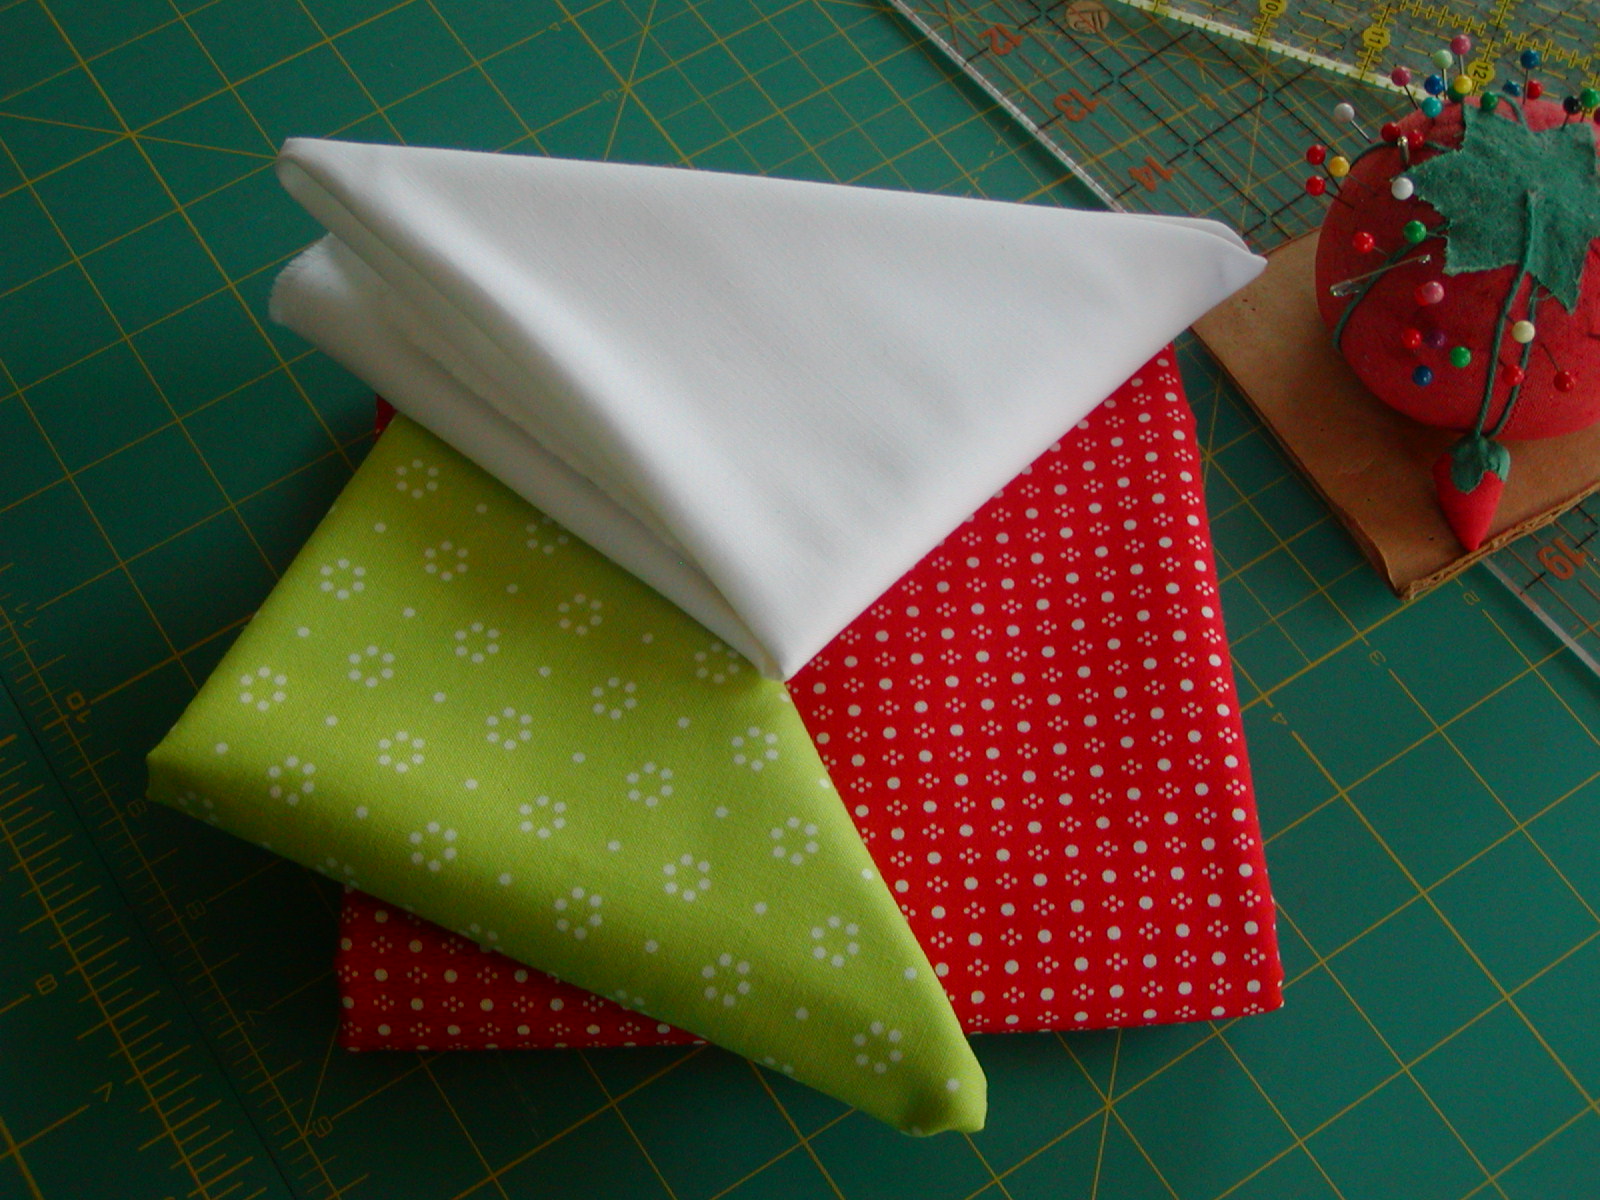
1 Fat Quarter Green (Pictured here 55152 Bonnie & Camille The Good Life)
1 Fat Quarter Red (Pictured here 55143 Bonnie & Camille handmade)
1 Fat Quarter White (Pictured here Bella Solids 9900 98)
![]()
If you choose to embellish the center block, you will need lace, ribbon, ric rac, beads, etc.
![]()
Because there are so many intersecting seams on this block, I like to make it a wee bit bigger and trim it down.
Use a ¼ inch seam allowance throughout.
Begin by deciding what you will do with the center block. If you will be using an embroidery machine prepare the design before you trim down the center block. It will be cut to 3-1/2” and finish at 3” so design accordingly.
If you plan to embellish the center after the block is assembled start by cutting one 3-1/2” block from the white fabric.
From the RED fabric cut:
Two 1-1/2” squares
Four strips 1” by 22" (or the width of your fabric)
From the GREEN fabric cut:
Two 1-1/2” squares
Four strips 1” by 22" (or the width of your fabric)
Assembly:
Sew strips together alternating colors and also alternating the direction you sew each row. This will help keep the rows from bowing. Press all seams in the same direction.
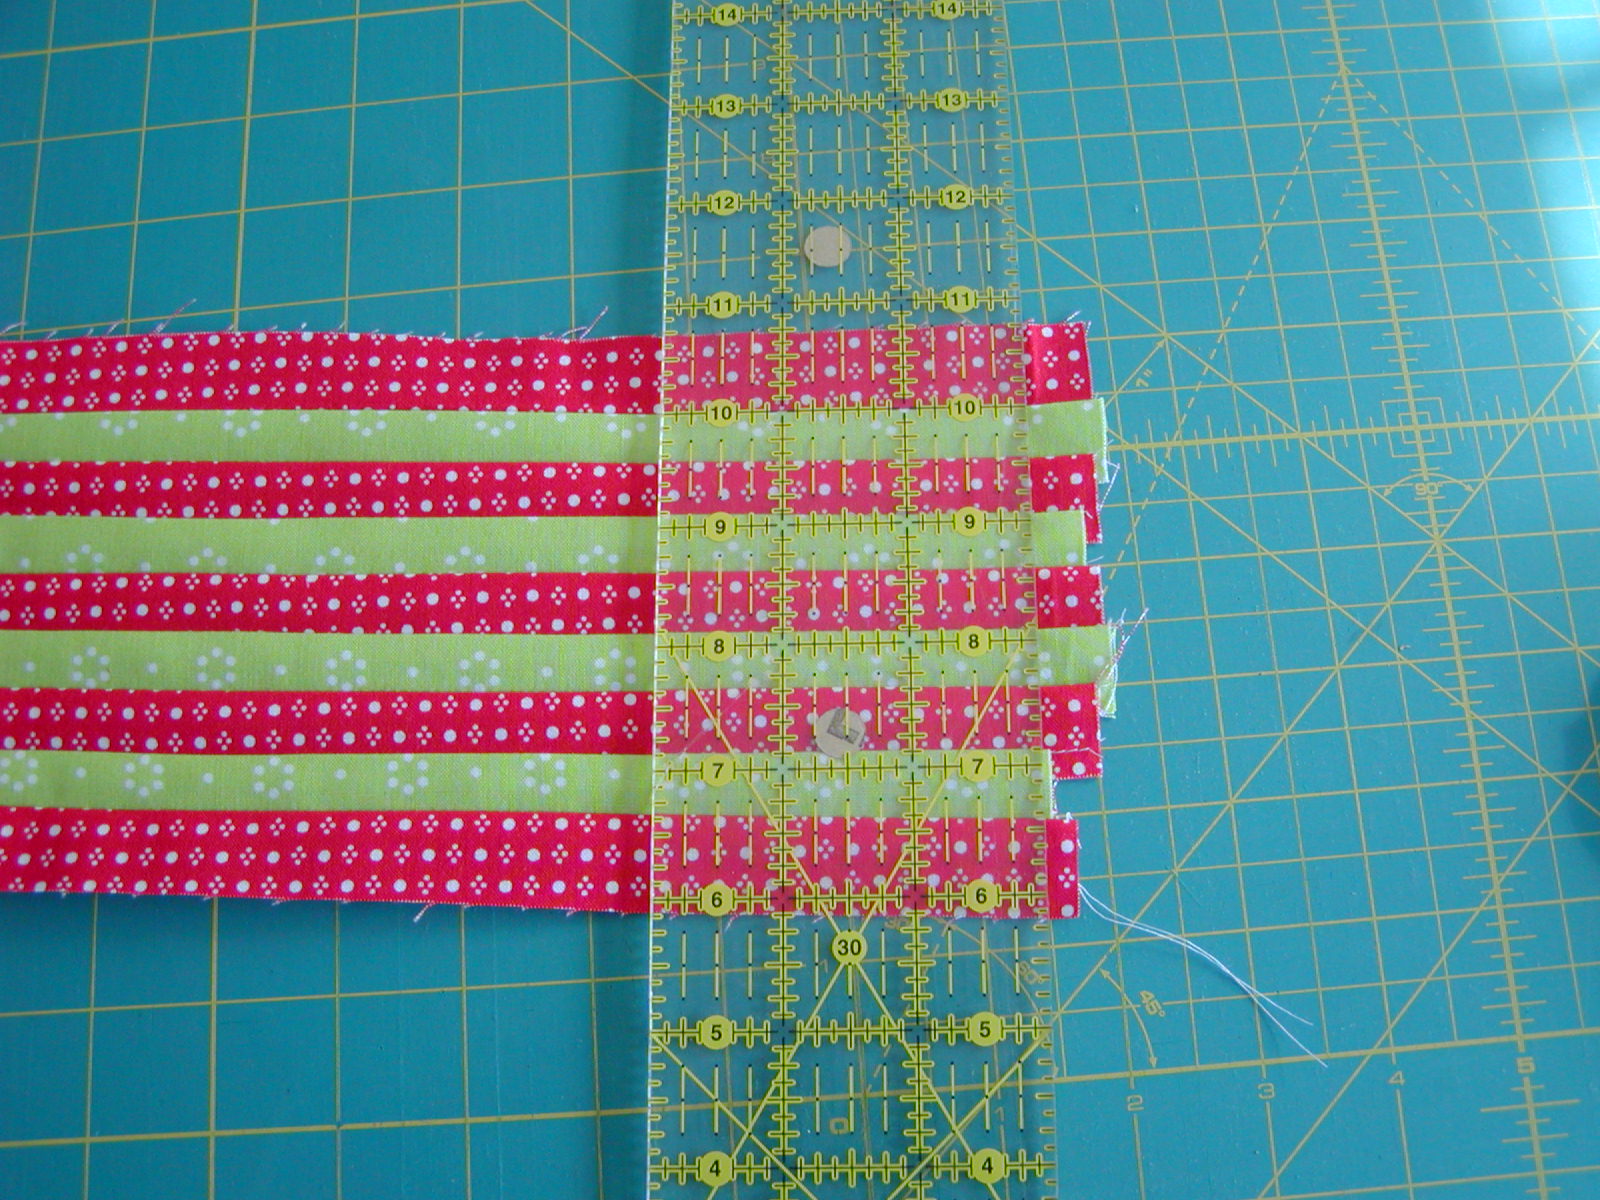 Yes there is one extra red strip on my strip set - I got carried away and had to unpick it! Your set will only have 4 green and 4 red.
Square up the strip set and cut:
4 pieces 1” by the width of the strip set
4 pieces 1-1/2” by the width of the trip set
Remove two squares (one red, one green in my strip set) from two of the 1” strips to make 2 strips that are 6 squares wide.
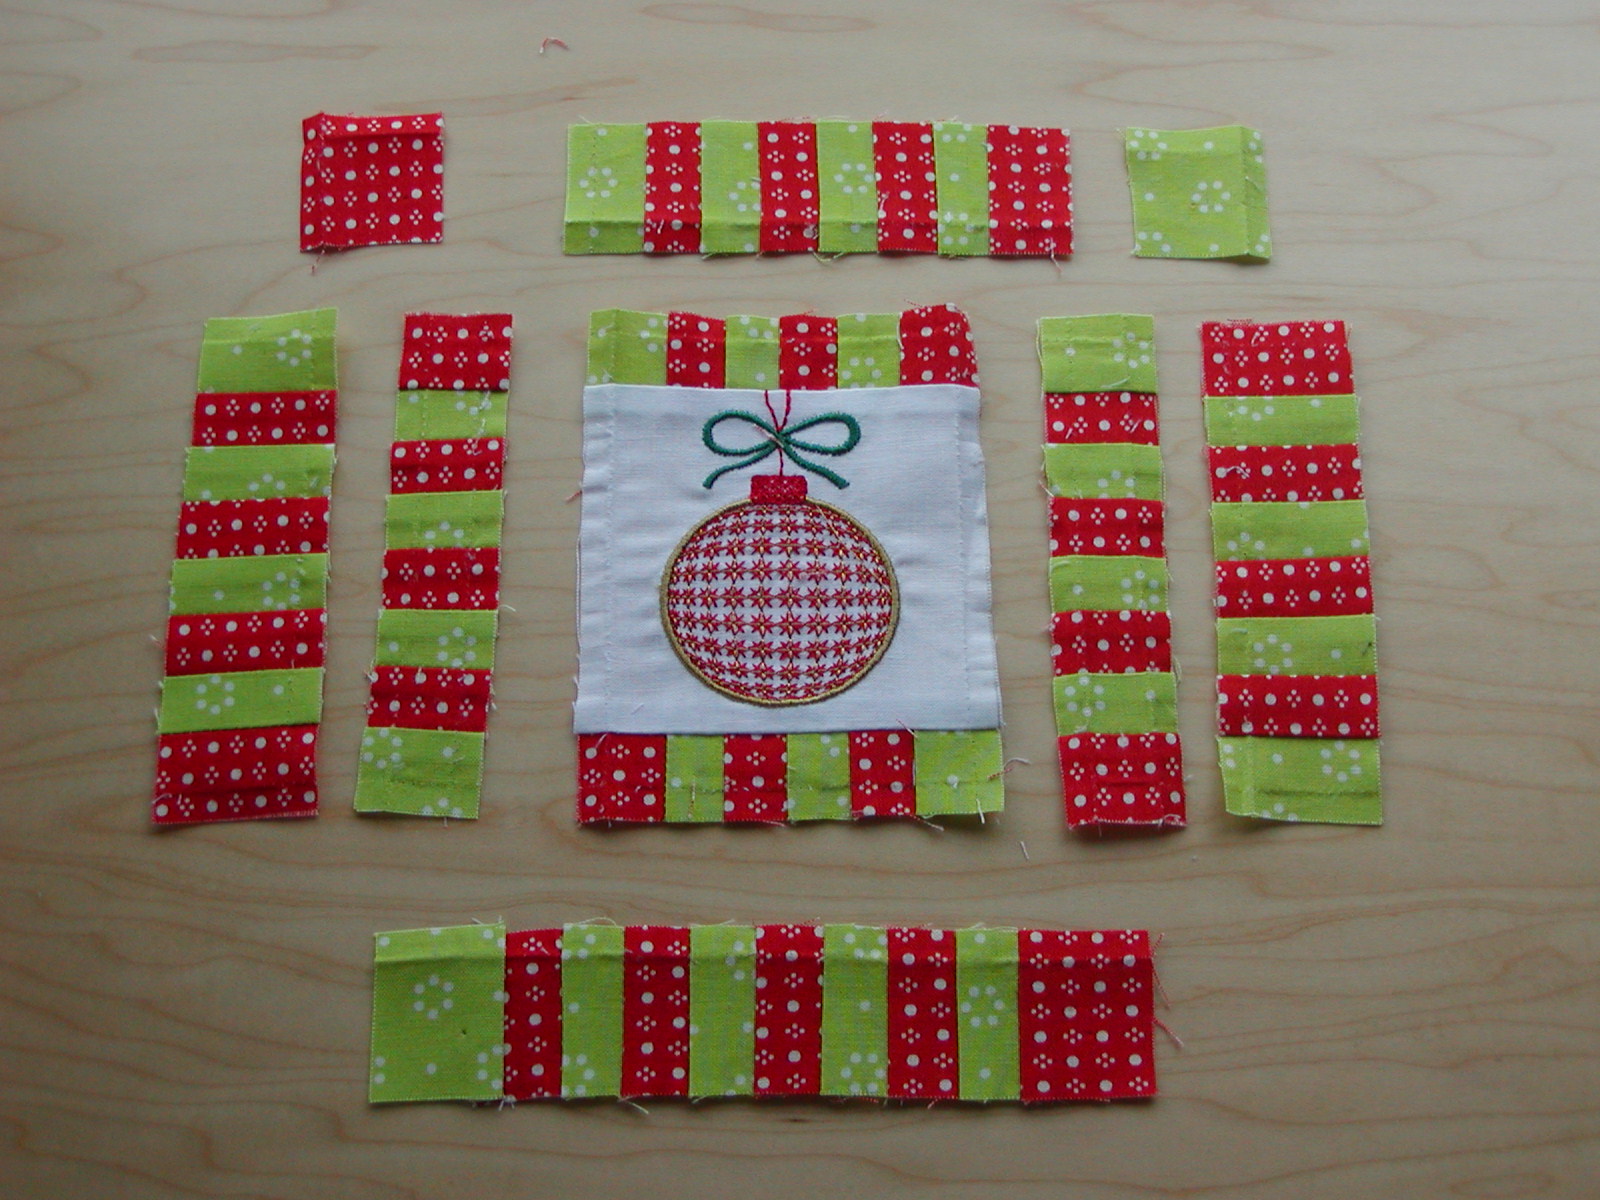
Sew the 6-square strip to the top and bottom of your 3-1/2” center block. Keep colors opposite on each side of the block. Press.
Next sew the remaining two 1” strips to the sides, nesting the top and bottom seams, keeping colors alternating Press.
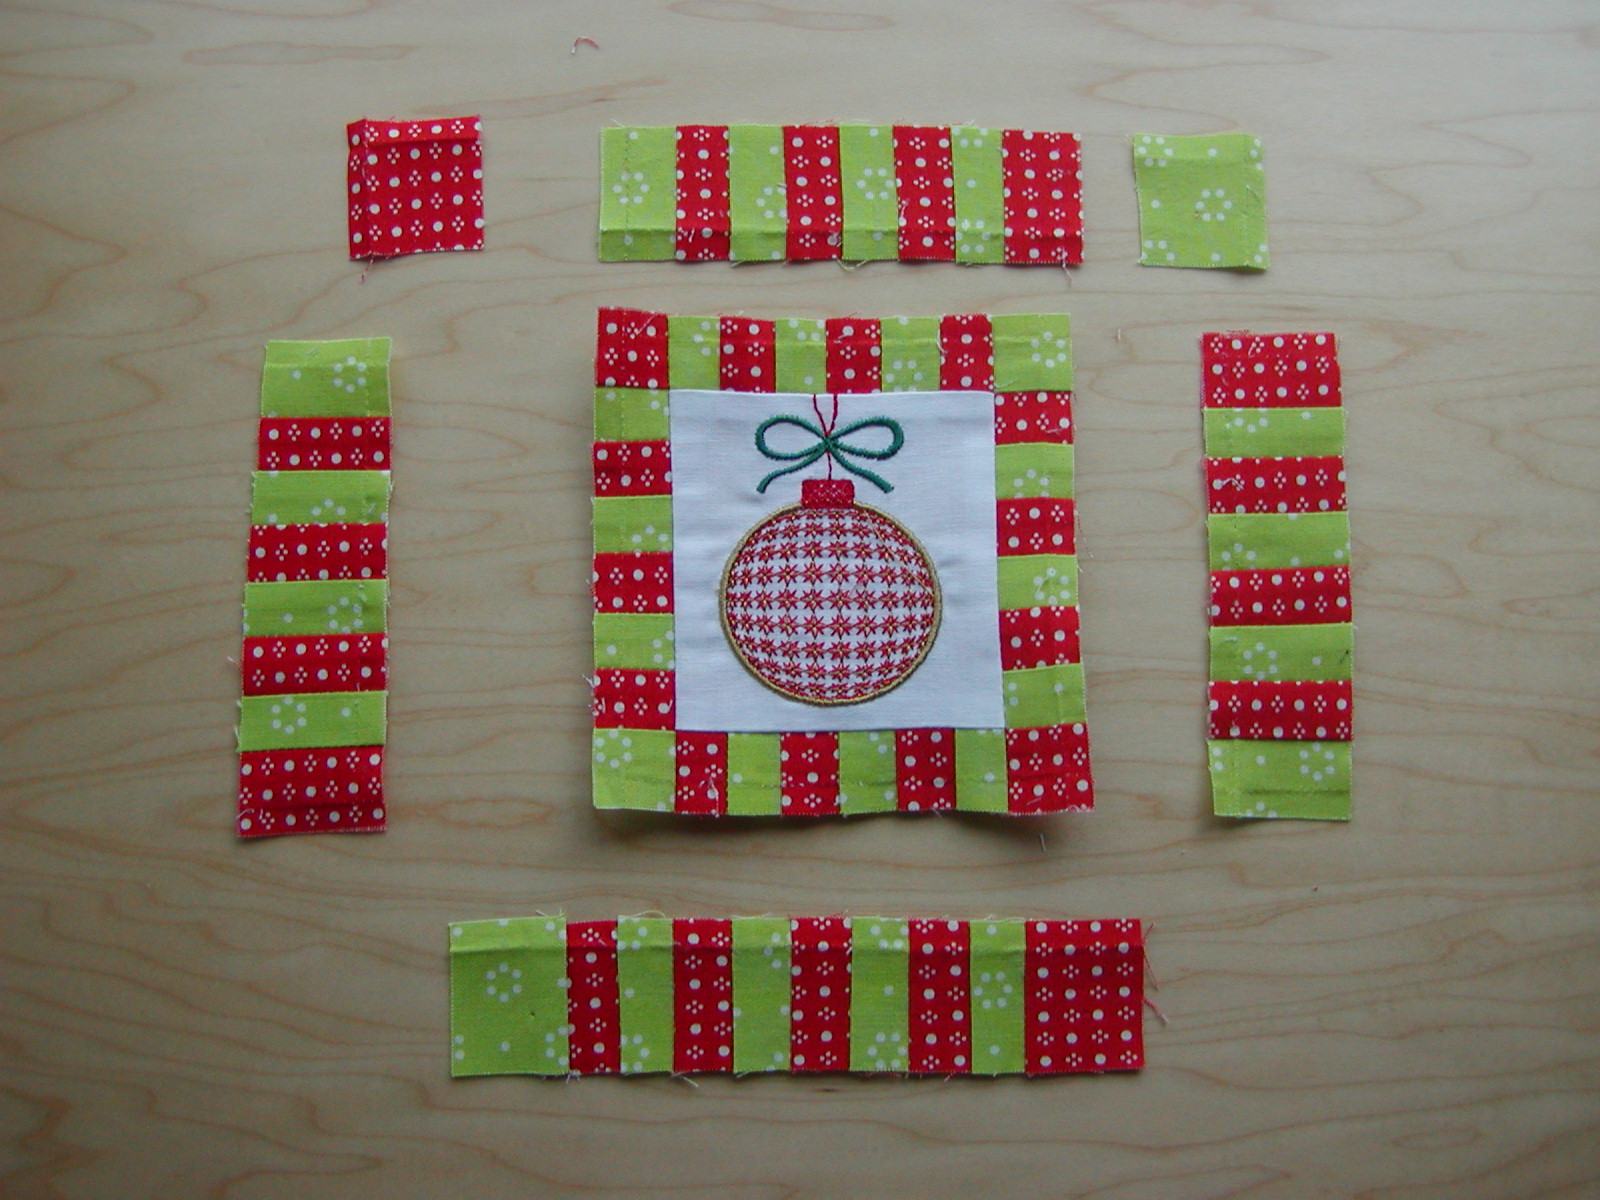
Now for the 1-1/2” strip sets. Sew two to the sides of your block, again keeping colors opposite. You can flip them around so most all those seams will nest nicely.
With the last two strip sets be sure the strips will nest and add a red and green 1-1/2” square to each end of the top and bottom strips keeping the colors alternating.
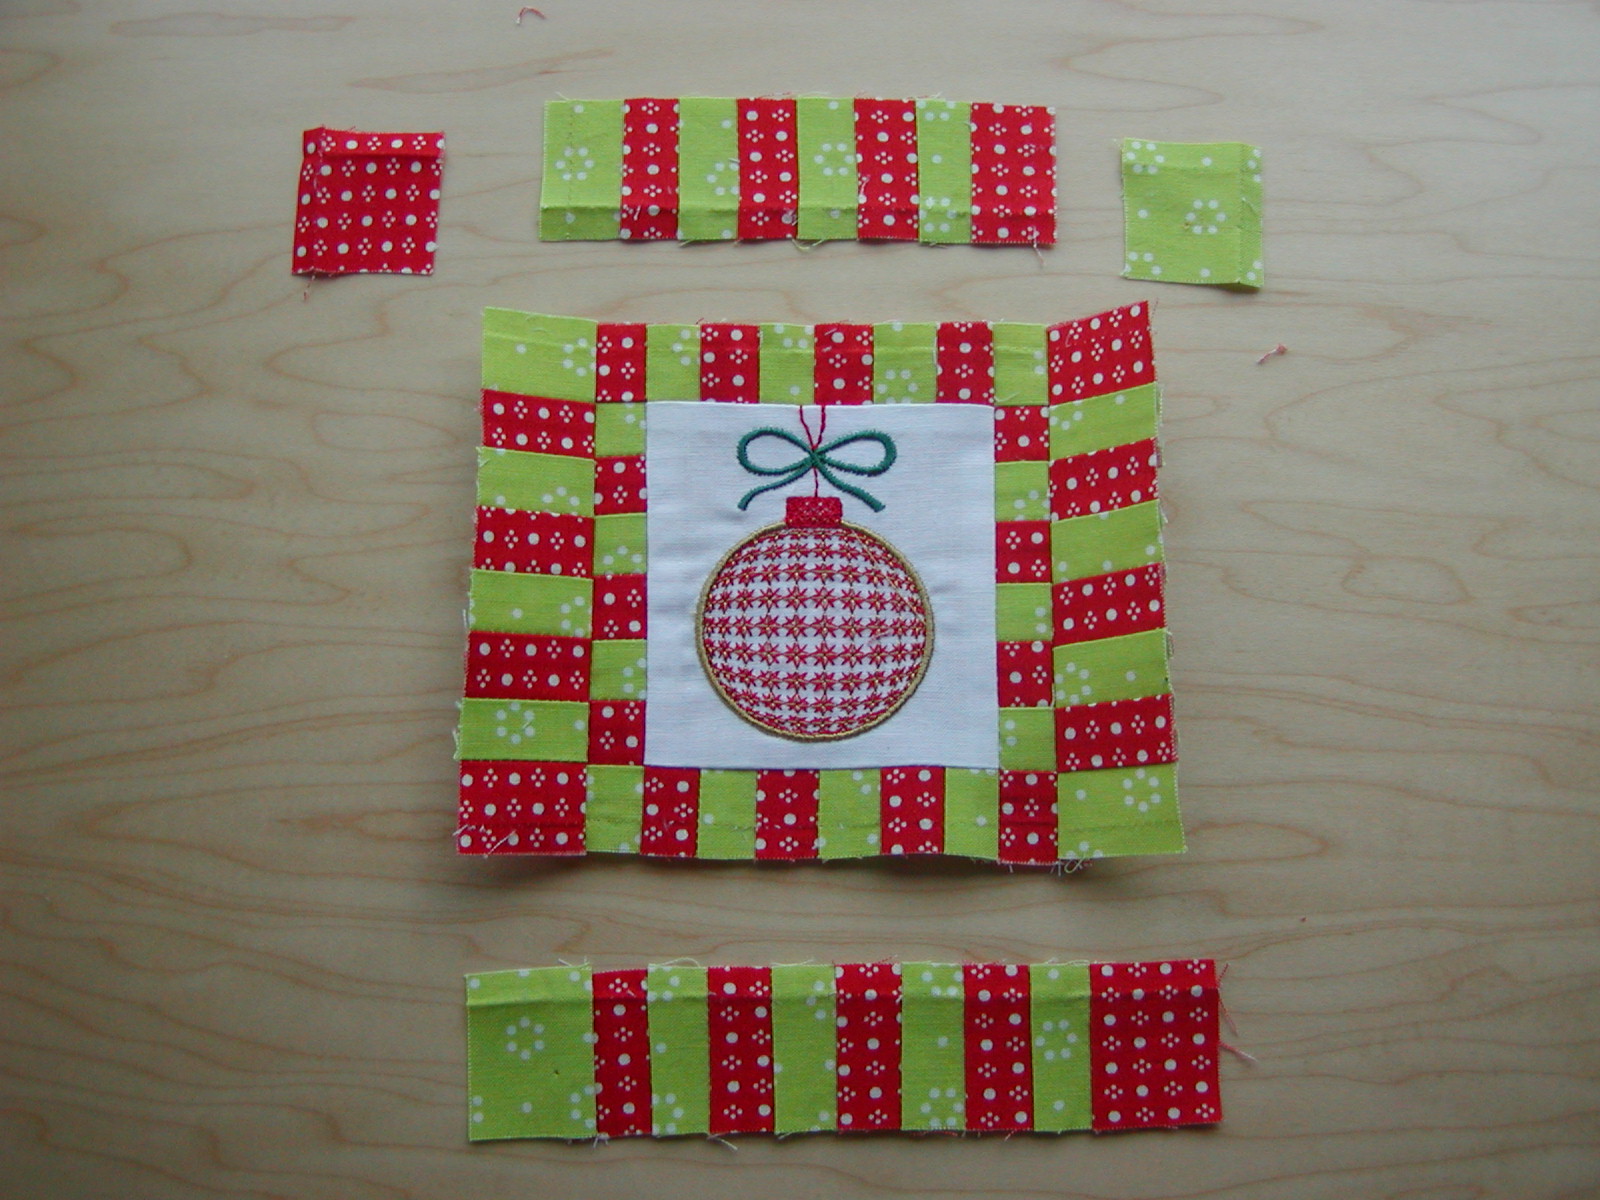
Sew these to the top and bottom of the block. Press.
Square to 6-1/2” if necessary. Now that wasn't too bad, was it?
I hope you will tag me @thequiltedb when you make your own. I always enjoy seeing what you create. It inspires me!
Hoping your New Year will be pieceful and sew happy!
Barbara Esposito, The Quilted B
![]()
Posted in:
Comments