Welcome to Moda Fabrics!
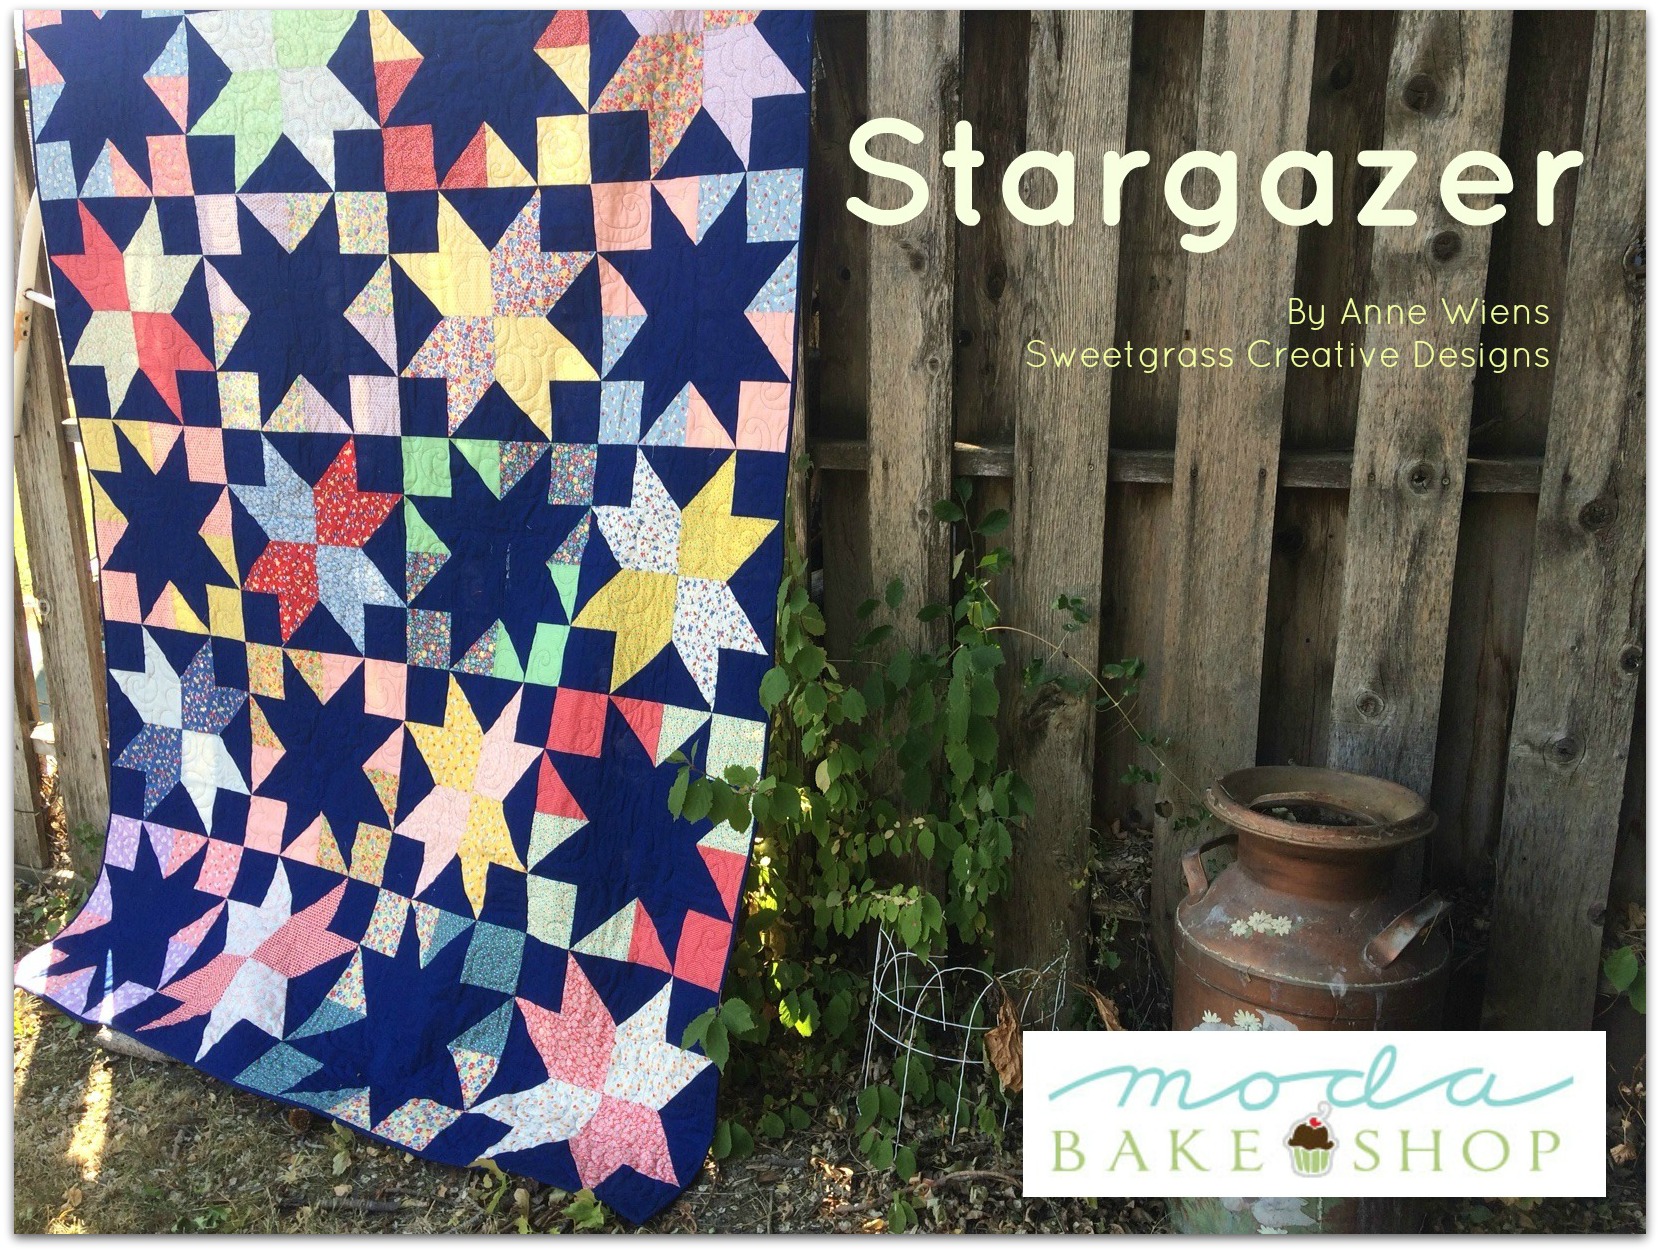
Stargazer Quilt
Stargazer Quilt
Published:
Sep 7 2017 - 23:00
![]()
Let me begin this post with a caveat: We rated this pattern "Easy" because it is simply squares and HSTs. However, you really need to pay attention when you start sewing the squares and HSTs together (Steps 5 & 6). I can't tell you how many times I had to unsew and resew because I had a HST turned the wrong direction! I tell you this so as not to discourage novice quilters. I want you to remember when you reach for the seam ripper...and you will... that it happens to all of us now and again. Chin up. You will love this quilt when you're finished!
![]()
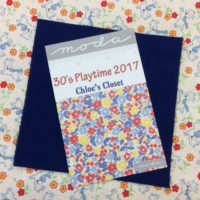
1 Layer Cake® - I used the "30's Playtime" collection, designed by Chloe's Closet for Moda.
3.25 yards of a solid for background, optional border and binding. I chose a Royal Blue Bella Solid (#9900-19). Note: My border is on the top edge only. You will need another 1/2 yard if you want the border all around.
In addition to your 24" long rotary cutting ruler, you will find a 12" ruler handy, and you will need a square ruler...4.5" square or larger...that has a diagonal line from corner to corner.
You will also need twenty sandwich bags to store the pieces for each block.
![]()
Step 1 is to cut your background fabric (blue solid in my quilt):
- 1-A: Cut ten 5" x Width of Fabric (WOF) strips and cut each strip into eight 5" squares. Cut each square diagonally. You should have 160 triangles. Put eight triangles in each bag.
- 1-B: Cut ten 4.5" x WOF strips and cut each strip into eight 4.5" squares. Put four squares in each bag.
- 1-C: (Optional) Cut two 4.5" x WOF strips for the upper border. Set these aside.
Save the rest of your background fabric for binding.
Step 2 is to pair up the 10" print squares.

Unwrap the Layer Cake® and pair the squares up. Each pair of squares will make one 16" Sawtooth Star block. In my Layer Cake, the prints were all pretty small. You'll want to be sure you have some visual contrast, so try to pair a "busy" print with a "calm" print, and larger scale prints with smaller prints.
You will need twenty pairs for this quilt, so you will have two squares left over.
Step 3 is to cut your 10" squares. Layer and cut each pair together.
3-A: Cut the 10" squares into 5" x 10" rectangles.

3-B: Cut one rectangle into two 4.5" squares.

3-C: Cut the other rectangle into two 5" squares, and cut each square diagonally.

You should have two squares and four triangles of each print. Put these in a bag with background pieces. Repeat with your next pair of 10" squares until you have made twenty "block kits".
Step 4 is to make half-square triangles (HSTs). We are going to use a trim-down method.
4-A: Take one block kit, and sew each of the print triangles to a background triangle. I press my seams open, but if you're more comfortable pressing to one side, that's fine. Press one color toward the print and the other toward the background.
4-B: Lay a HST on your cutting mat, and position your square ruler so that the diagonal line is on the seam line. Notice in the photo that the left and bottom edges of my HST extend a bit past the 4.5" lines on my ruler. Be sure yours do, then trim the right and top edges.
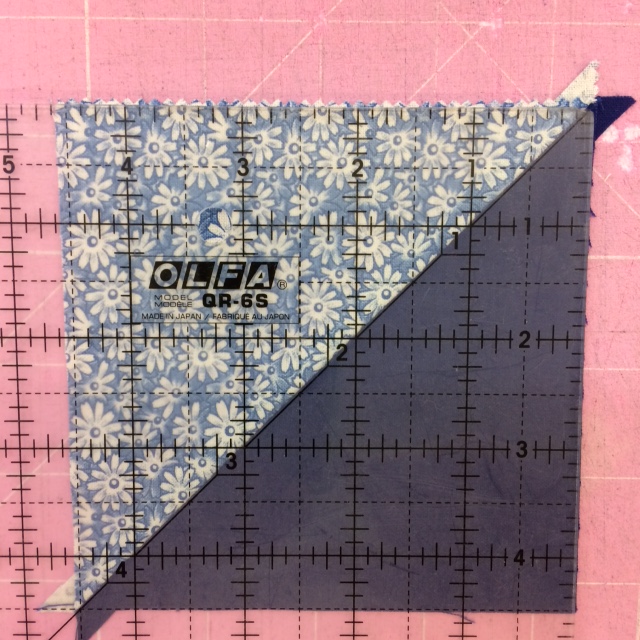
4-C: Rotate the HST and lay the ruler down again, with the diagonal line on the seam line. This time the left and bottom edges should be right along the 4.5" lines. Trim the right and top sides.

You now have a perfect 4.5" HST, with no "ears" to trim off later! Put your trimmed HSTs back into the bag, and repeat until you have the HSTs for all twenty kits sewn and trimmed.
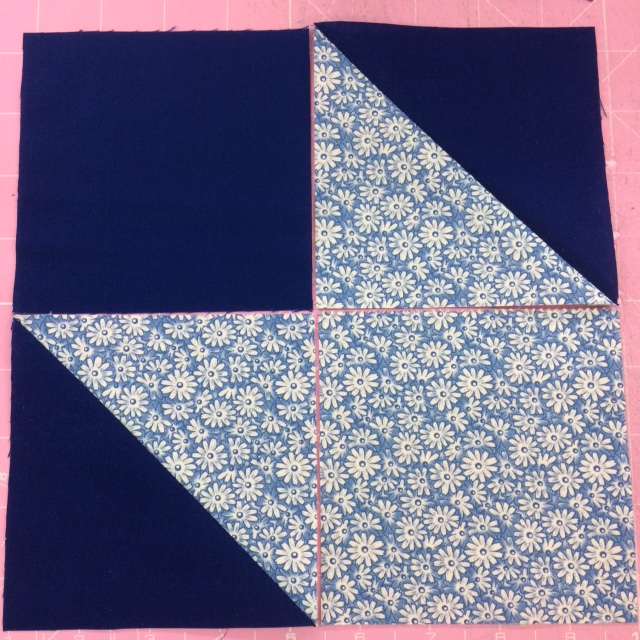
If you look closely at the quilt photo at the top of the page, you can see that we have two blocks. One is a print star on a solid field, and the other is a solid star on a print field. Set aside ten of your block kits. We'll make the ten "Print Star" blocks first.
Fair Notice: This is the part I warned you about at the top!
Step 5 is to make ten blocks with print stars on a solid background.
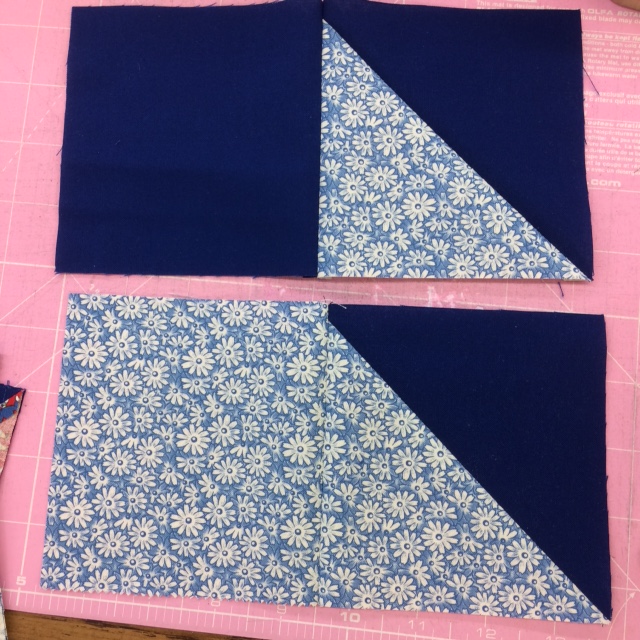
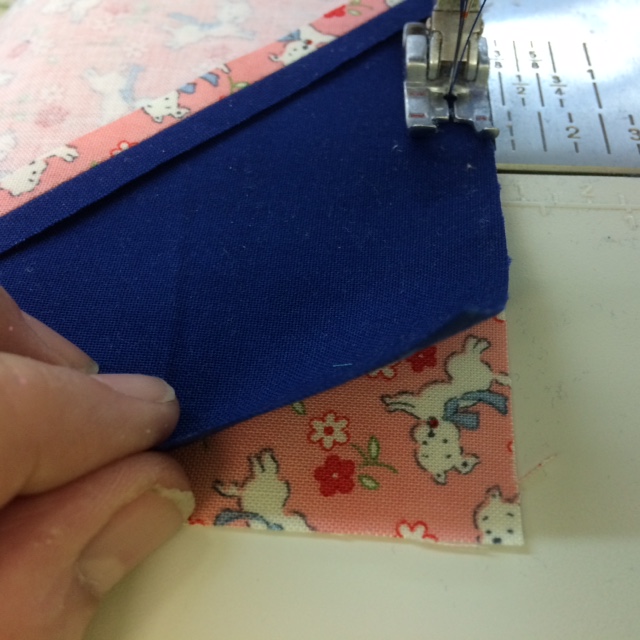
5-A: Lay a print square face up, with a HST face down on top of it. The print triangle must be in the bottom right half of your HST, as shown. When you sew, be sure the corner with the seam goes under the needle first, and you are sewing along the print edge of your HST.

Repeat with the solid squares on the bottom and HSTs on top. The HSTs must be in the same position - lead with the seamed corner and sew the print edge.
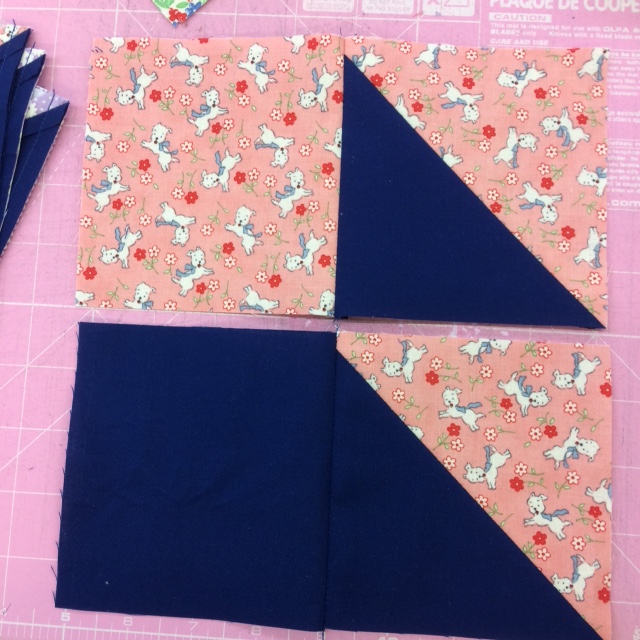
5-B: If you sewed everything correctly, you will have four of each of these pairs. If you do, pat yourself on the back. Don't get cocky, though...you still have nine more blocks to go.
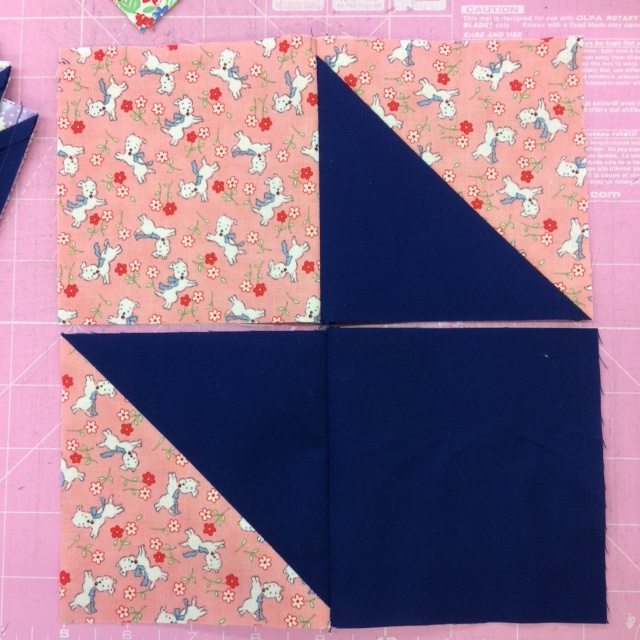
5-C: Rotate the bottom pair, and sew the two pairs together to make a "star point" unit. Make four of these units.
5-D: Now sew the four star point units together to complete a Print Star block. Make nine more of this block (for a total of ten). Each block should measure 16.5" x 16.5".
 "Print Star" block - Make 10
Set these blocks aside.
Step 6 is to make ten blocks with solid stars on a print background.
6-A: Lay a print square face up, with a HST face down on top of it. The solid triangle must be in the bottom right half of your HST, as shown. When you sew, be sure the corner with the seam goes under the needle first, and you are sewing along the solid edge of your HST.
Repeat with the solid squares on the bottom and HSTs on top. The HSTs must be in the same position - lead with the seamed corner and sew the solid edge.
6-B: If you sewed everything correctly, you will have four of each of these pairs. If you've reached this point without reaching for the seam ripper, know that you have my respect...and envy.
6-C: Rotate the bottom pair, and sew the two pairs together to make a "star point" unit. Make four of these units.
6-D: Now sew the four star point units together to complete a Solid Star block. Make nine more of this block (for a total of ten). Each block should measure 16.5" x 16.5".

Step 7 is to lay out your blocks in five rows, with four blocks per row, alternating Print Star and Solid Star blocks.

Rearrange the blocks if necessary, until you are happy with the distribution of the colors across the quilt.
Sew the blocks into rows, then sew the rows together.
Ideally, your top will measure 64.5" x 80.5" at this point. You can call it complete, quilt it and bind it, or go on to Step 8 and add a border for a little extra length.
Step 8 is optional. I like twin-size bed quilts to be at least 84" long, and since five 16" blocks is 80", this one came up just a little short, so I added a 4" wide solid blue border at the top. When the bed is made, this border would be under the pillow, out of sight.
8-A: Measure the width of your quilt top. Ideally it will be 64.5".
8-B: Trim one of the 4.5" x WOF strips to 40.5" long. Cut two 12.5" strips from the other 4.5" by WOF strip. Sew a 12.5" strip to each end of the 40.5" strip. It should now measure 64.5" long.
If your quilt top is not 64.5" wide, just make adjustments to the length of this border strip so it matches the width of your quilt top.
8-C: Sew the border strip to the top edge of your quilt top.
![]()
The "Stargazer" quilt finishes at 64" x 84", as shown.
Check my blog, "Seams Like a Plan" for an interesting addition to the finished quilt.
Anne Wiens
{sweetgrassdesigns.wordpress.com}
![]()
Posted in:
Comments