Warehouse Closed On July 4th
Apple of My Eye Quilt
Apple of My Eye Quilt
Published:
Aug 16 2017 - 23:00


Apple core quilts are traditional quilts that have never gone out of fashion! This classic pattern will help you to master curved piecing for a fun, one-patch quilt that is sure to be a favorite.
The apple cores in this quilt finish at six inches tall and three inches wide. I like this size because they are small enough to have a nice, scrappy effect, but big enough so that the piecing moves along. This size allows for more gentle curves, which are a bit easier to manage when first working with curved seams.
I know, I know, curved seams can be scary! But, trust me, being comfortable with curved seams is a great skill to have in your sewing repertoire. New York beauties, double wedding rings, drunkard’s path—the blocks that use curved seams are just stunning, and you will be glad when you are comfortable with the technique. Think of this project as one big skill building exercise!
This is not a quick quilt to make, but it is satisfying to successfully piece all the curves. It is a particularly well-suited project for this time of year—I sat on my porch with my apple cores and some pins, passing the time pinning the shapes together while enjoying the summer nights. What a wonderful combination! So, grab some iced tea and a rocking chair and get comfortable!
This quilt finishes at 51" by 57".
![]()
36 fat eighths OR 18 fat quarters
3 1/2 yards backing fabric
1 yard binding fabric
One-derful One Patch Apple Core Template
Lots of pins

![]()
Cutting the Apple Core Shapes
Using the apple core ruler, trace the apple core shapes on the fat eighths and cut each one out. You should be able to comfortably cut four apple cores from each fat eighth (or eight from each fat quarter), though they might need to be offset just a bit. (Tip: Save the extra bits and check out an idea for the scraps at the end of this tutorial!)

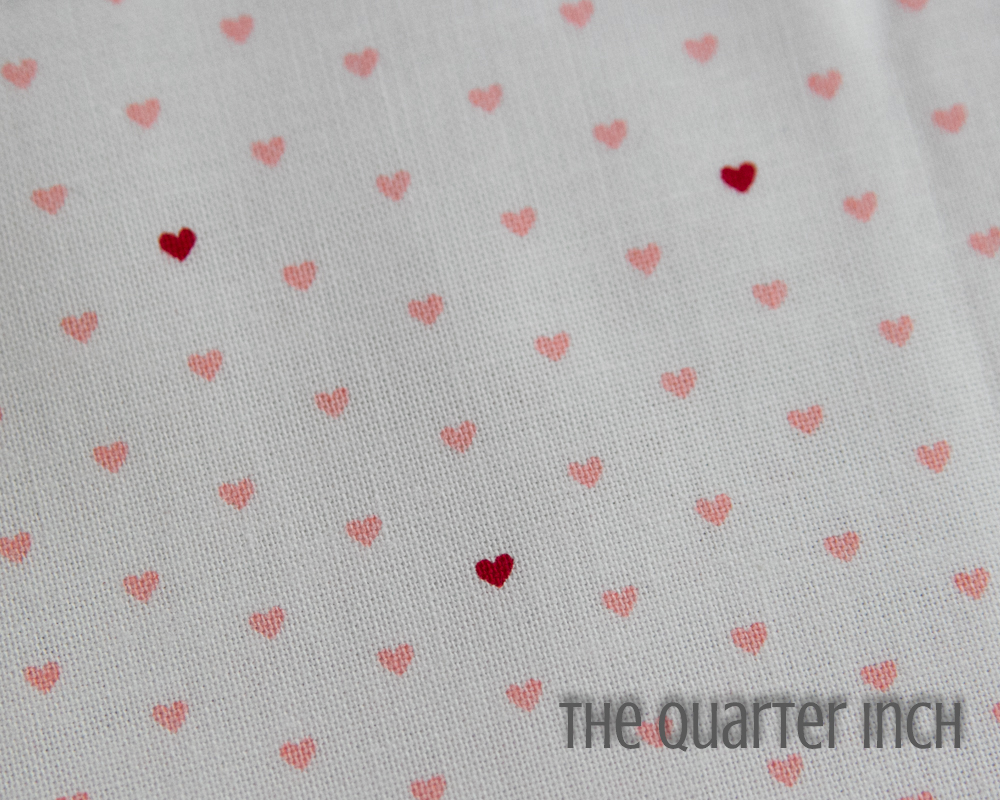
If the fabric is directional—like these darling hearts—you may want to cut some apple core shapes horizontally and some vertically and vary the positions accordingly in the quilt.
You will need a total of 143 apple core shapes.
Joining the Apple Cores Shapes
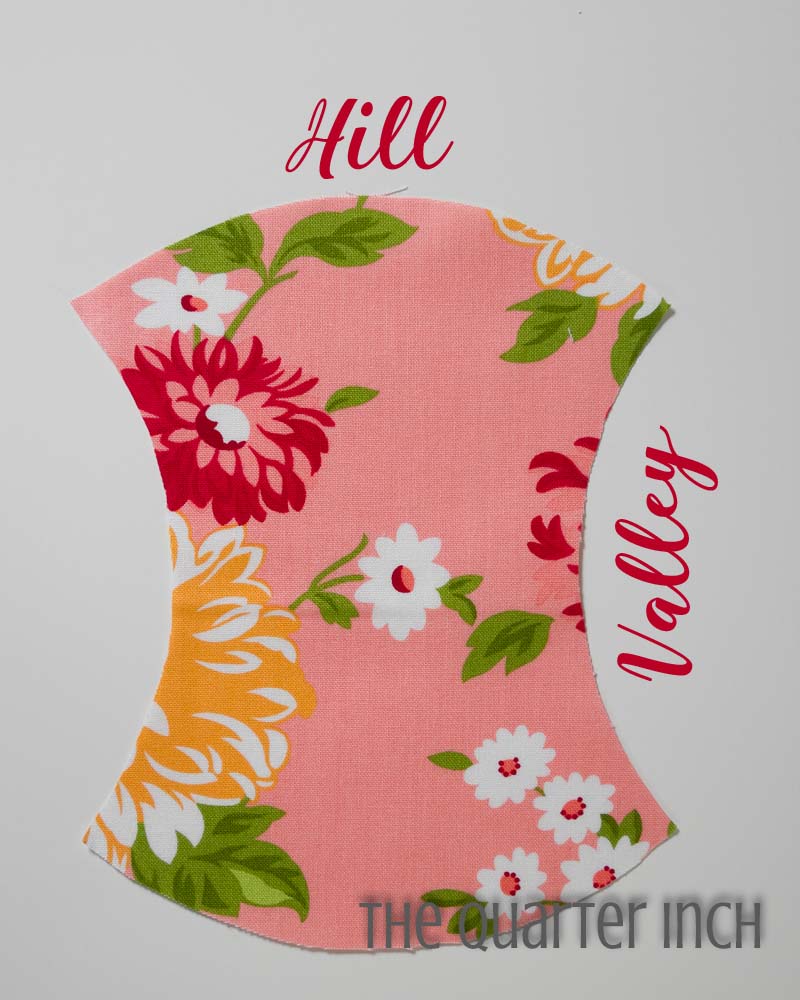
In this tutorial, I refer to the top curve as a hill and the side as a valley.
The quilt is made up of 13 rows, with each row consisting of 11 apple core shapes. Set aside 13 apple core shapes and sew the apple cores together in groups of five, half beginning and ending with a vertical apple core shape and half beginning and ending with a horizontal apple core shape.
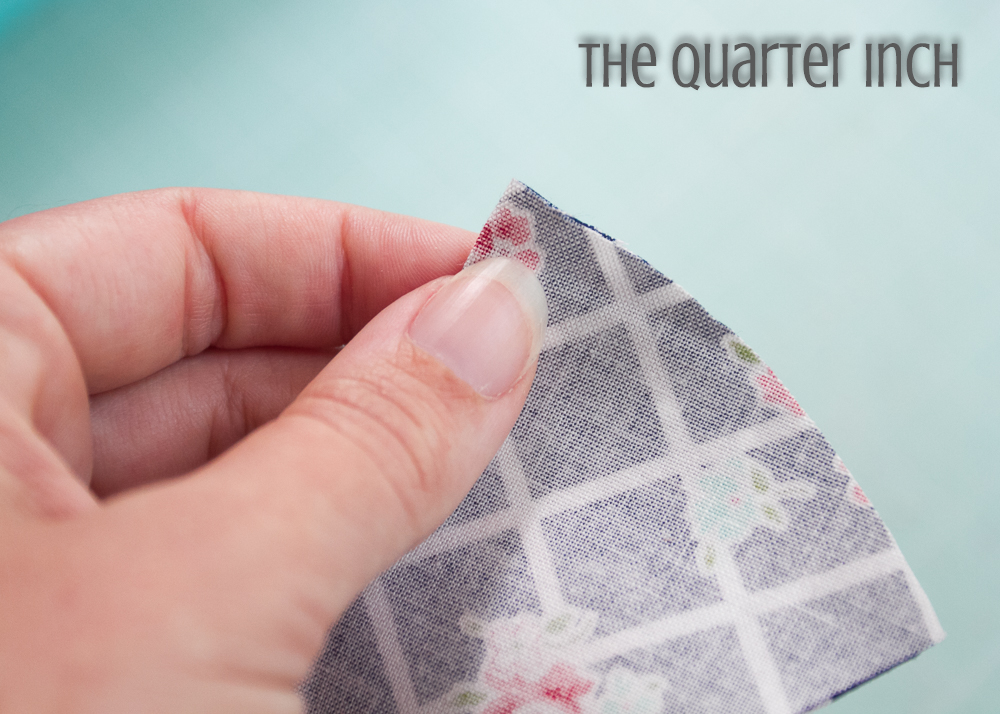
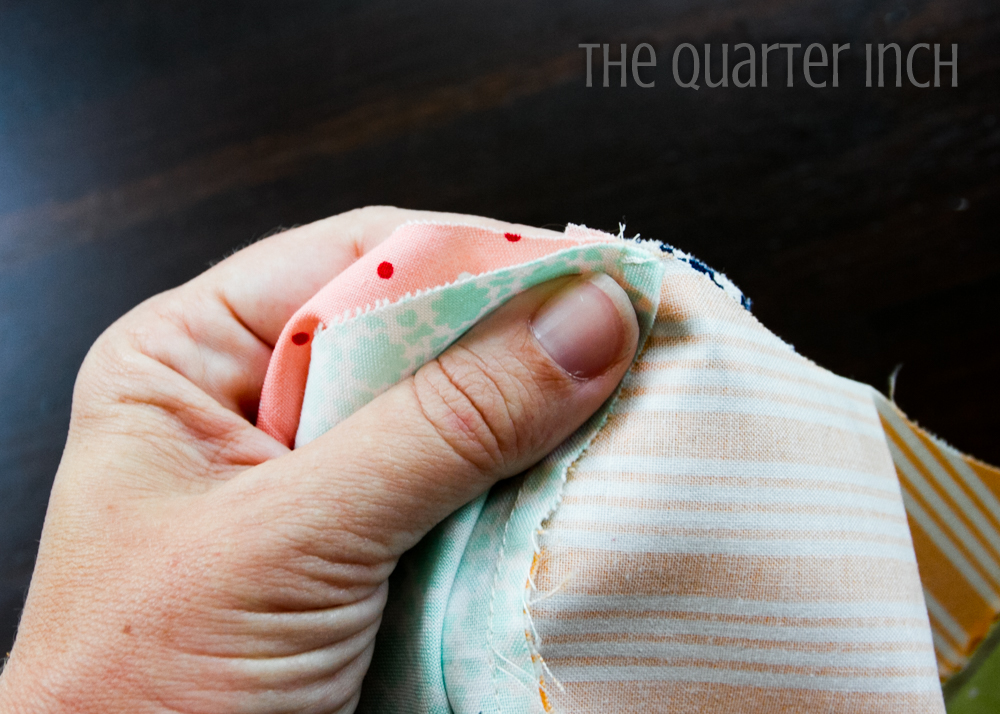
Mark the center of each apple core shape and pin together. I did so by folding each shape in half and quickly finger pressing a center mark.
Pin the centers together.

Pin the outer edges together.
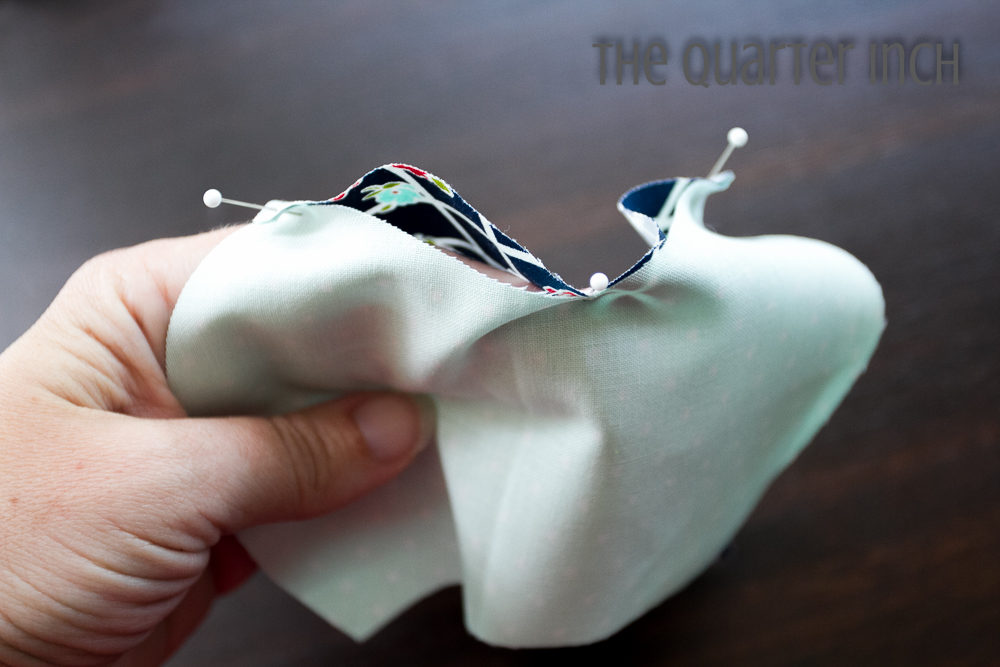
Keep placing pins midway between the pins already placed. I found it easiest to pin the shapes together with the valley on the top and the hill on the bottom. You may need to gently stretch the valley piece to pin it in place.

Use lots of pins! You will want to use at least ten pins when joining each pair of apple core shapes together.
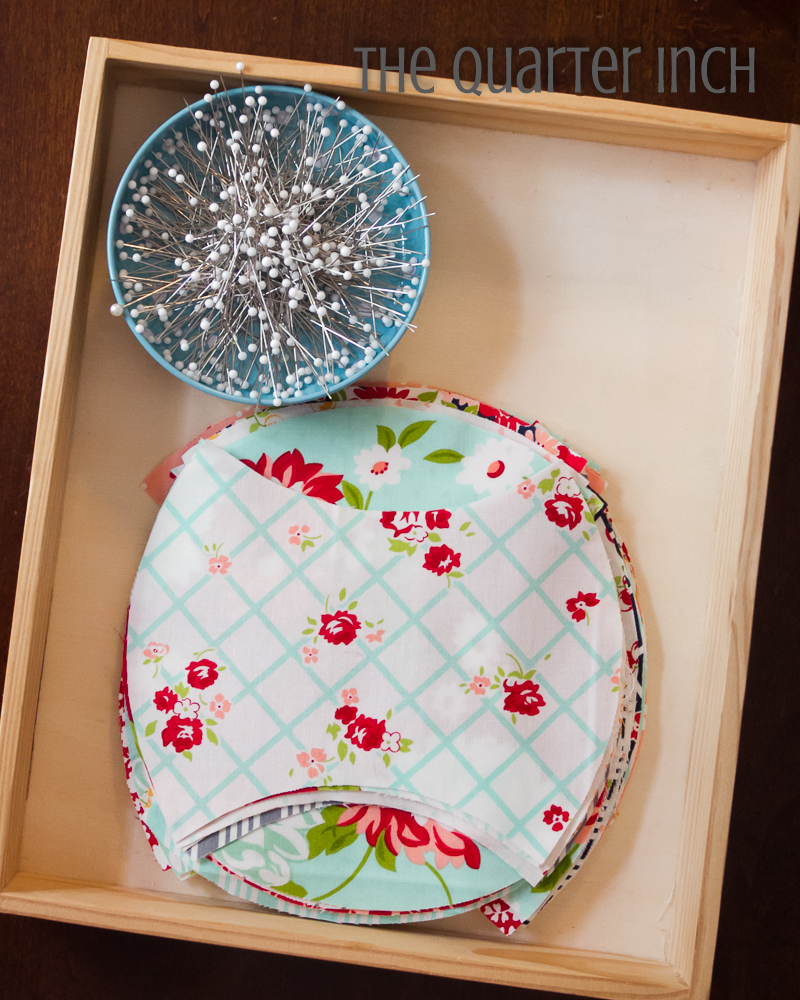
There’s no getting around it—all this pinning can be time-consuming. But it’s worth it for nice, smooth curves. And pinning is a nice take-along work. I kept a tray with my supplies for easy portability.
Sew the apple core shapes together. At some point, you will get a tuck. Don’t panic! Simply remove the seam around the tuck, smooth, pin, and re-sew the area.
At some point, you will get a tuck. Don’t panic! Simply remove the seam around the tuck, smooth, pin, and re-sew the area.

Press seams towards the apple cores positioned horizontally in the row.

Continue in this manner until you have joined all but 13 of the apple cores shapes together in groups of five. Remember that half should begin and end with a vertical apple core and half should begin and end with a horizontal apple core shape.
Sewing the Rows Together
You should have 26 sets of five apple core shapes (half beginning and ending with a vertical apple core shape and half beginning and ending with a horizontal apple core shape) and 13 single apple core shapes.
Each row will consist of two sets of five apple core shapes, one beginning with a vertical apple core and one beginning with a horizontal apple core. Alternate which type begins each row. Move the sets around to avoid any pattern repeats or clumps of color. When you have a pleasing layout, add the eleventh apple core shape to the end of each row. Pin together and sew, remembering to press towards the horizontal apple cores.
Before joining the rows together, mark the center of each shape (both the top and the bottom). I did this by quickly pressing the pieces in half. It’s easier to do this before you begin joining the rows together.
Working row by row, pin the rows together using the same techniques outlined above. Be sure to nestle the seams together where the apple cores meet.
Press the seams down, clipping the curves as needed.
Binding
Because the edges are curved, you will need more binding than if the quilt had straight edges. You will also need to cut your binding on the bias so that it is stretchy enough to work around the curves easily.
I cut a 30 inch square from my binding fabric and cut 2 1/2" binding strips on the bias.

Finishing
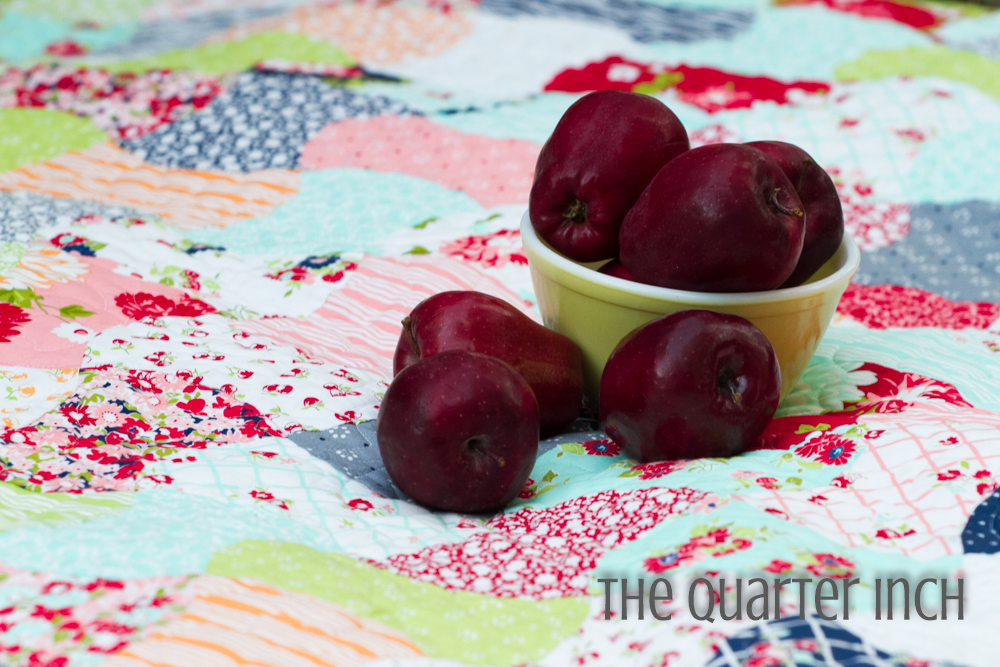
I quilted the quilted on a longarm machine using the pattern Merrily. This quilt finishes at 51" by 57".
![]()
Enjoy your freshly baked apple core quilt! A special thank you to reader Emma who suggested an apple core quilt in a comment on a previous quilt.

Remember all the scraps left from between the apple core shapes? They are perfect for one of my favorite quilt patterns, an orange peel quilt. (Turn your apples into oranges!) Check out my blog for a pattern for a sweet little wall hanging using up those little scraps.
Christine Weld
{The Quarter Inch}
![]()
Posted in:
Comments