Welcome to Moda Fabrics!
Bowtie Tumblers Quilt
Bowtie Tumblers Quilt
Published:
May 5 2017 - 23:00

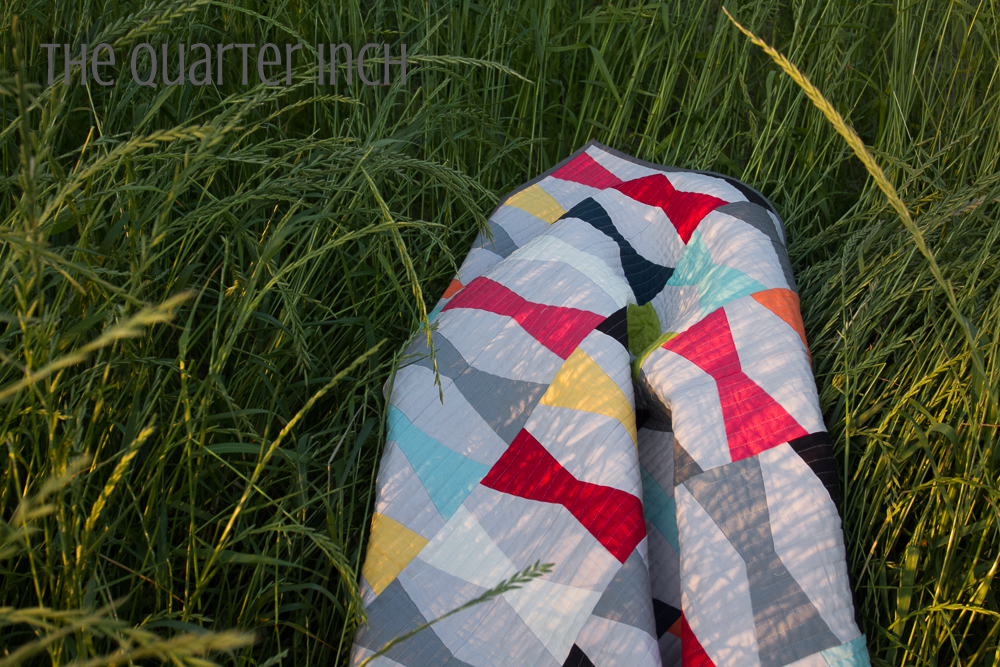
A traditional tumbler quilt with a twist, Bowties uses tumbler blocks to create a modern pattern that is perfect for baby or holiday quilts.
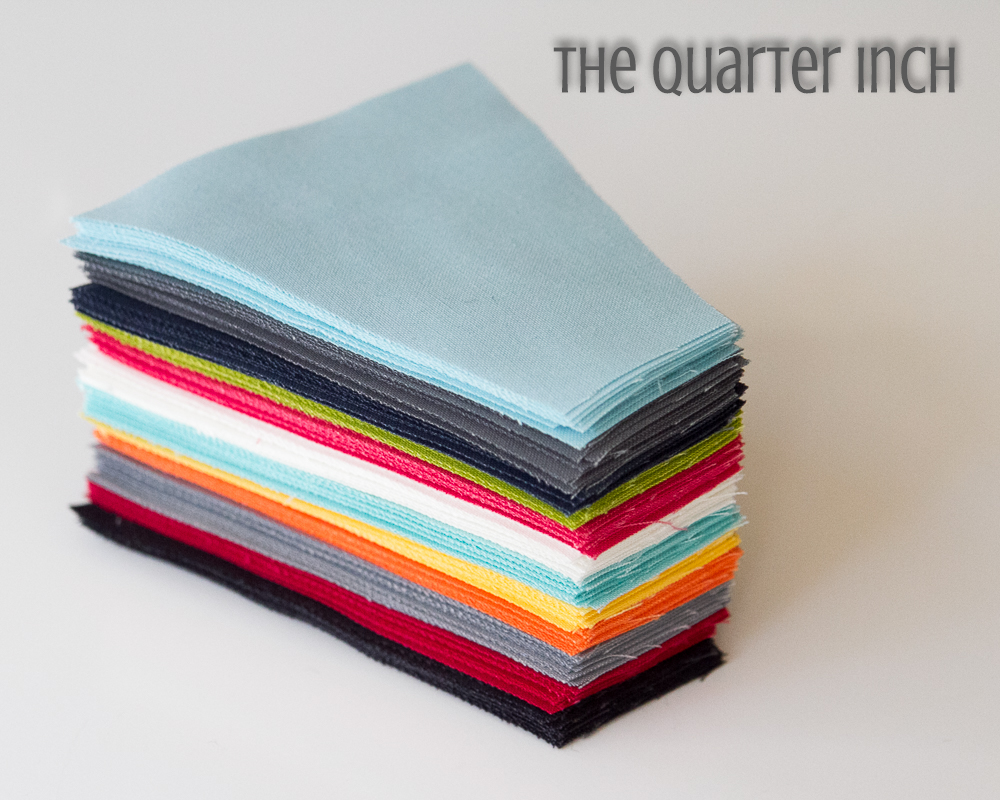
Solids make for a happy, fresh look. Moda’s new designer packs of fat quarters are perfect for this project. Each pack includes 12 Bella Solid fat quarters curated by your favorite Moda designer—just awesome! I used the fat quarter pack put together by the ladies of Sweetwater and I love how vibrant the colors are. This quilt can also be made using fat eighths or a layer cake.
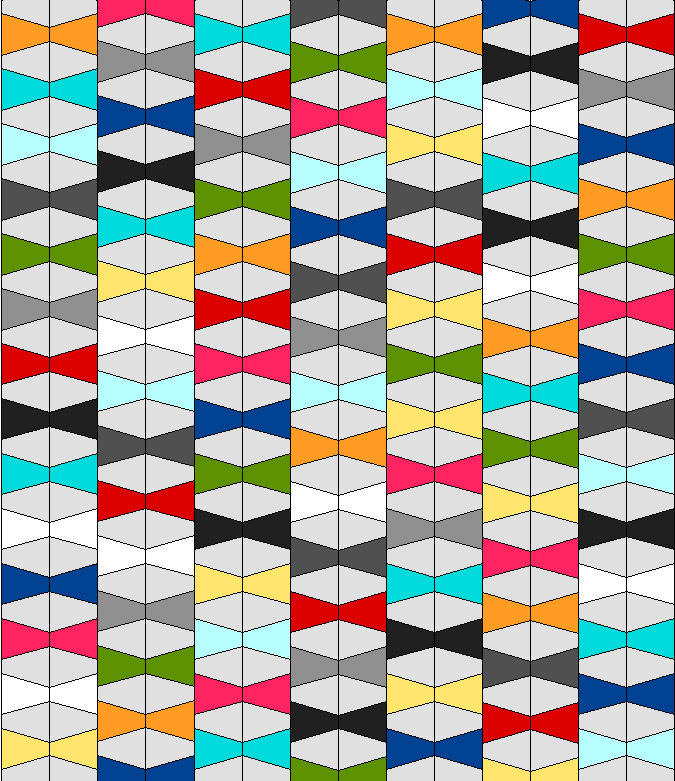
Rather than set the tumblers horizontally, this quilt is constructed vertically with offset columns. This quilt finishes at 49" by 57”.
![]()

12 fat quarters (I used Bella Solid Twelve Pack Designer Series fat quarter pack by Sweetwater)
OR
18 fat eighths
OR
One layer cake
Background fabric: 1 ½ yards
Binding fabric: 1/2 yard
Backing fabric: 3 1/4 yards
30-degree ruler or template (see instructions below for making a template)
![]()
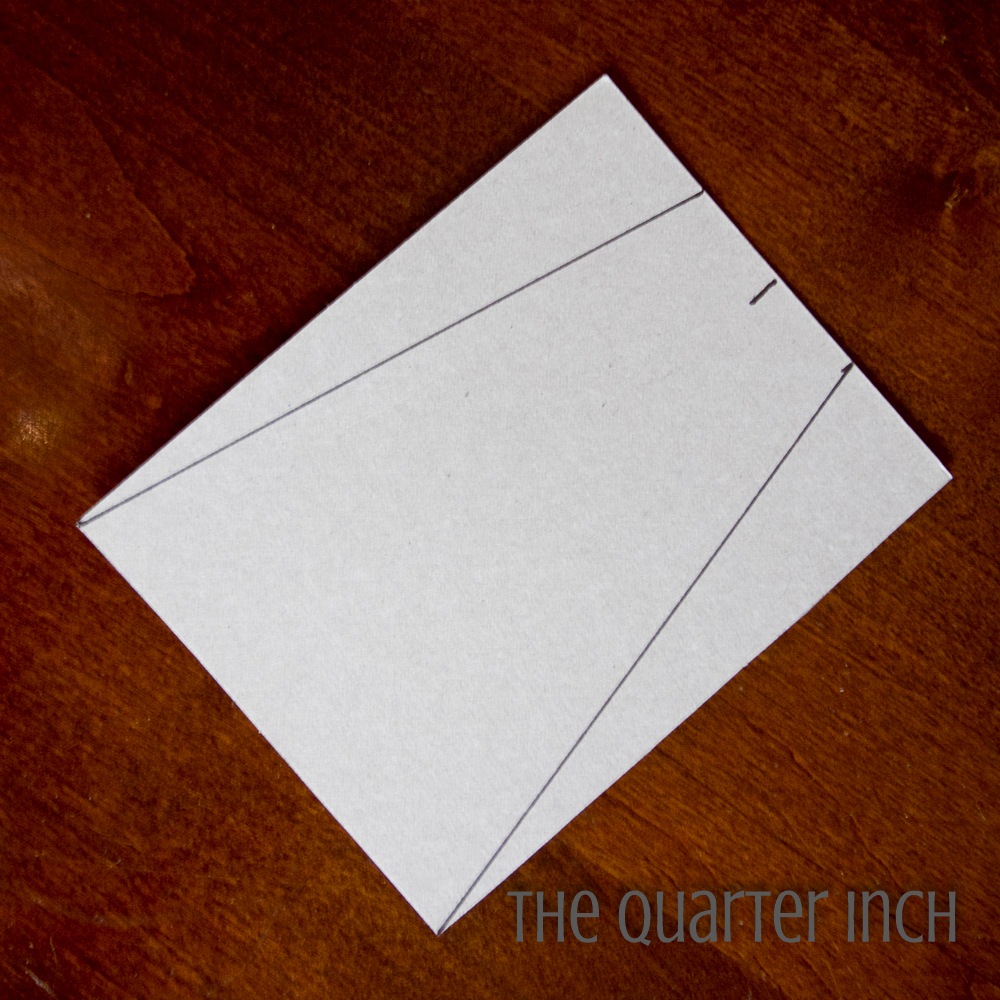
Create Template (skip if using a ruler):
I cut the tumbler shapes using a 30-degree ruler. If you do not have a ruler, you can make a template to cut the shapes.
Using cardboard or your preferred template making material, cut a 4” by 3 ½” rectangle. Measure the center point of the top and then measure 3/4" in each direction from the center. Draw a line from those marks to the bottom corners. Cut along the lines. The template includes a seam allowance.
Tip: The cardboard squares that come with charm packs are perfect for making templates!
Cutting Main Fabric:
Fat Quarters
From each fat quarter, cut three strips, 18” by 4”. (You will cut six tumblers from each strip, for a total of 18 tumblers from each fat quarter.)
Fat Eighths
From each fat eighth, cut two strips, 18” by 4”. (You will cut six tumblers from each strip, for a total of 12 tumblers from each fat eighth.)
Layer Cake
Select 34 layer cake squares. From each, cut two strips, 10" by 4”. (You will cut three tumblers from each strip, for a total of six tumblers from each layer cake square.)
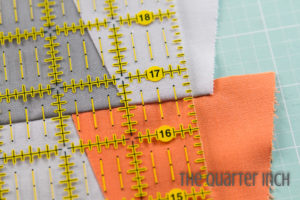
Line the fabric up on the 2” and 6” lines of the ruler and cut your first tumbler shape. Flip the ruler to cut the next shape, continuing down the strip.

Tip: When using markings on the center of the ruler, it's helpful to mark your lines with painters tape so you don't have to constantly double check your measurements!
If you are using a template, line the top and bottom of the template up with the fabric. Cut, then flip the template to make the next cut. Consider laying a ruler on top of your template when you make your cuts to protect the template.
Cutting Background Fabric:
Cut [13] 4” strips from the background fabric.
Using the same technique you used to cut the tumblers from fat quarters, cut 16 tumbler shapes from each strip of fabric.
You will need a total of 204 background tumblers.
Piecing the Quilt:
This quilt is constructed in columns. Begin by selecting 14 tumbler shapes and 15 background shapes. Sew together, alternating the colored tumblers with the background tumblers. Take care to keep all the colored tumbler shapes oriented with the narrow part pointing to the right.
The key to successfully piecing these triangles is lining up the edges so they are offset just a bit. The ¼” stitching line should cross precisely where the two fabrics meet. When pinning two pieces together, offset the edges just enough so that the quarter inch stitching line will intersect the two pieces.
Picture the edges of the two fabrics as an X. You want your stitch line to pass right through the intersection of the X. Just a smidge of the fabric will hang over. Here's an example of both the right and the wrong way done with contrasting fabric and thread.
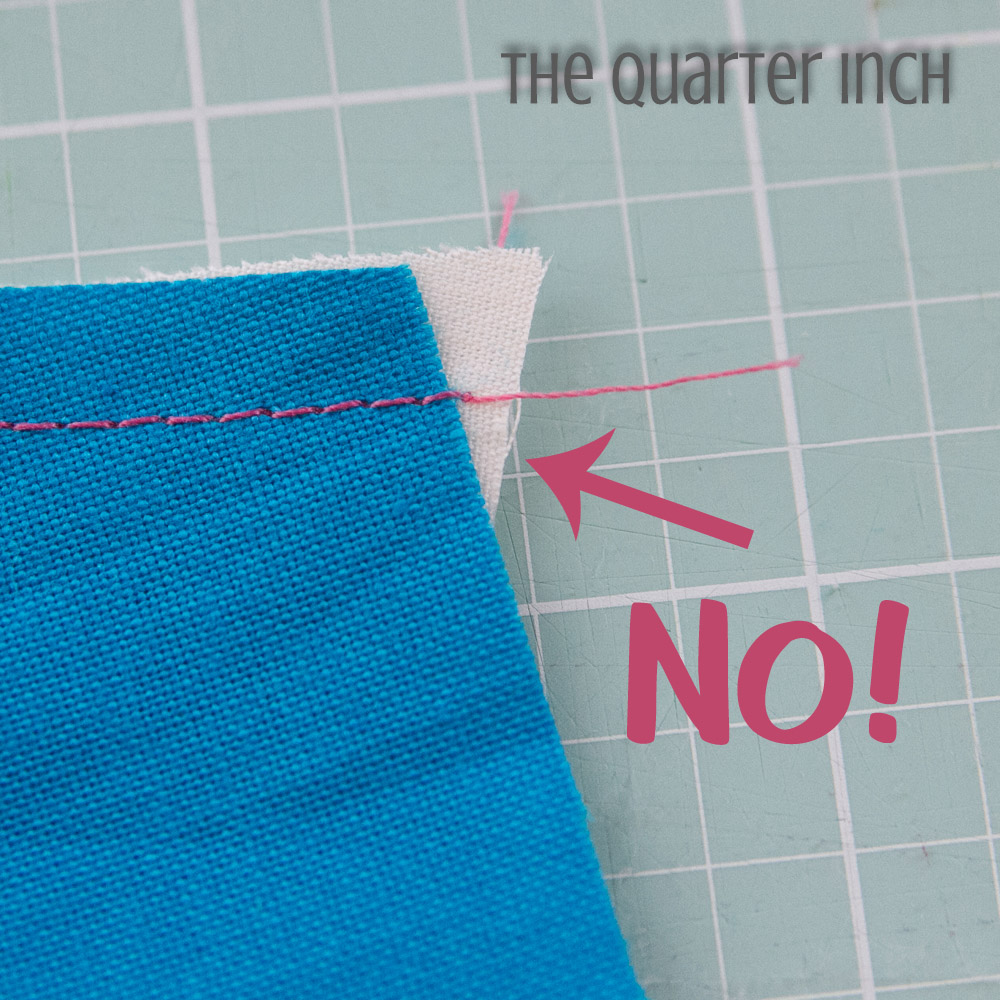

When the fabric is positioned correctly, you will have a straight edge when the pieces are pressed open. You may wish to practice on a couple scrap pieces to get a feel for the piecing.
Press seams towards the colored tumblers. Sew together in a column.
Using the same colors in the same order, piece a second column that is the mirror image of the first. The narrow part of the colored tumbler shape should be pointing to the left. Remember that the second column is a mirror image of the first, not identical!

Press the seams towards the background fabric. For each column of bowties, remember to press the left side towards the colored bowties and the right side towards the background.
Trim the little dog ears.

Nestling seams together, pin the two columns and sew together.

Make four columns of 14 bowties, beginning and ending with a background tumbler. Make three columns of 15 bowties, beginning and ending with a colored tumbler.
Sew the columns together, offsetting the columns so that each bowtie is centered between the two bowties in the adjacent column.
Check the placement of each bowtie as you pin and make sure the column is not drifting out of alignment.
Trimming Top and Bottom:
To trim the quilt top and bottom, position the one-inch line of the ruler on the tips of the finished bowties. Trim.

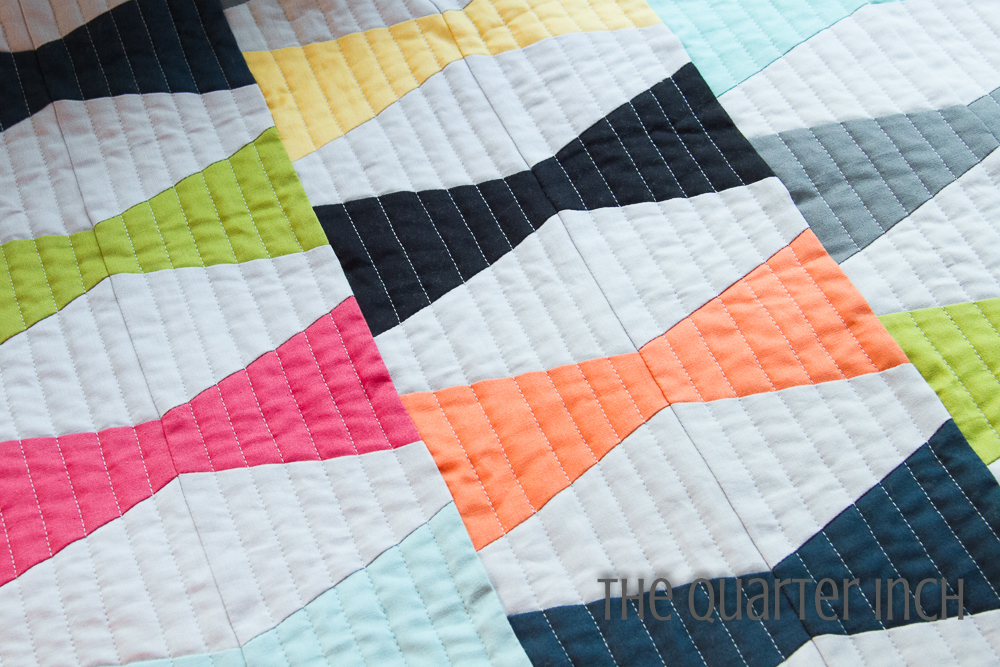
Quilting:
I quilted the project on my domestic machine using straight lines spaced ½” apart. I love the texture that straight line quilting gives!

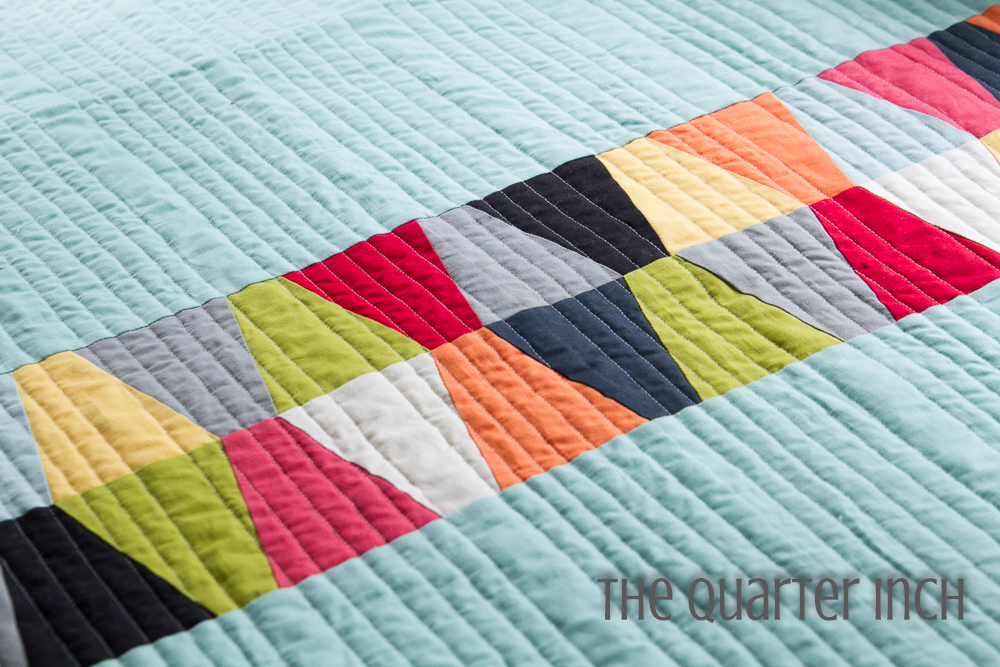
I cut some additional tumblers from what was left of the fat quarters and added two strips in a traditional tumbler layout to the back of the quilt for a nice pop of visual interest!
![]()
This quilt finishes at 49" by 57”.

Hope you enjoy this modern interpretation of the classic tumbler quilt. Check out my blog for some more information on tumbler quilts. Happy sewing!
Christine Weld
![]()
Posted in:
Comments