Welcome to Moda Fabrics!
Pillow Plus
Pillow Plus
Published:
Apr 6 2017 - 23:00
 by Brenna Goode for the Moda Bake Shop

It's pillow time today! This is a pattern for a quick and easy plus-style pillow. Made with one charm back and a bit of coordinating yardage, it goes together quickly and easily. It would also make a quick mini-quilt if that's your preference! This pillow uses Early Bird by the always amazing Kate Spain.
This project finishes at 20" x 20".
![]()

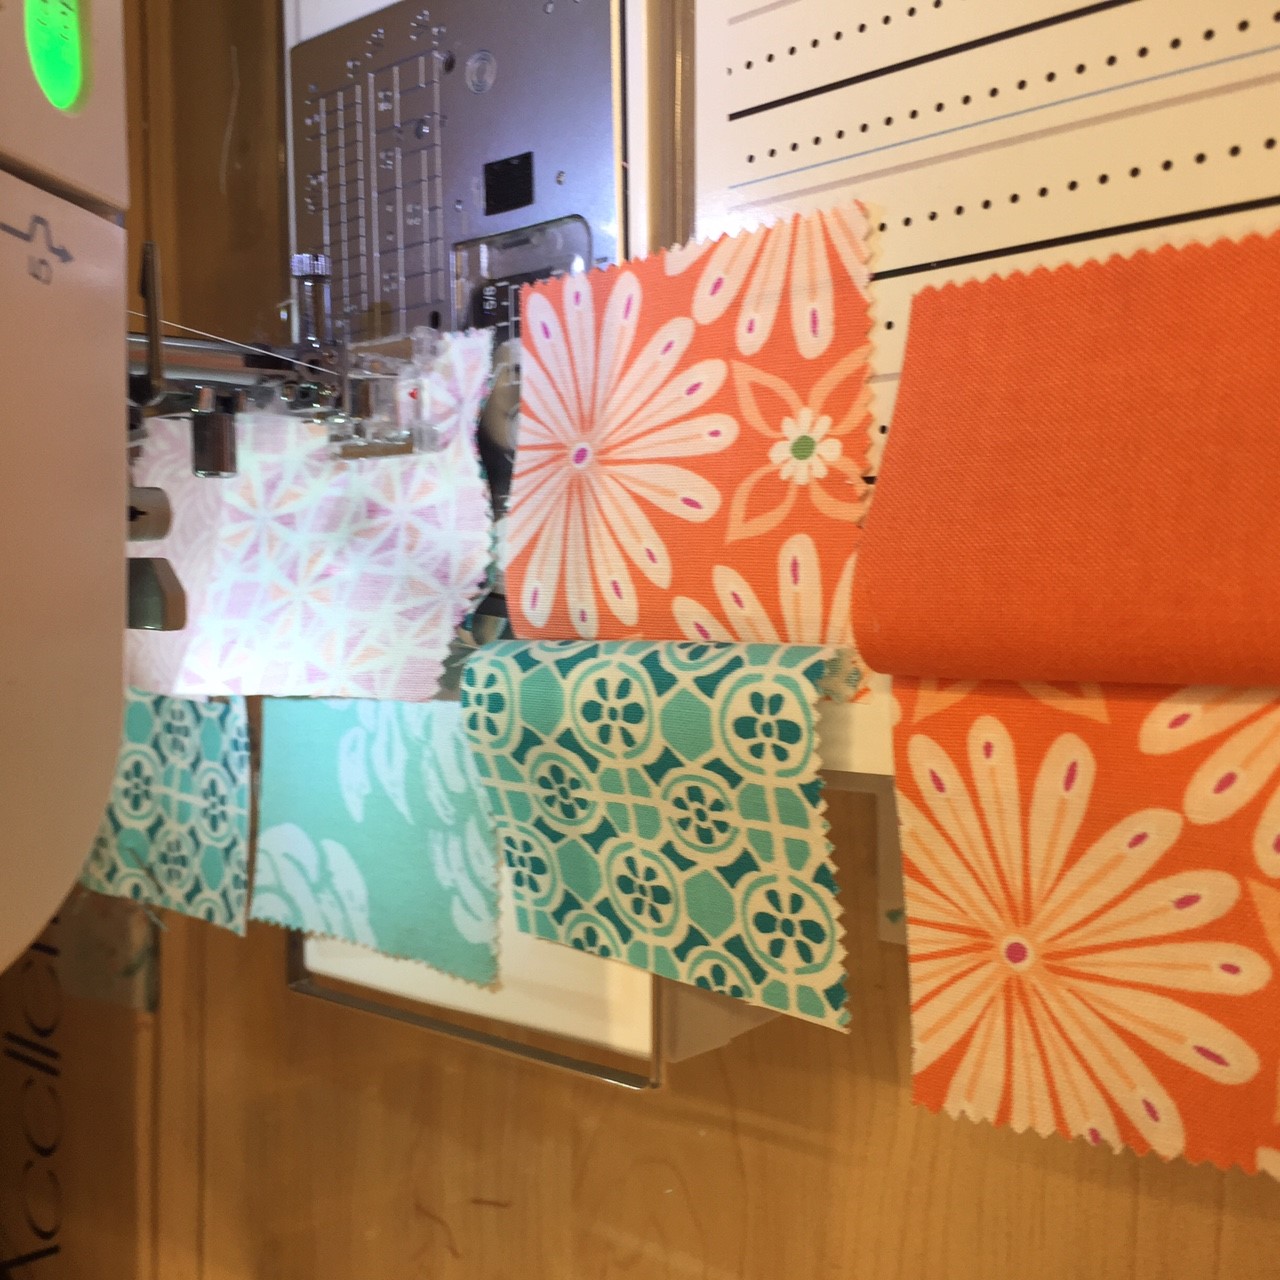
1 Charm Pack* of Early Bird by Kate Spain
1/2 yard coordinating fabric (I chose the solid teal)
Scrap of batting at least 22"x22"
Muslin pieces or scrap fabrics at least 22x22
2 pieces of fusible interfacing 4.5 inches x 20 inches
4 Coordinating buttons
1 20x20 pillow form
*When selecting your charm pack, make sure to pick one that has at least four distinct colorways.
![]()
First separate out into piles based on color.
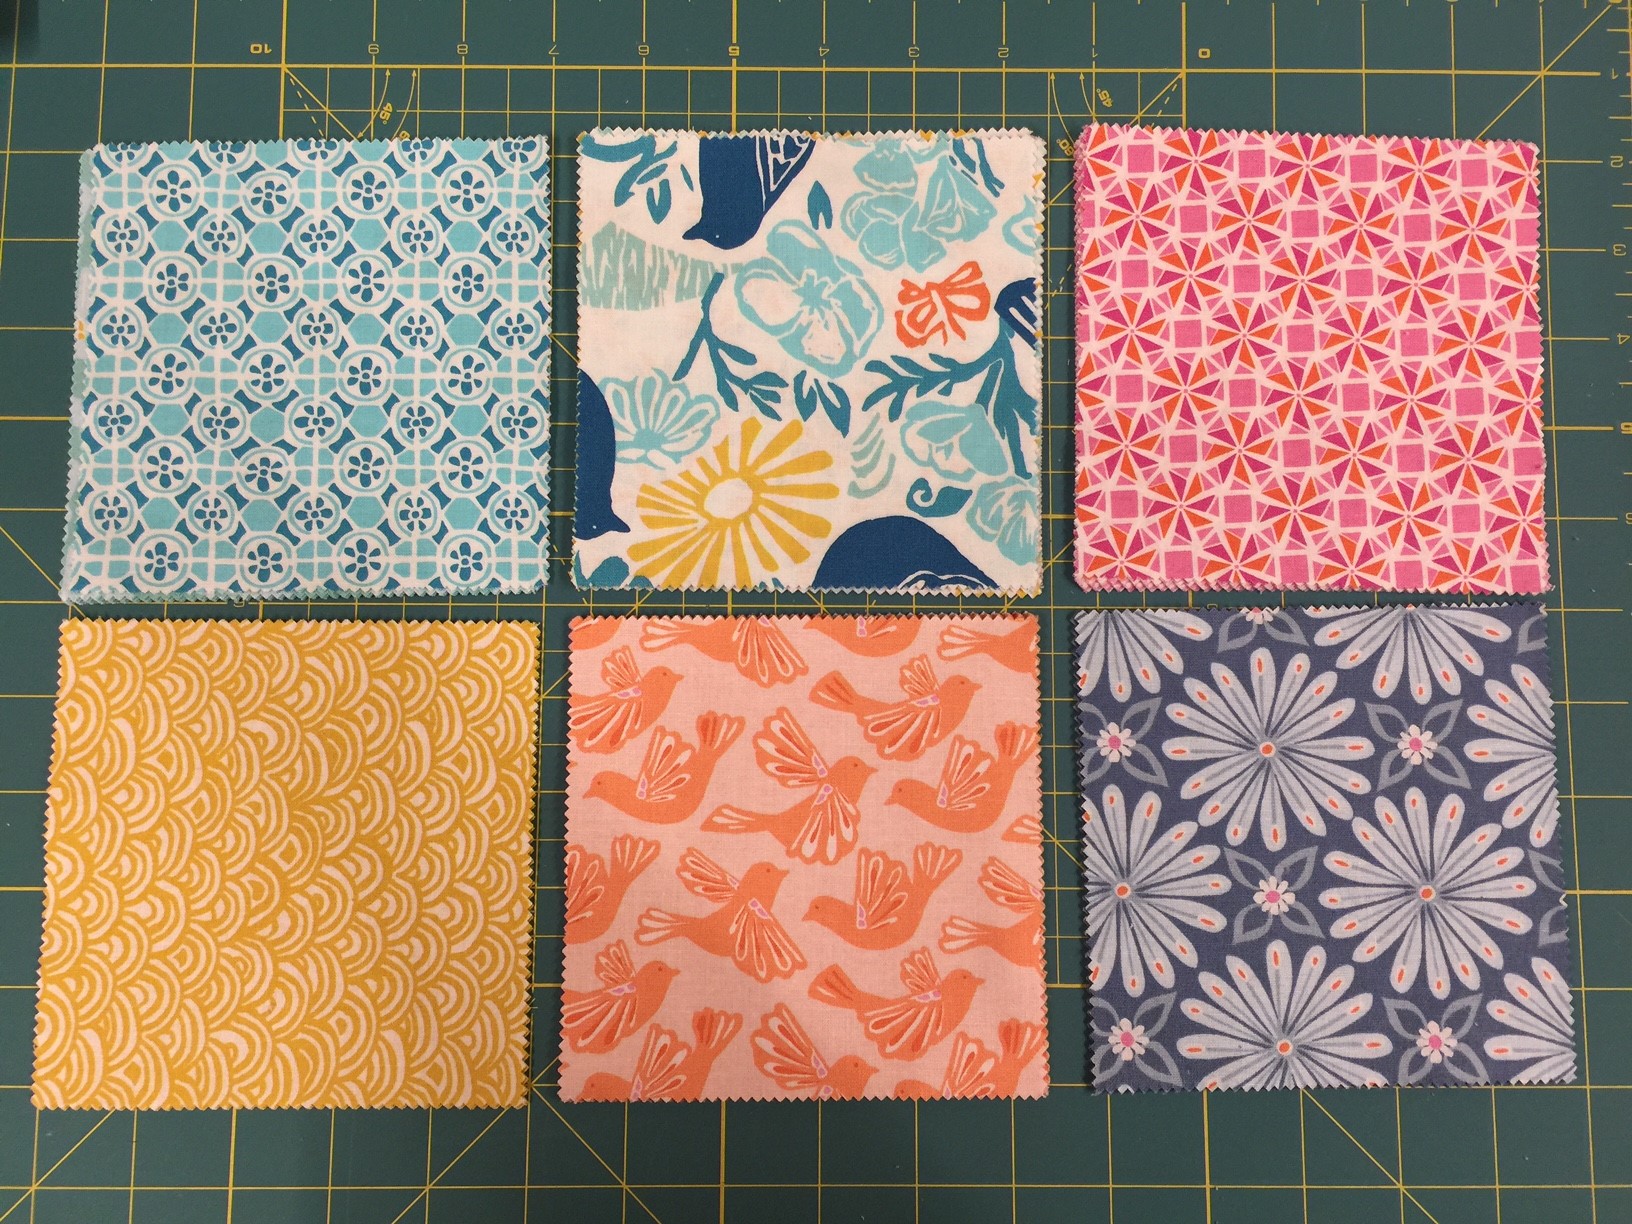
Take your charm pack, and cut each square into four 2.5x2.5 inch squares/mini-charms.

Select four matching pieces of one fabric, plus one square of the same colorway, and arrange them into a plus sign on your table or design board.
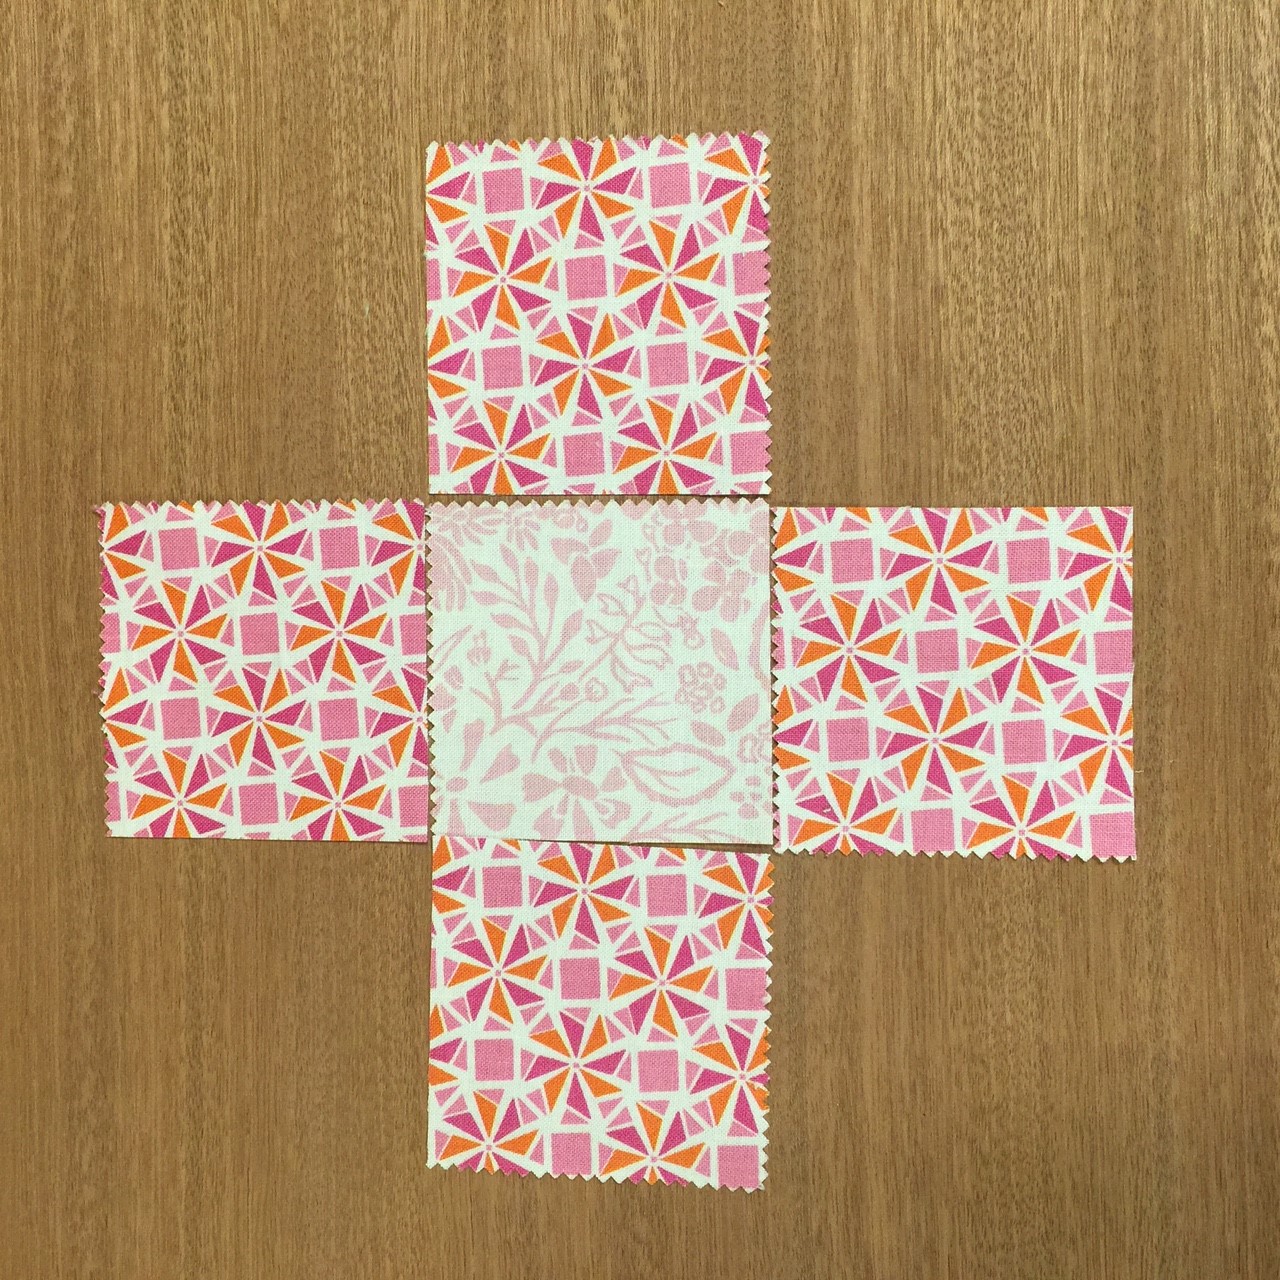
Take four matching mini-charms plus one additional mini-charm of the same color, and make another plus sign next to the first one you created.
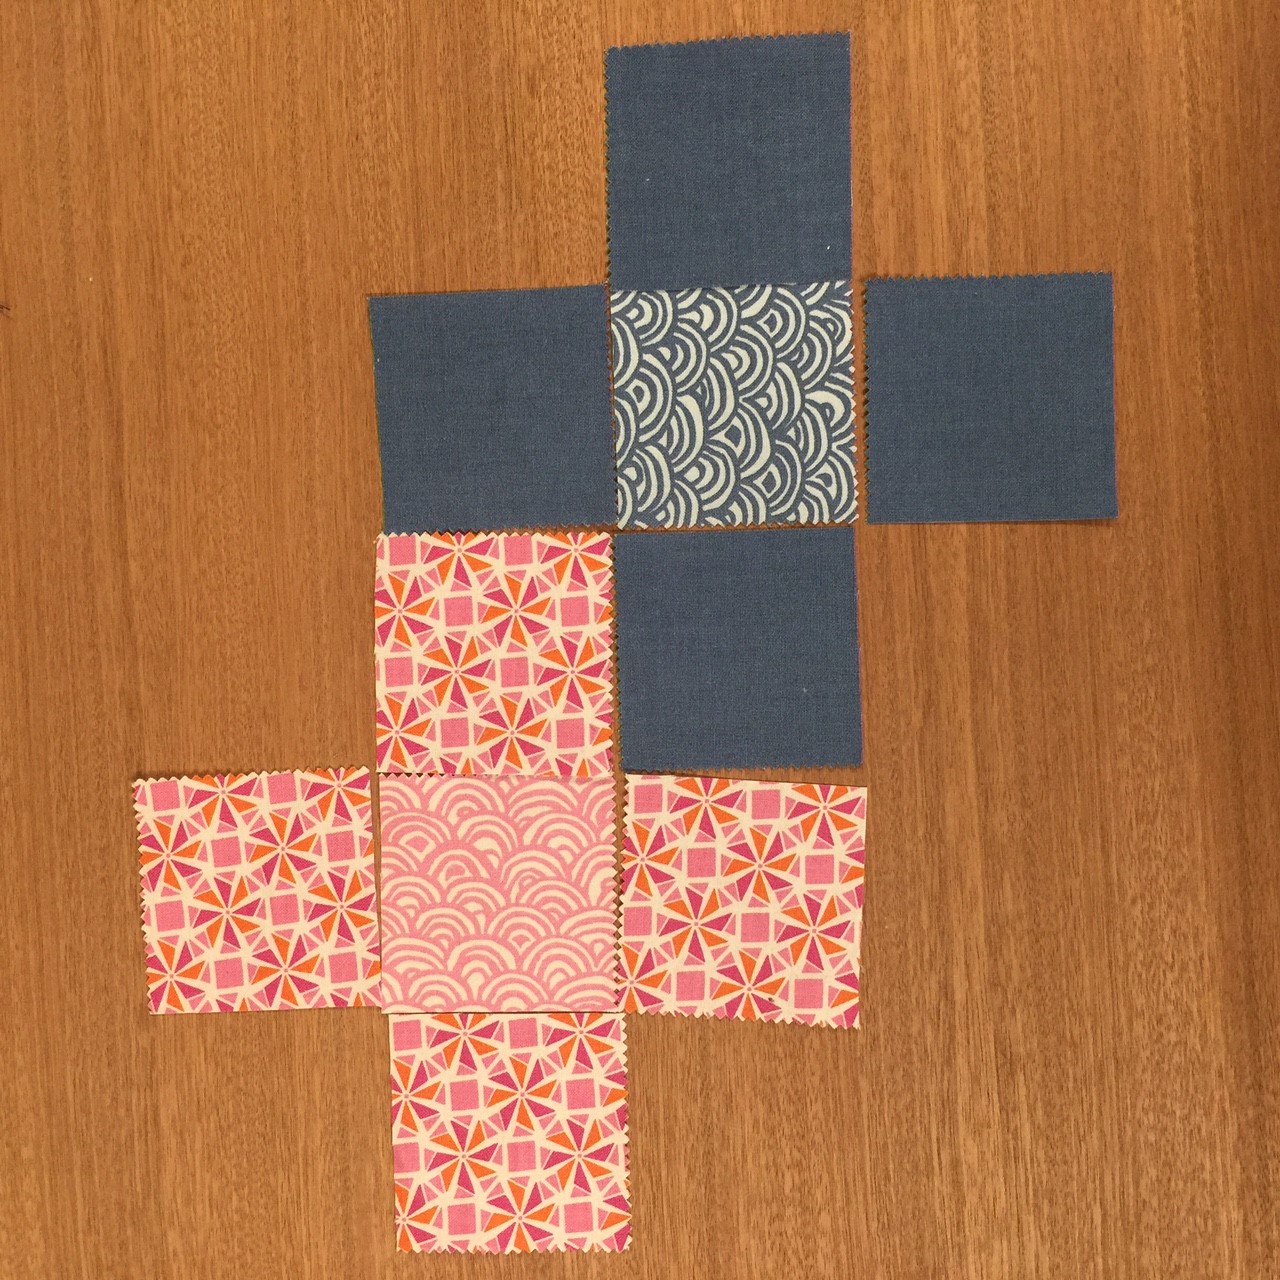
Continue adding plus signs.
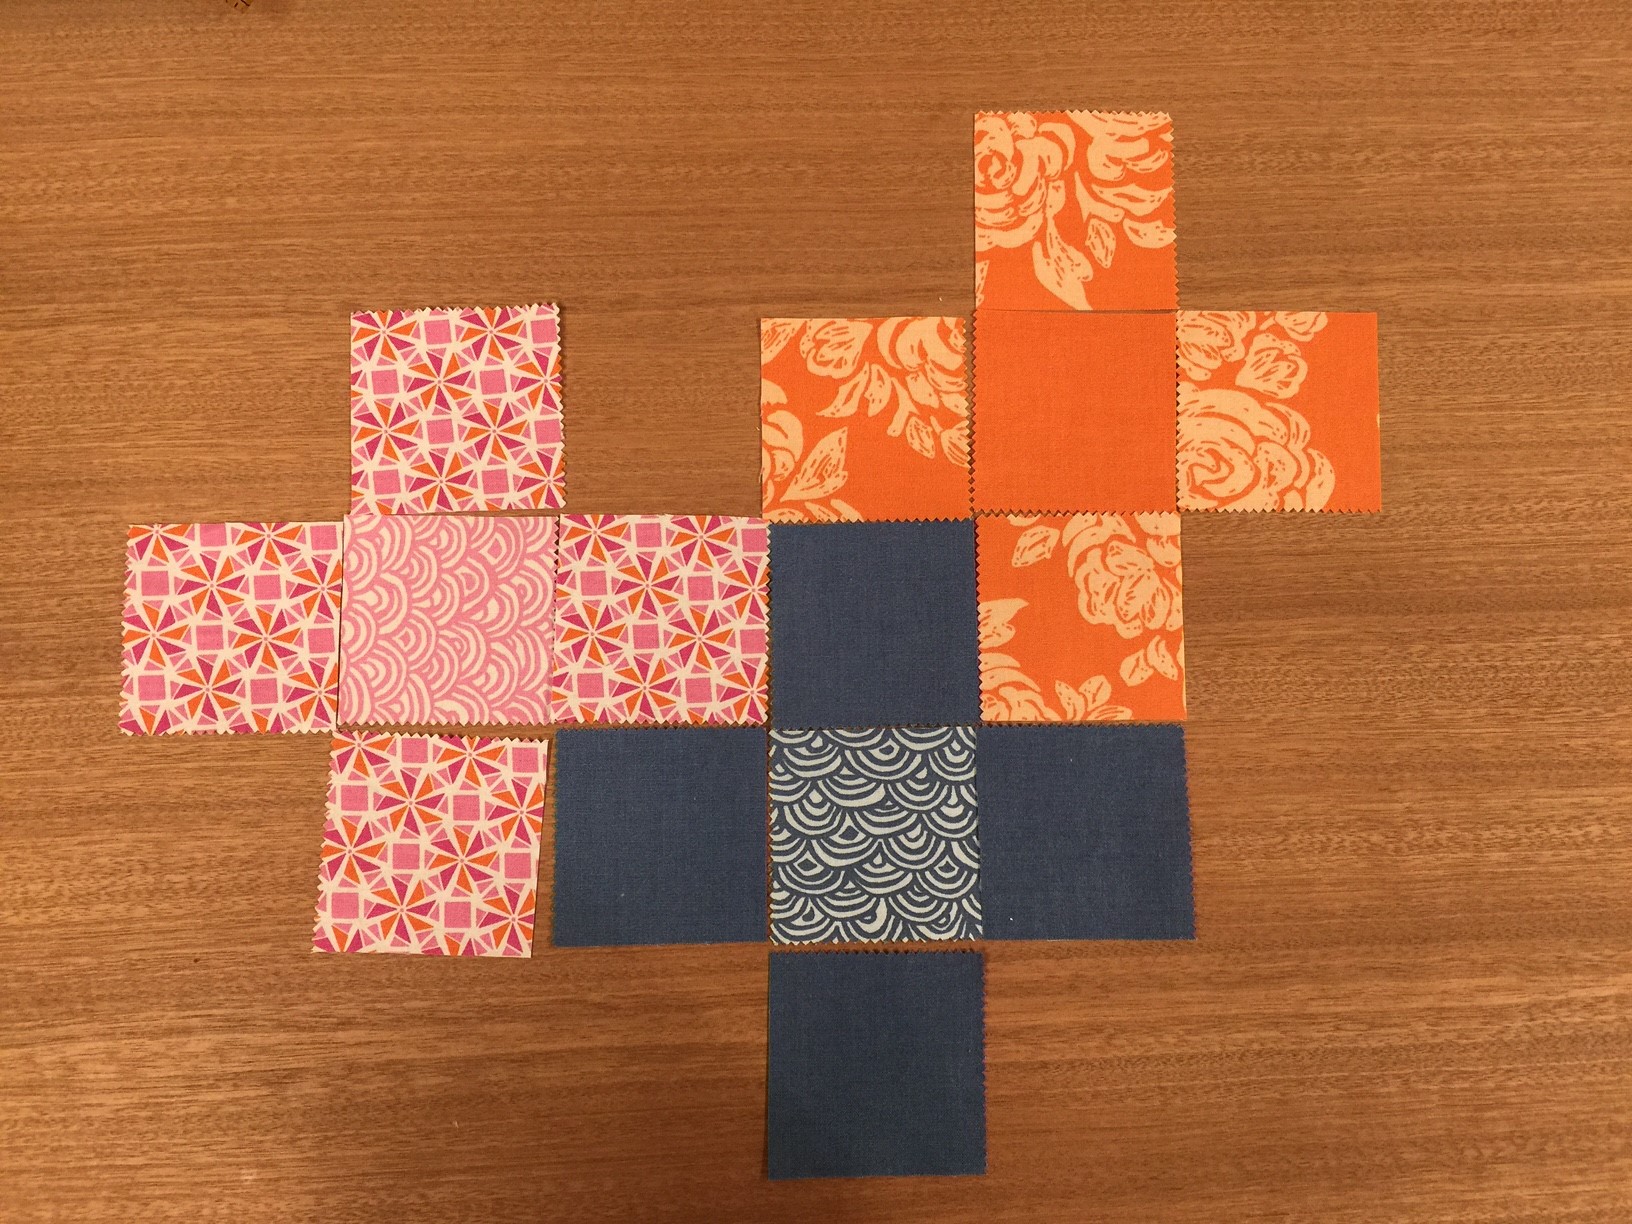
Repeat until you have a layout of 10 squares high by 10 squares wide, making partial plus signs on the edges.

Sew together to make your pillow top. This is another great place to use the web method to piece the top.
Press the seams in alternate directions so they nest when assembling the rows.

Layer the top, your batting, and a scrap or muslin piece for the backing (it will not show).
Quilt as desired - I did a crossed figure eight shape on top of each plus sign. If you're making a mini-quilt, use the solid to cut binding strips and bind using your preferred technique.
For the pillow back, lay out 2 sets of 20 mini-charms, 2 rows of 10 charms each. I didn't do any particular design, just tried to keep from having any too-similar charms next to each other.

Take your coordinating fabric, and cut 2 strips that are 4.5 inches x 20.5 inches. Iron your fusible interfacing onto these pieces.
Cut another two that are 5 1/2 inches by 20.5 inches.
From your scrap or muslin, cut two pieces that are 9 1/2 inches x 20.5 inches.
Sew two identical pieces as follows:
Fold the entire piece in half - you should fold the center solid strip with the interfacing directly in half.

Pin the area with the charms to the muslin fabric to keep it from slipping, and sew seams 1/4 from each background fabric and 1/4 on each side of the center seam.

On one piece, install four button holes, evenly spaced, for the size of your buttons.

On the other piece, sew on the buttons at the same interval.
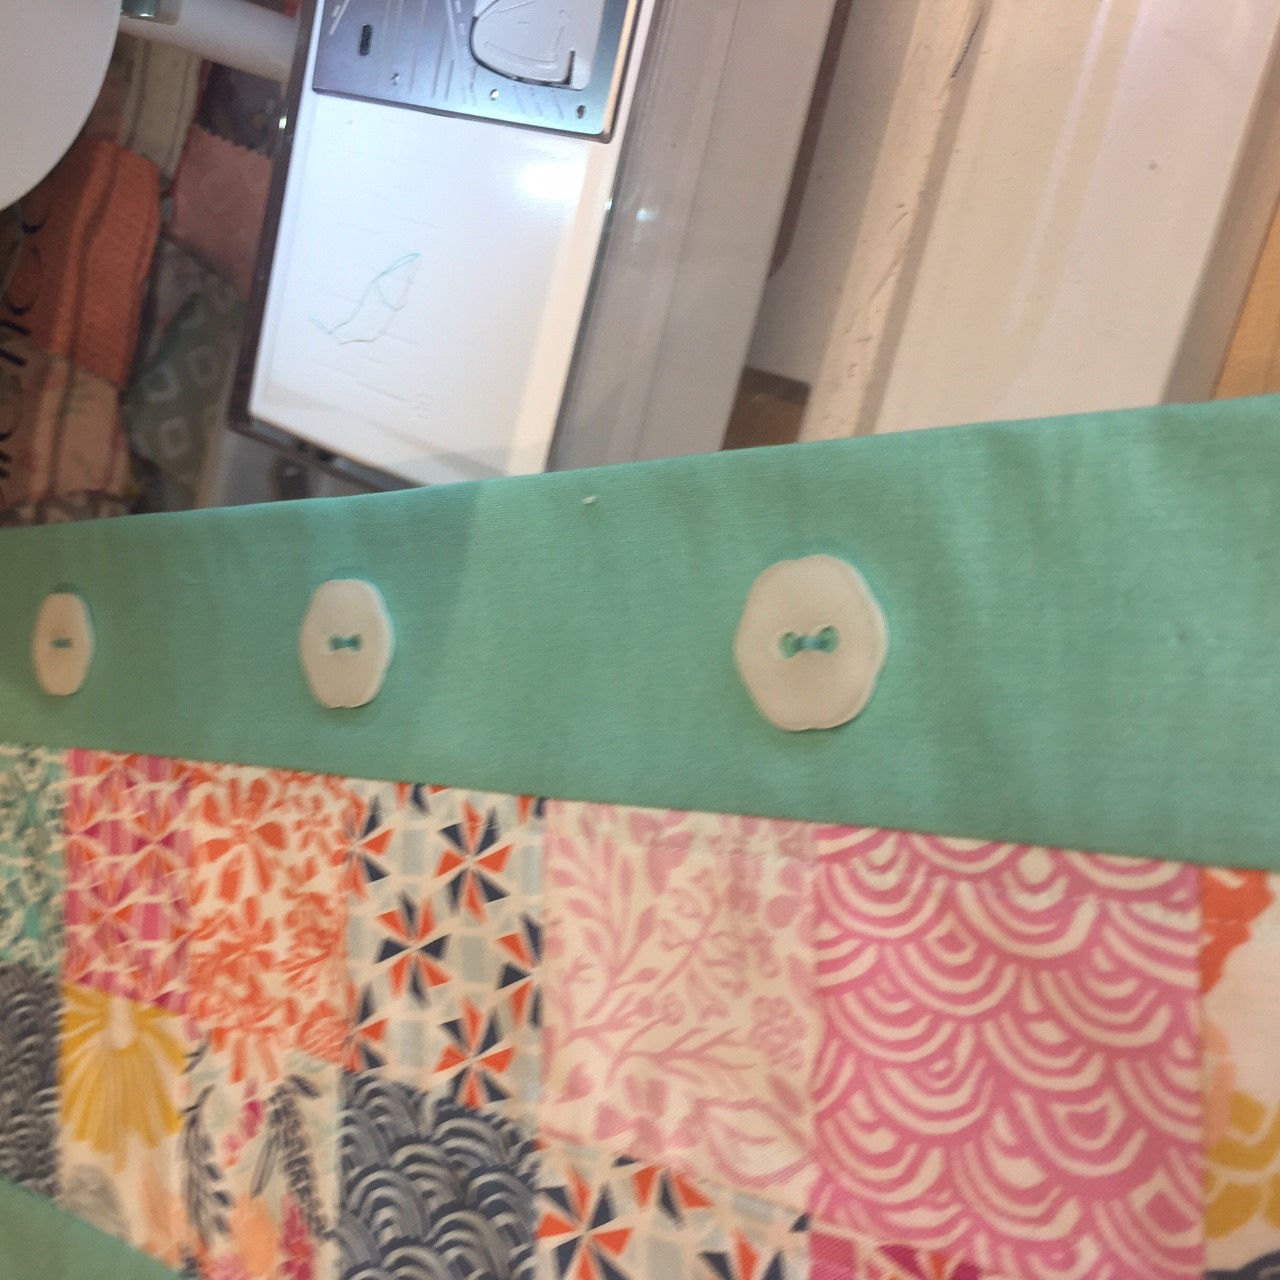
Fasten the two back pieces together, leaving one of the center buttons undone. With right sides together, assemble the pillow front and pillow back with 1/4 inch seams at the edges. The back may be a bit larger; cut down if necessary. Since there are a number of layers, be sure to pin at close intervals and use a walking foot.
Trim the corners as closely as possible to reduce bulk.
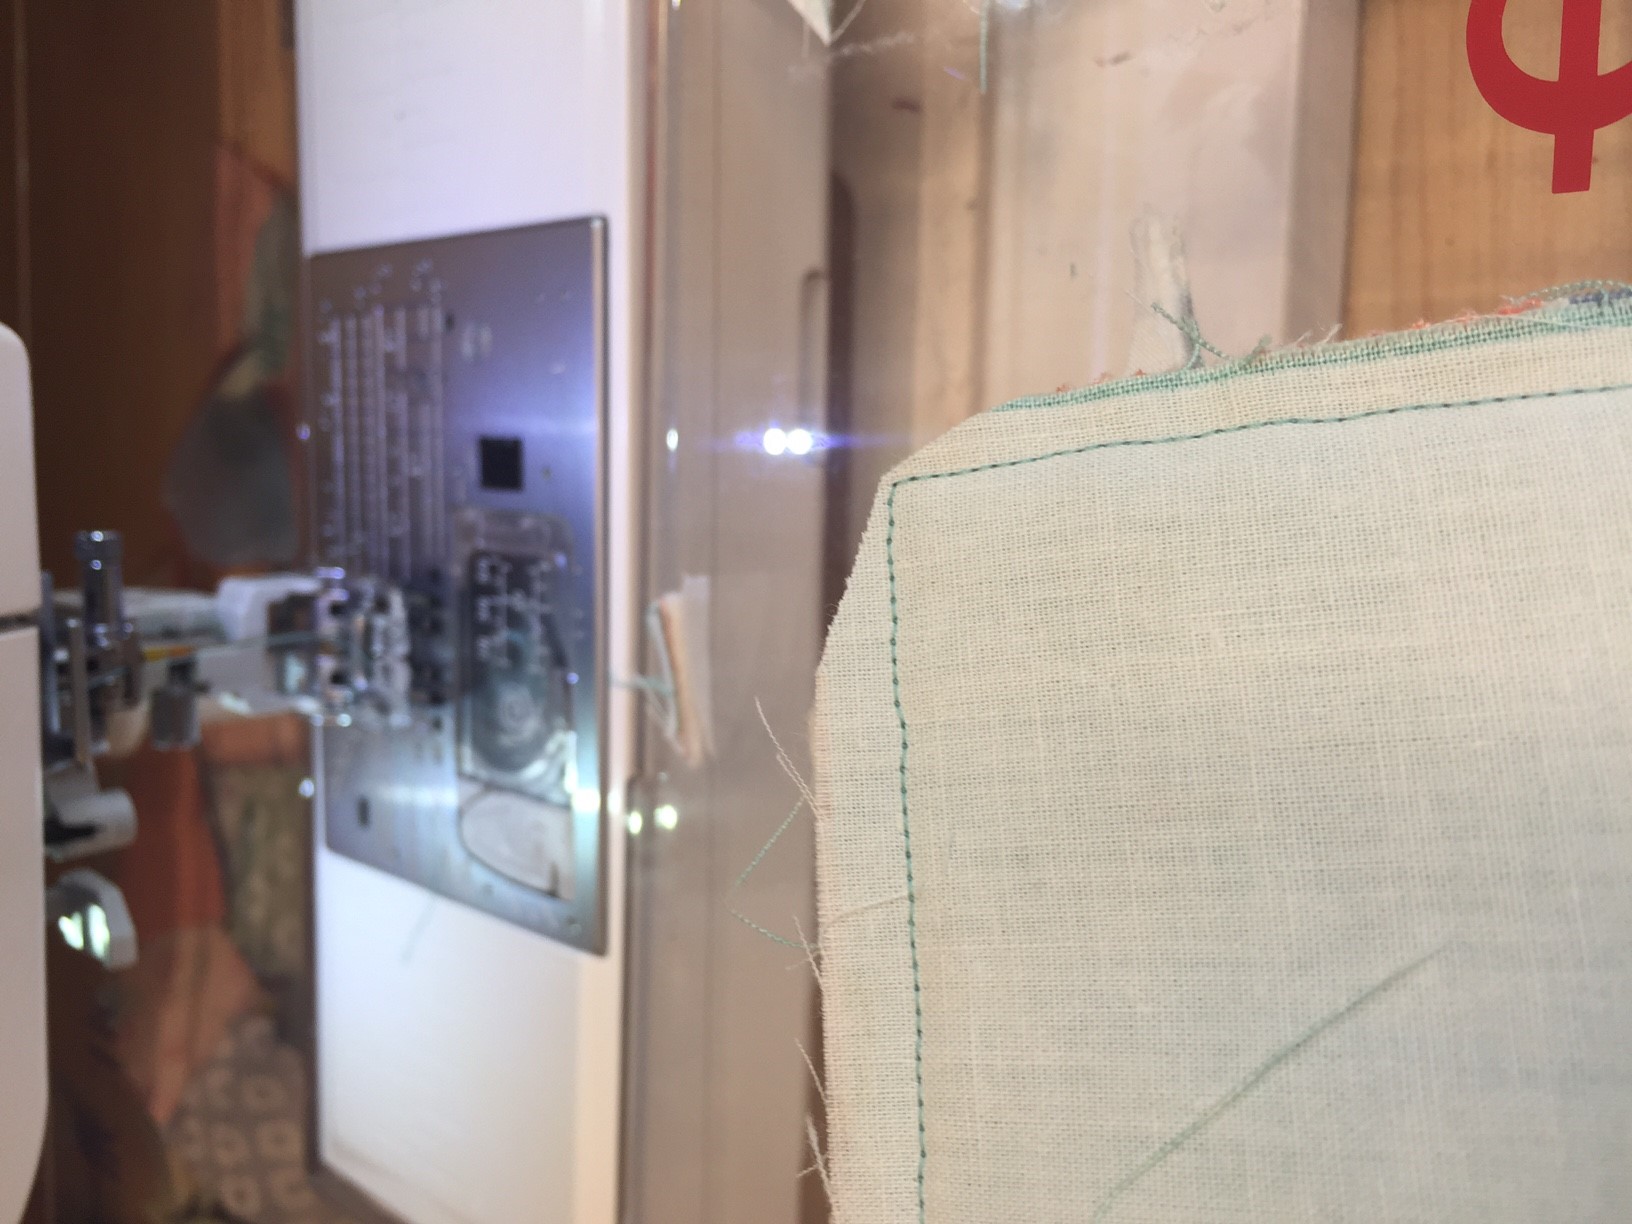
Undo your buttons, and turn right side out.

![]()
This mini-quilt/pillow top finishes at 20" x 20".
I hope you enjoy this quick and simple project. It's an easy way to add some seasonal color to a room, or it makes a great gift.
Brenna Goode
Quilting in the Heartland
![]()
Posted in:
Comments