Welcome to Moda Fabrics!
In My Pocket
In My Pocket
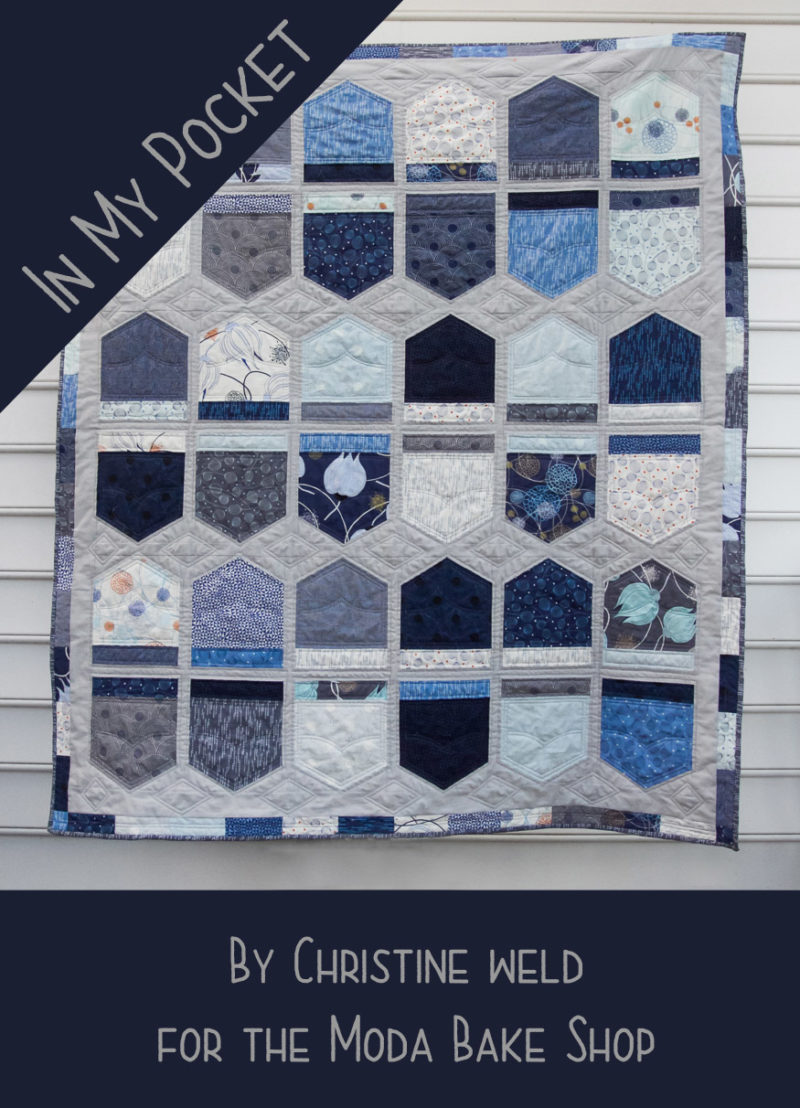
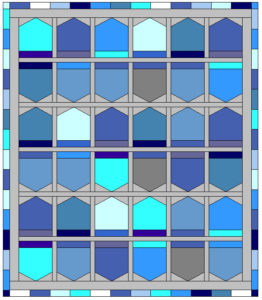
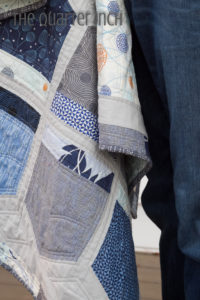
I could live in jeans. To be honest, I practically do! When I read that the True Blue by Zen Chic fabric line was inspired by denim, I was smitten! I designed this quilt block to be reminiscent of the back pocket on a pair of jeans. This quilt is made up of just that one block—I call them pocket blocks—and background fabric. It finishes at 57” by 66”.
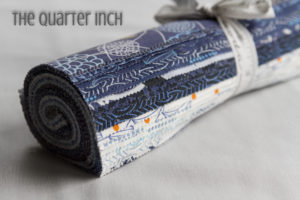
One layer cake (True Blue by Zen Chic)
1 ¾ background fabric
½ yard binding fabric
4 yards backing fabric
60 degree ruler (optional)
Cutting: Layer Cake
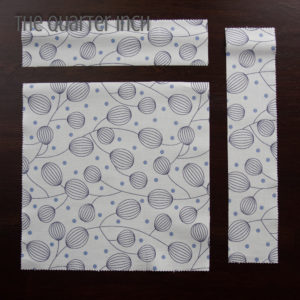
From 36 of the layer cake squares, cut piece 8” wide. Set aside the 2” strip left (it will be used for the second border).
From 8” piece, cut an 8” by 8” square. You will have one 2” by 8” remaining. Set aside for top of the pocket block.
Cutting: Background Fabric
Triangle pieces:
Cut [3] 5” strips and from these strips, cut [36] 5” x 3” rectangles.
Sashing strips:
Cut [1] 9 ½” by WOF strip; subcut into [26] 1 ½” by 9 ½” rectangles.
Cut [1] 1 ½” by WOF strip; subcut into [4] 1 ½” by 9 ½” rectangles.
You should have a total of [30] 1 1/2" by 9 1/2" rectangles.
Cut [7] 1 ½” strips; piece together to make [5] 50 ½” by 1 ½” strips.
Border 1:
Cut [6] 2 ½” strips. Piece together to make [2] 54 ½” by 2 ½” strips and [2] 59 ½” by 2 ½” strips.
Constructing Pocket Blocks
Take the 5” by 3” background rectangles. Cut diagonally into two triangles. Be sure to alternate the diagonal (cut one from upper left to bottom right, next from upper right to bottom left) so that you have mirror image triangles.
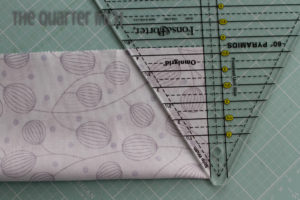
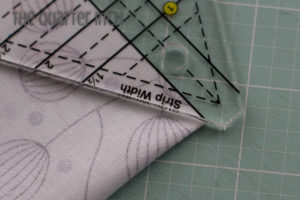
Take the 8" square of layer cake fabric and fold in half. Trim the bottom as shown in the photo using 60 degree ruler.
Make sure you cut right to the edge of the fold--you want a nice, crisp point.
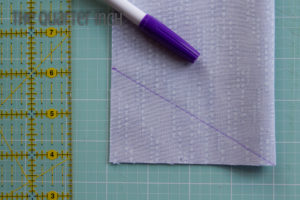
If you do not have a 60 degree ruler, you can mark the cut line by drawing a line from 2 ¼” up the side of the square to the center fold.
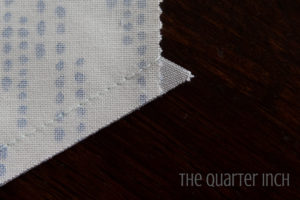
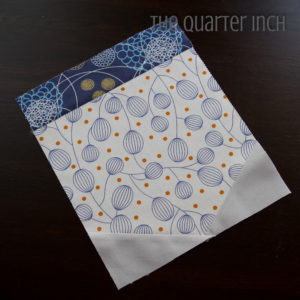
Sew triangles to the angled bottom of the square. WATCH BIAS EDGES! You will be sewing two bias edges together so make sure you do not stretch the fabric. Generous starching will help.
Square up the block to 8”, taking care to trim ¼” down from the point where the two background triangles meet.
Add the 2" by 8” piece from a different fabric to the top of the block. Make 36 blocks. The blocks will measure 9 ½” by 8” and will finish at 9” by 7 ½”.
Sashing
Lay out your blocks using the diagram below. The first row will have the point of the pockets on the top of the block, the second row will have the point of the pocket at the bottom, etc. Each row will have six pocket blocks.
Once you have laid out your blocks, sew a 1 ½” by 9 ½” rectangle of background fabric in between each block. Do not sew a strip on the outer edges of each row.
Take the [5] 50 ½” by 1 ½” strips. Sew one in between each row. Do not sew one to the top or bottom.
Border 1
Sew the 59 ½” by 2 ½” strips to the left and right sides.
Sew the 54 ½” by 2 ½” strips to the top and bottom.
Border 2
Take the 2” by 10” pieces left from the layer cake squares. Cut [26] of the strips into two 5” by 2” rectangles.
Sew [14] 2” by 5” rectangles end to end. Repeat.
Sew [12] 2” by 5” rectangles end to end. Repeat.
Cut four 2” squares from leftover pieces for corners. Sew these corner squares to the ends of the 12 unit strips.
Sew the 14 unit strips to each side. Sew the 12 unit strips to the top and bottom.
Finishing
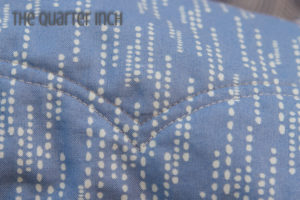
I quilted this project with (mostly) straight line using a walking foot on my home machine. I added a small design element to the middle of each pocket block, similar to the stitching you see on the back pocket of jeans.
This quilt finishes at 57” by 66”.
Check out my blog for instructions on making a smaller version of this quilt using charm squares.
Enjoy stitching these pocket blocks. I hope you find them as comfortable as your favorite pair of jeans!
Christine Weld
The Quarter Inch


Comments