Welcome to Moda Fabrics!
Patchwork Pillow Love
Patchwork Pillow Love
Published:
Feb 5 2017 - 23:00
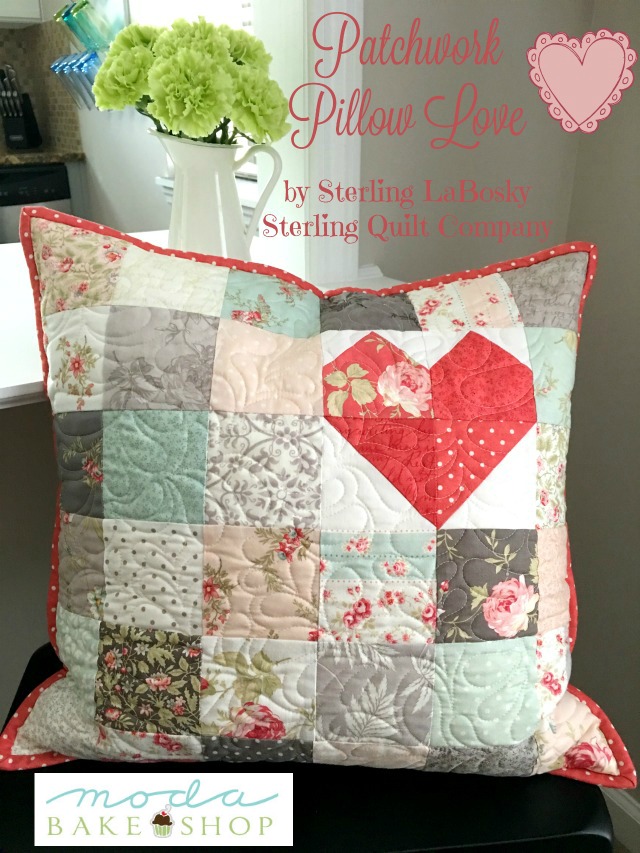

Hello again fellow bakers! I'm Sterling LaBosky of Sterling Quilt Company back with a sweet little pillow project just in time for Valentine's Day. All it takes is just one Moda Treat and a little coordinating yardage for backing and such. I will show you step by step how easy is it to finish off your pillow with a zippered back and flap. I prefer this method over an envelope closure because there is literally no measuring, and it's so much easier to switch out your inserts. Let's get baking!
This project finishes at 18" x 18".
![]()
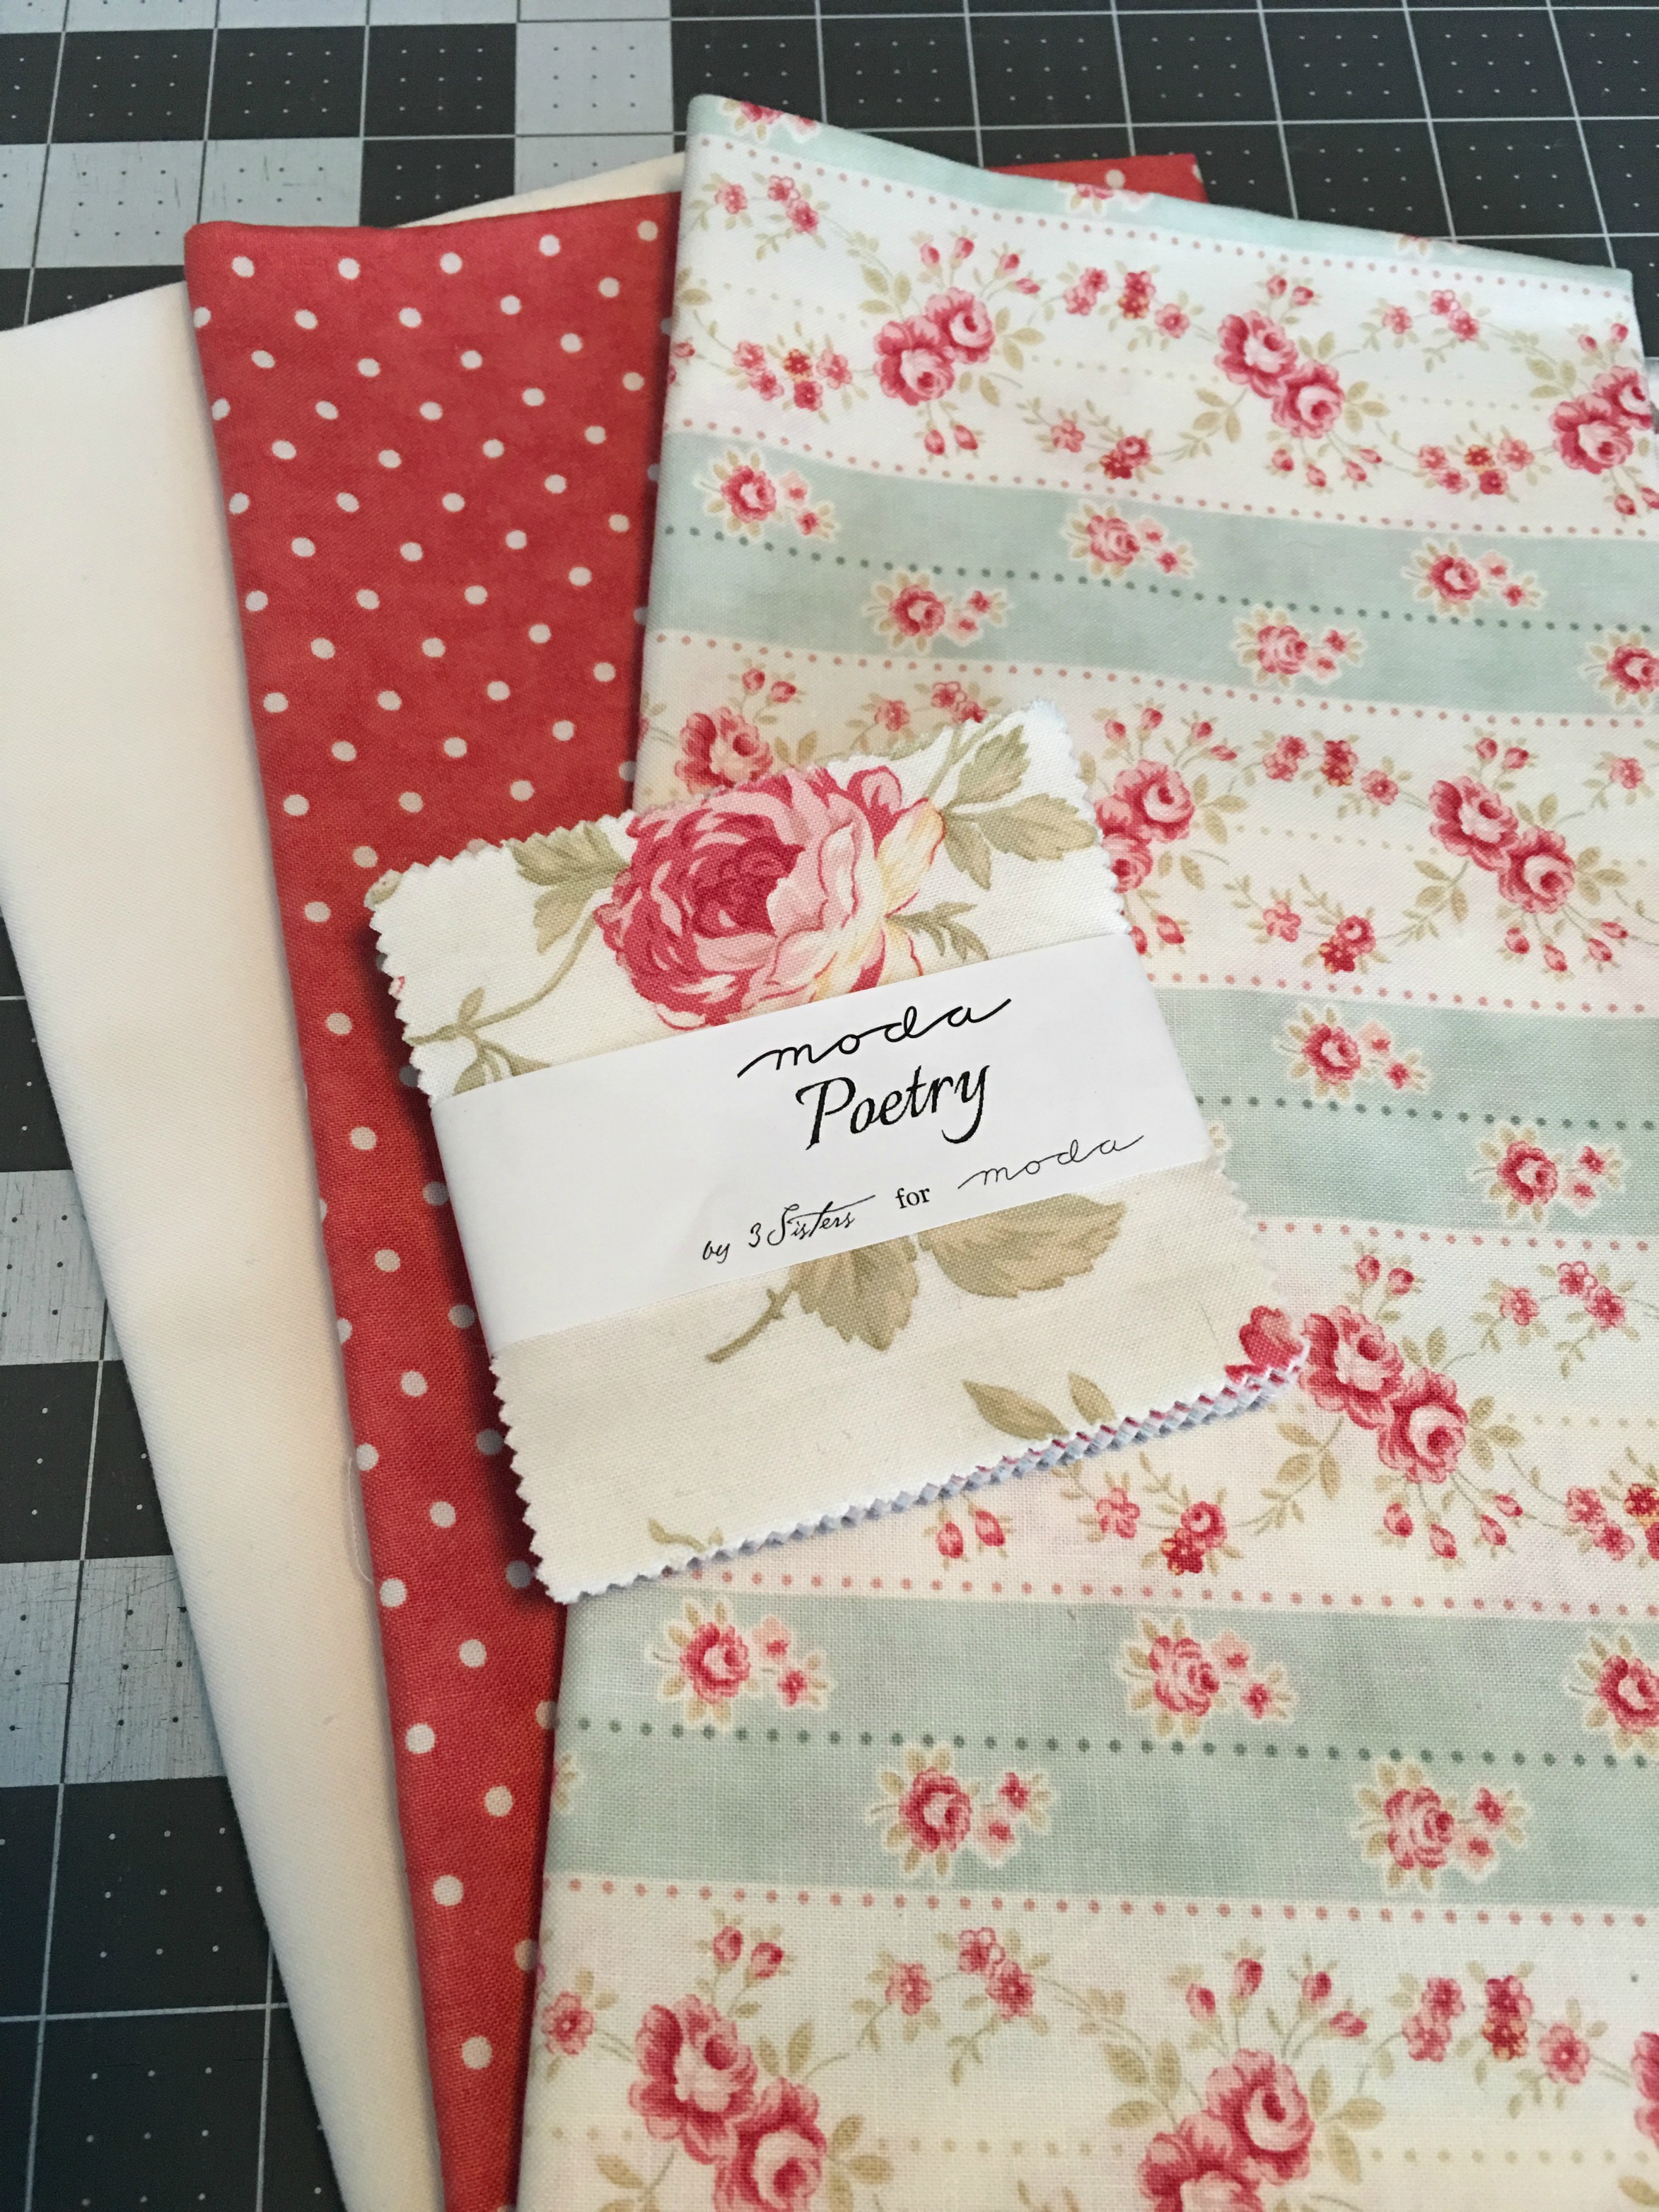
1 Moda Treat in Poetry by 3 Sisters
2/3 yard background fabric {Bella solid 9900 97}
1/2 yard backing fabric
1/4 yard binding fabric
22" zipper
![]()
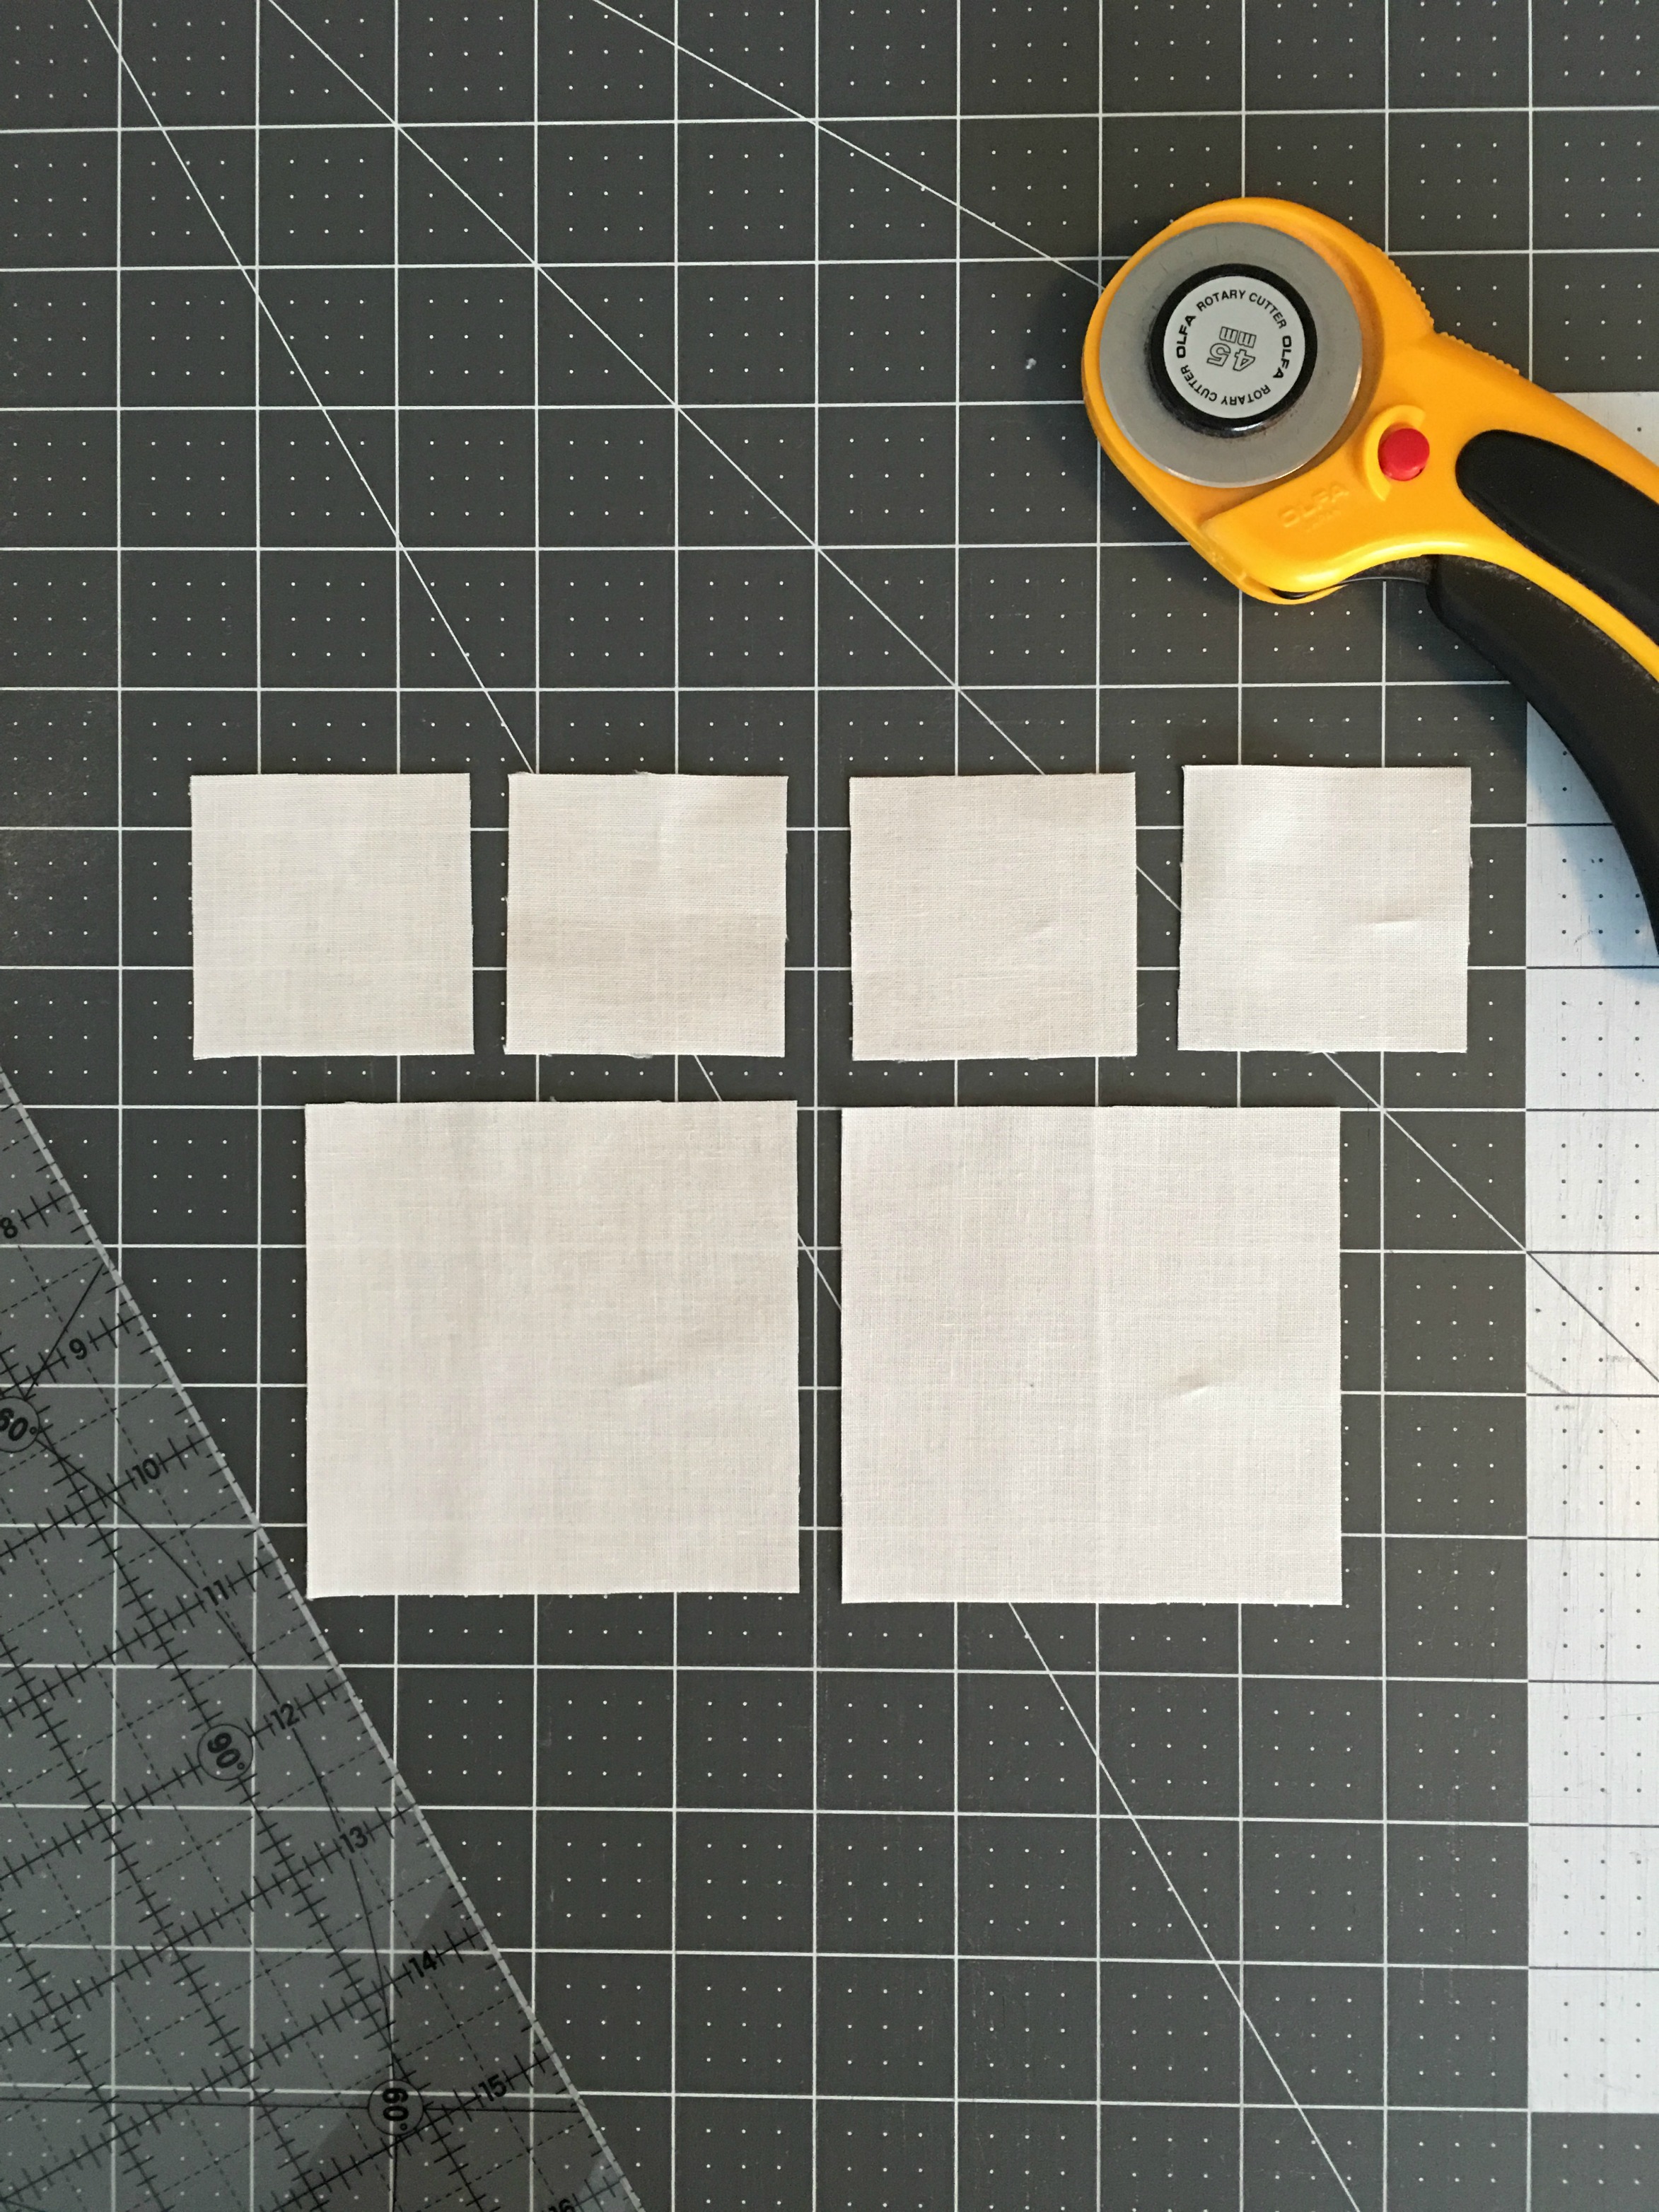
Cut (1) 3 1/2" x WOF strip from your background fabric. Subcut into (2) 3 1/2" squares and (4) 2" squares. The rest of your background fabric will be used to back the inside of your pillow when quilting.
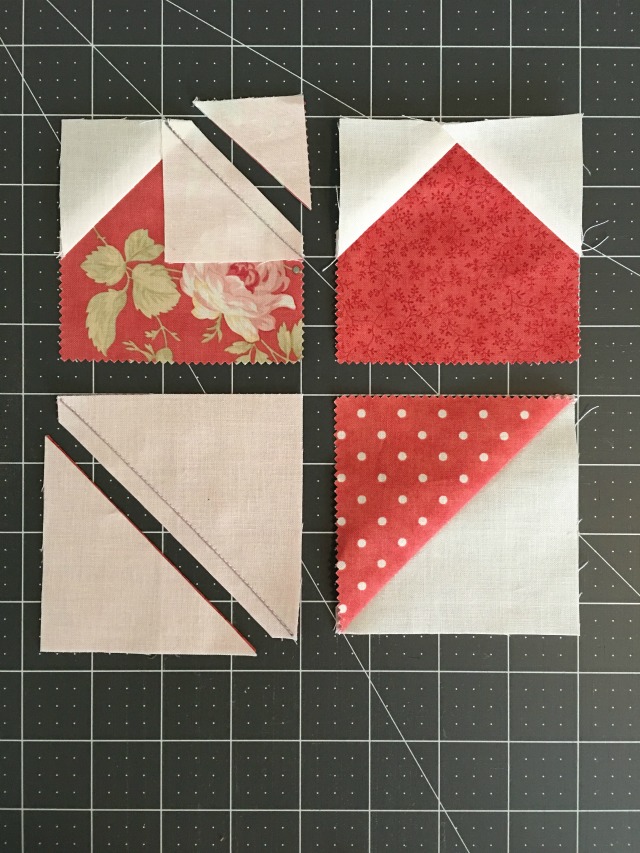
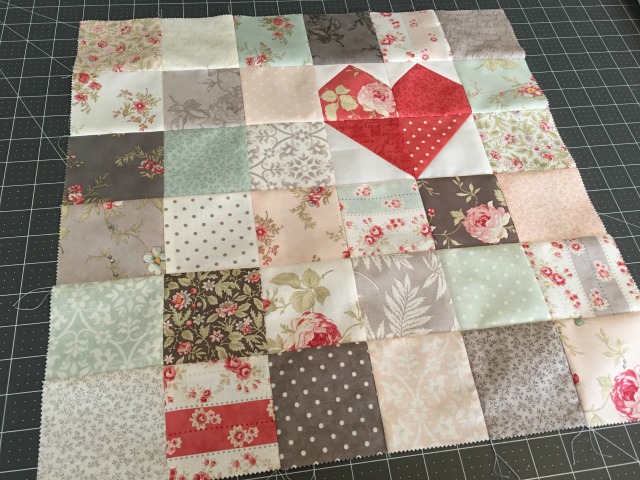
Open up your treat and choose 4 squares for your heart block. Draw a line from corner to corner on all of your background squares.
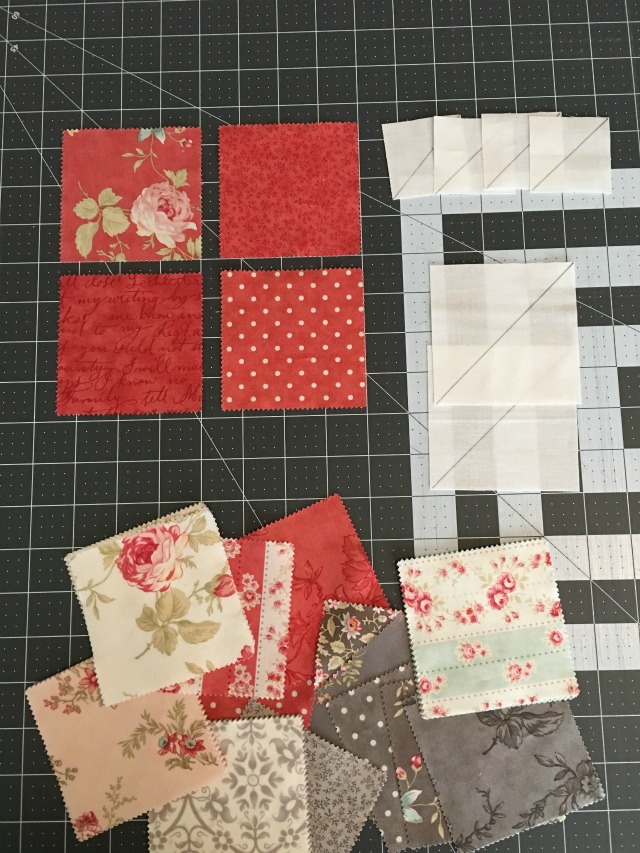
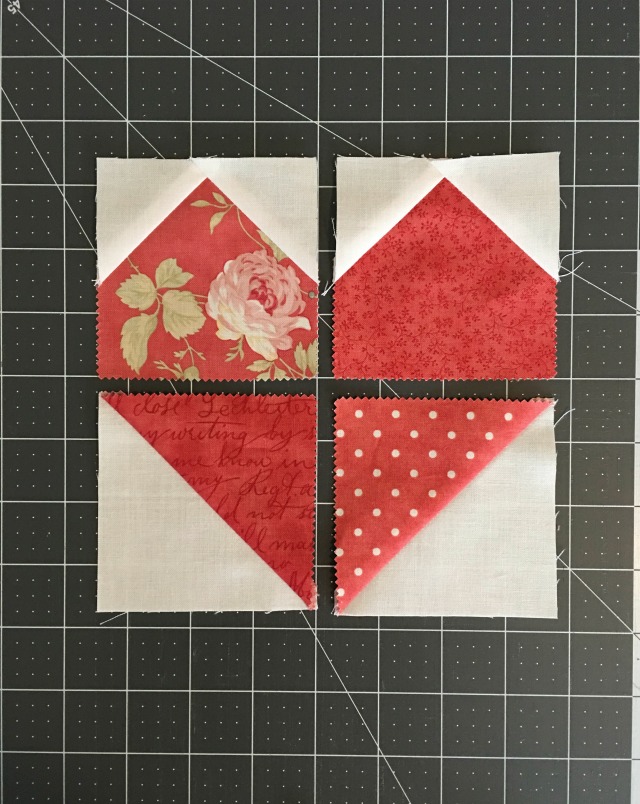
Place your marked background squares RST with your 4 heart squares. Sew on the lines and trim away the excess 1/4" from the sew line. Press out. Do NOT sew your heart block together yet.
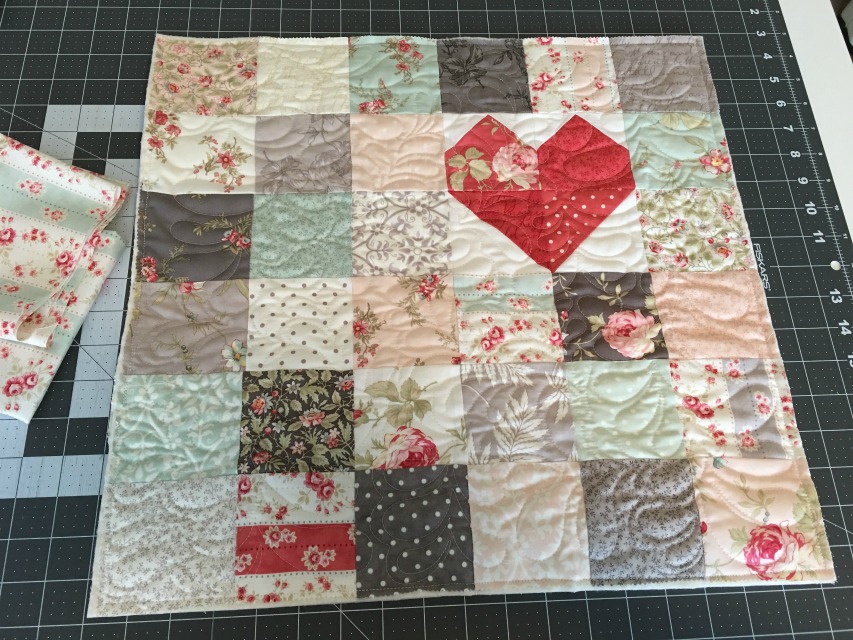
Lay out your treat squares around your heart into a 6 x 6 grid. You will have 6 extra treat squares.
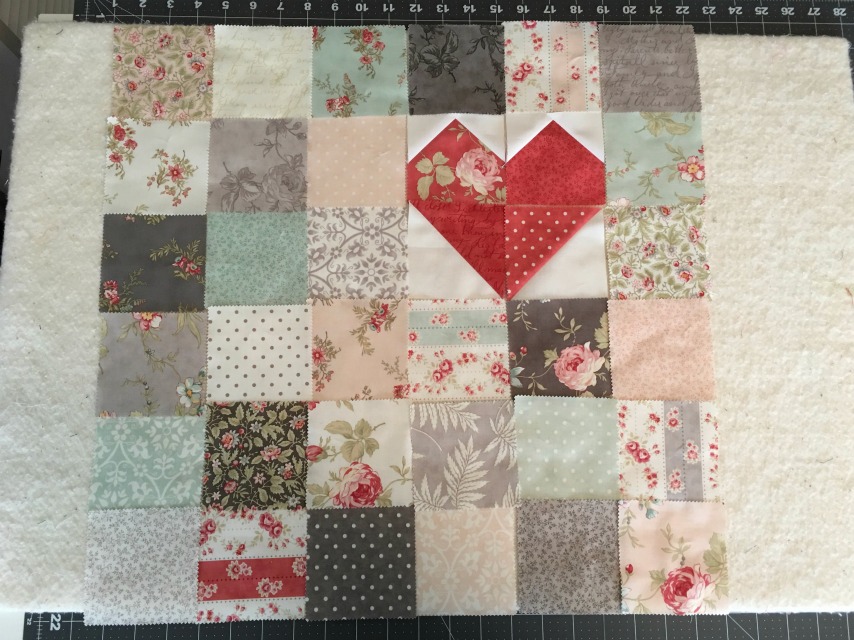
Sew your squares together into rows, pressing in alternating directions. Sew all your rows together. Press the first two rows up and the rest of the rows down.
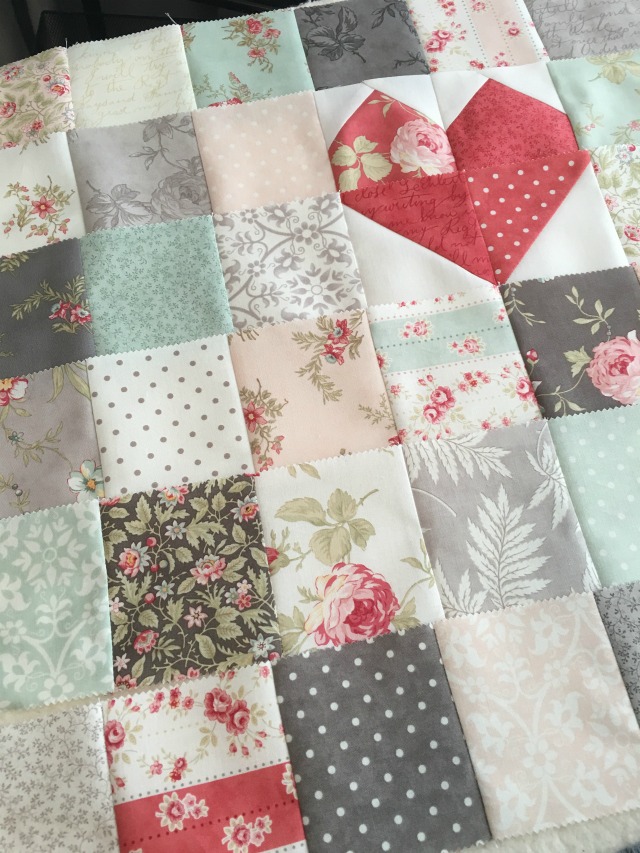
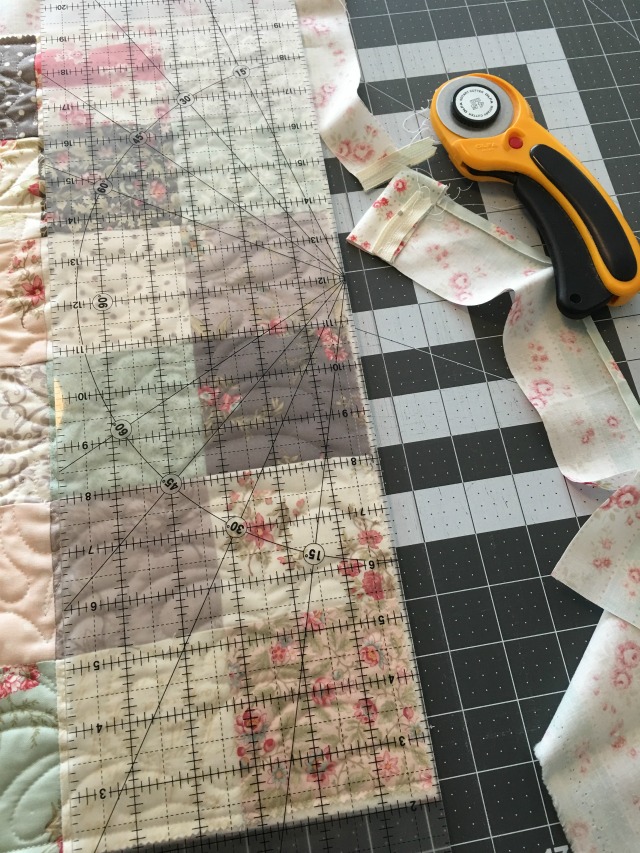
Layer your pillow top with a batting square and the rest of your background fabric and quilt as desired. Trim your quilted top to 18 1/2" x 18 1/2" square.

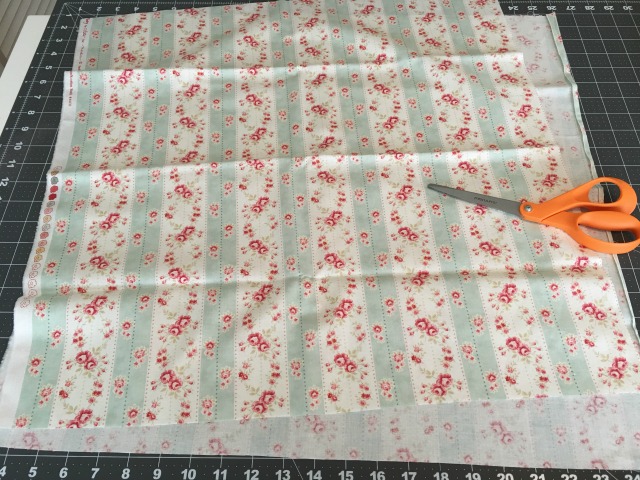
Now for the easiest zippered pillow back ever. :-) Take your backing fabric and cut it in half on the natural fold of the fabric. I even use scissors for this part because we don't need to worry about a precise measurement. You should have two pieces of fabric that measure approximately 18" x 21".
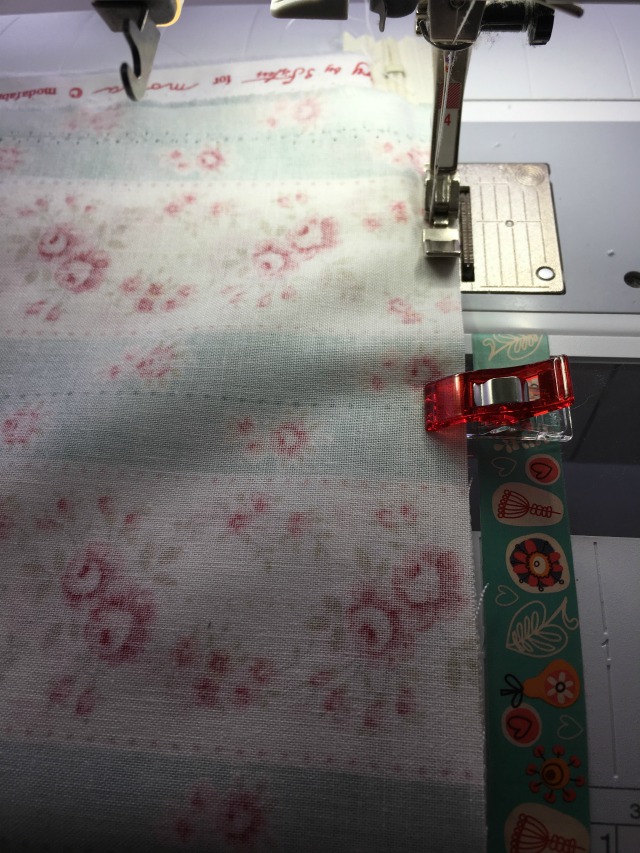
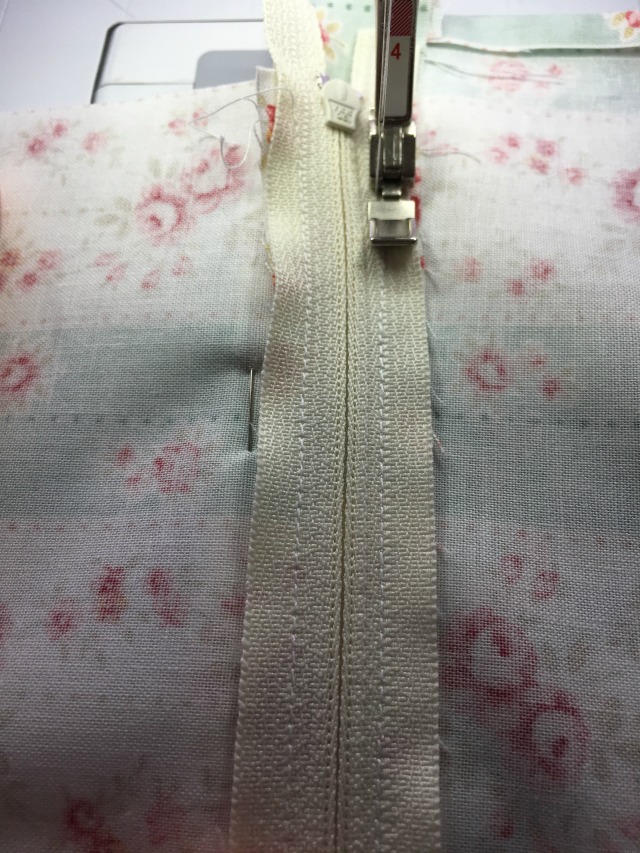
Now take your zipper and line it up RIGHT SIDE DOWN with the ~21" side of your fabric and pin or clip in place. Your zipper will probably be longer than your fabric, and that is perfectly okay. I like to use at least a 22" zipper for my pillows. Bigger zippers are always easier to work with, and I'm all about the quick and easy. ;-)
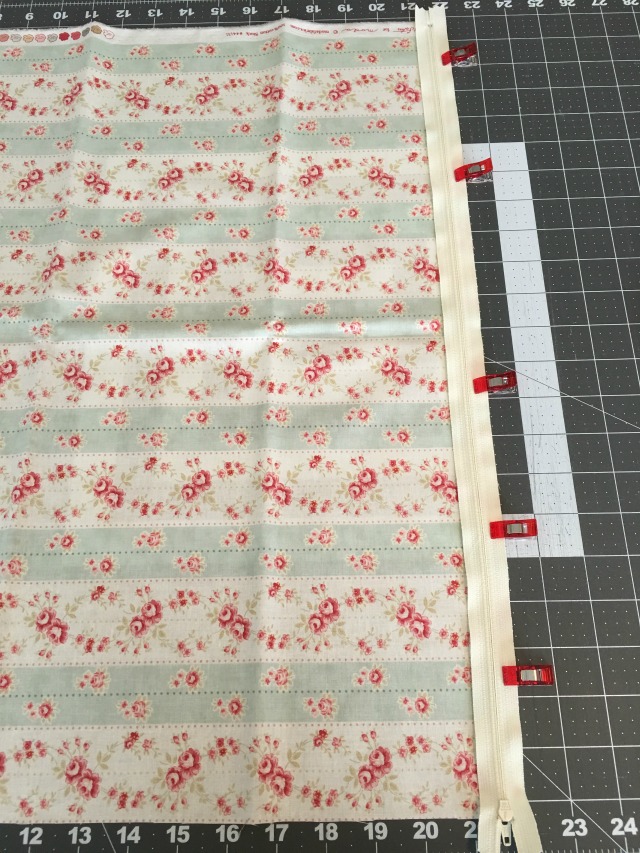
I usually switch to a zipper foot and move my needle to the left, but it is not essential to do this. You could just use your regular 1/4" seam allowance. Just line up your foot (zipper or 1/4") with the edge of your zipper and sew it down.

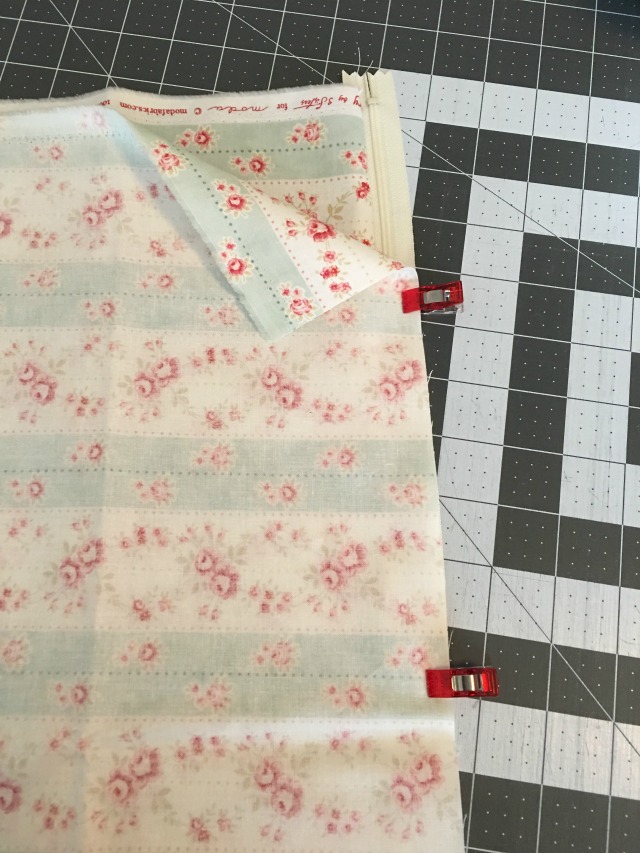
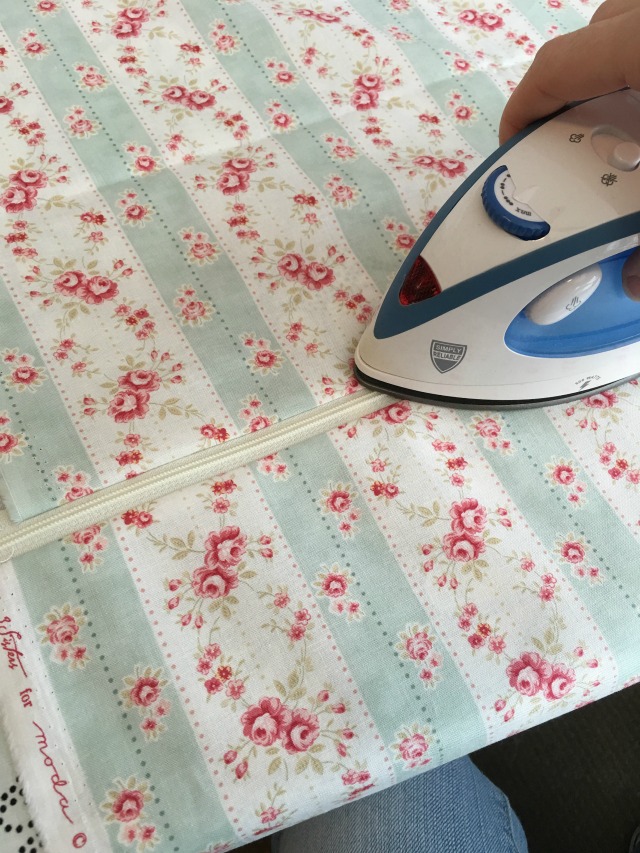
Flip it open and press your fabric away from the zipper.

Now take your other backing piece and line it up RIGHT SIDE DOWN with your zipper facing RIGHT SIDE UP this time and pin or clip in place. I usually line up my selvedge edges of my fabric pieces so I know I have the correct length going along the zipper edge.
Line up your machine foot with the edge and sew it down.
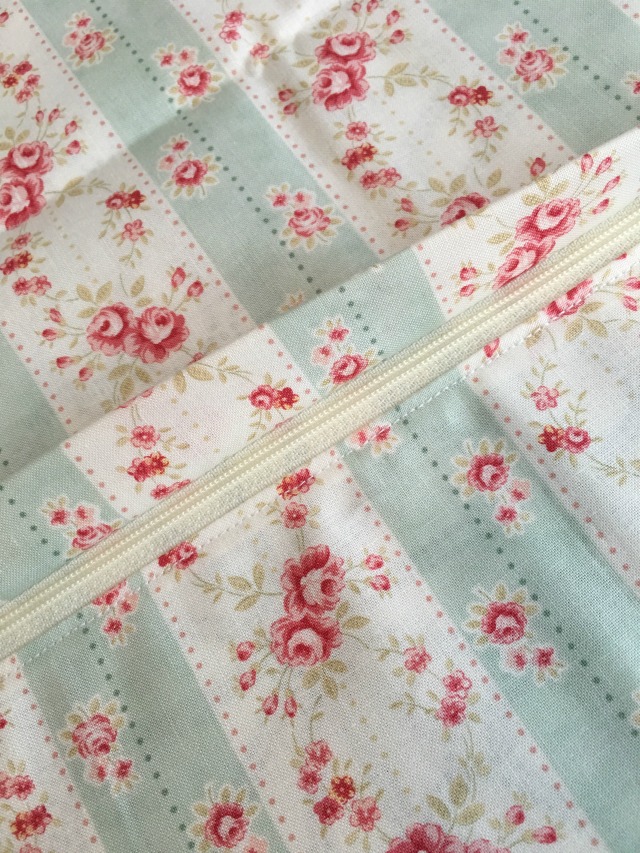
Open it up and press your fabric away from the zipper. It's okay to press right on top of the zipper. You could just top stitch along the zipper here and move on with finishing your pillow or keep going and make the flap to cover the zipper.
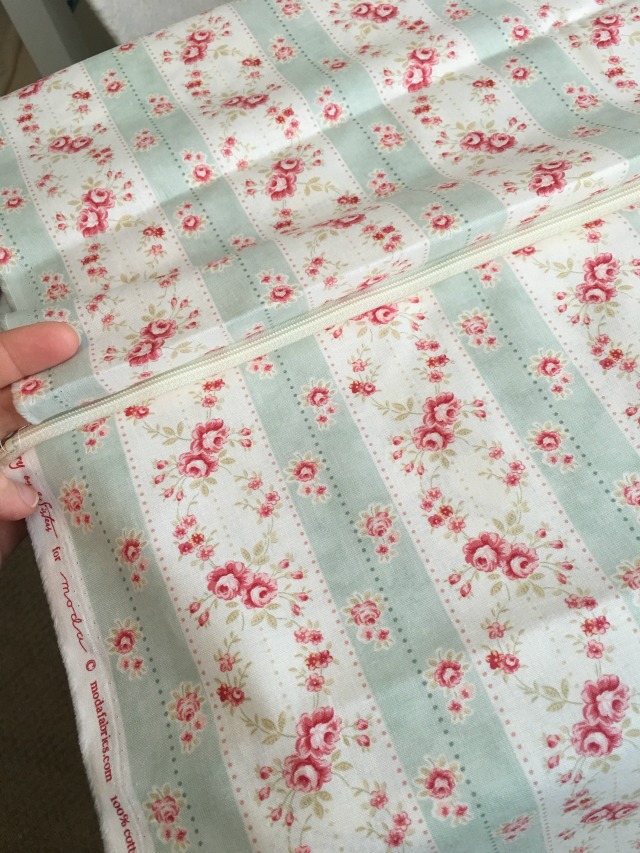
Use your hands and bring down the top piece to create a 1 1/2" fold, just eyeball it. The goal is to cover the zipper. It can be as small or as big of a flap as you would like. Press your flap in place and pin along the folded edge.
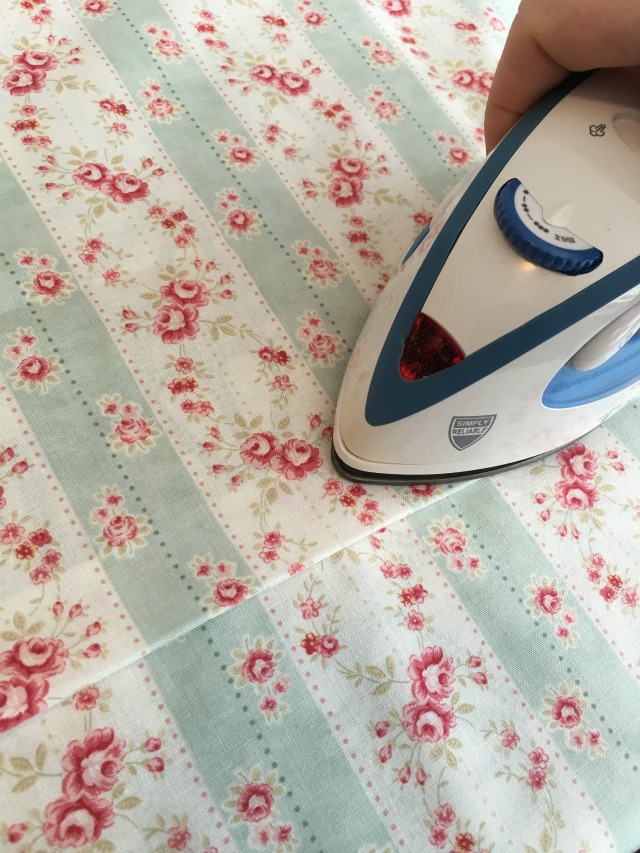

Flip your piece upside down and line up your foot with the edge of the zipper. Stitch the flap in place.
Open the flap and topstitch along the other edge of your zipper.

Pin your pillow back and top together. Your backing is plenty big and you can line up your flap anywhere you would like with your pillow top. I usually go about 5-6" from the bottom, and again, I just eyeball it. :-) Make sure to OPEN YOUR ZIPPER about halfway and have your pillow back RIGHT SIDE DOWN and your top RIGHT SIDE UP.
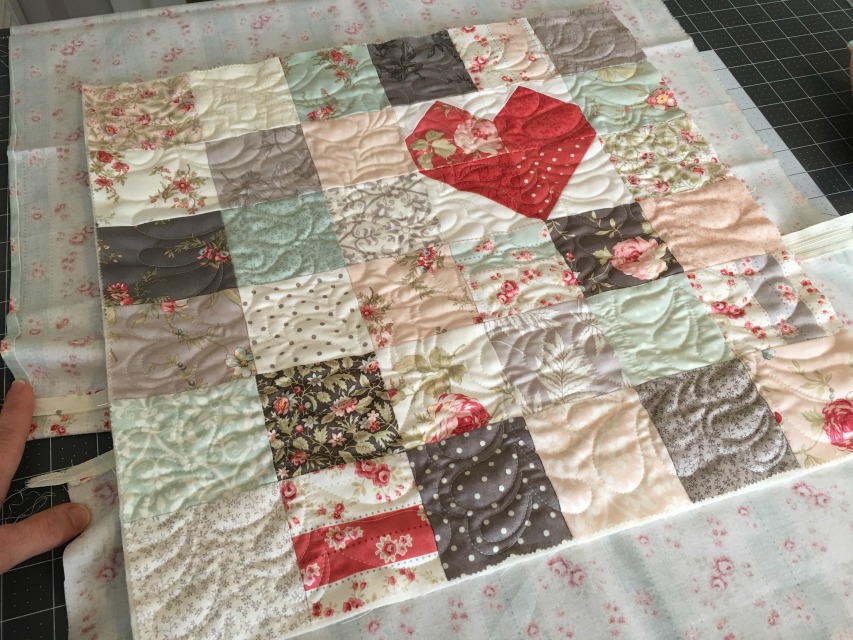
Sew around the entire edge of your pillow using a SCANT 1/4" seam allowance (make sure that zipper is open). Trim away the excess. Because you have a bigger zipper and don't have to worry about the little metal ends, you can sew and cut right through the zipper with ease.

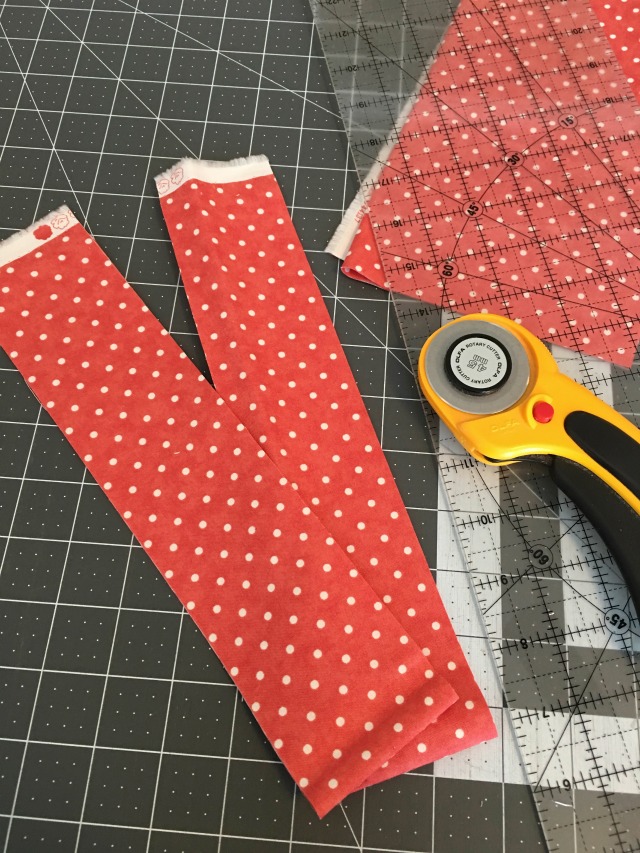
From your binding fabric cut (2) 2 1/2" x WOF strips. Bind your pillow using your preferred method just like you would a quilt and enjoy!
![]()
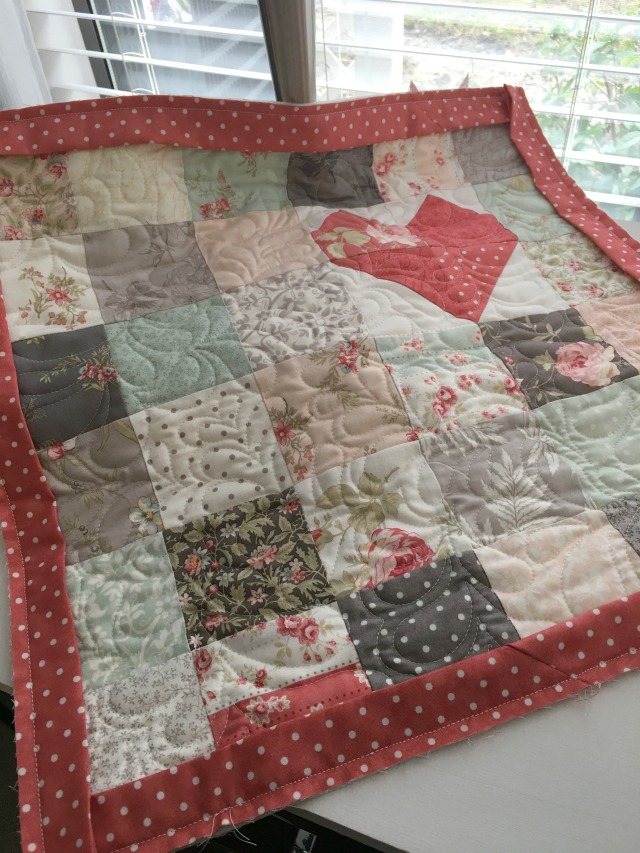
This pillow finishes at 18" x 18".

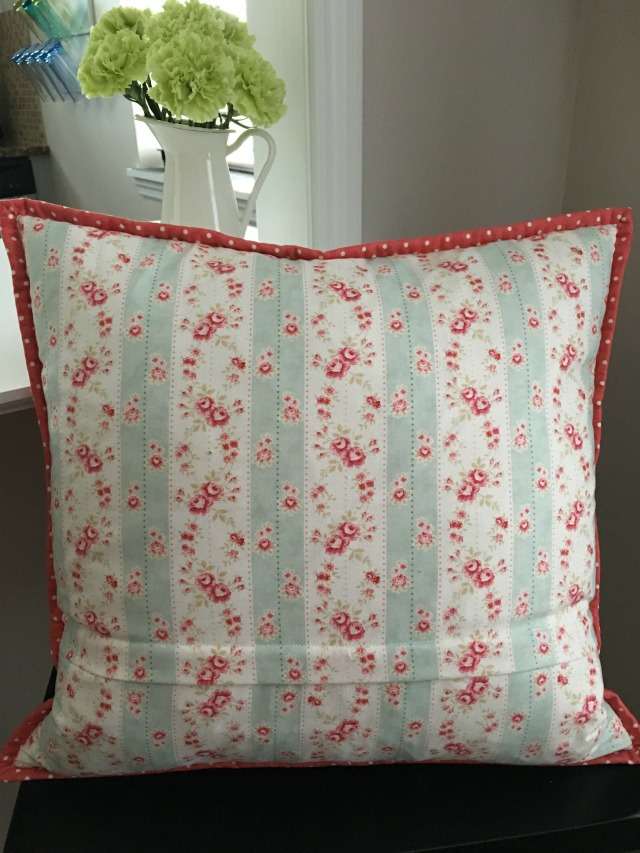
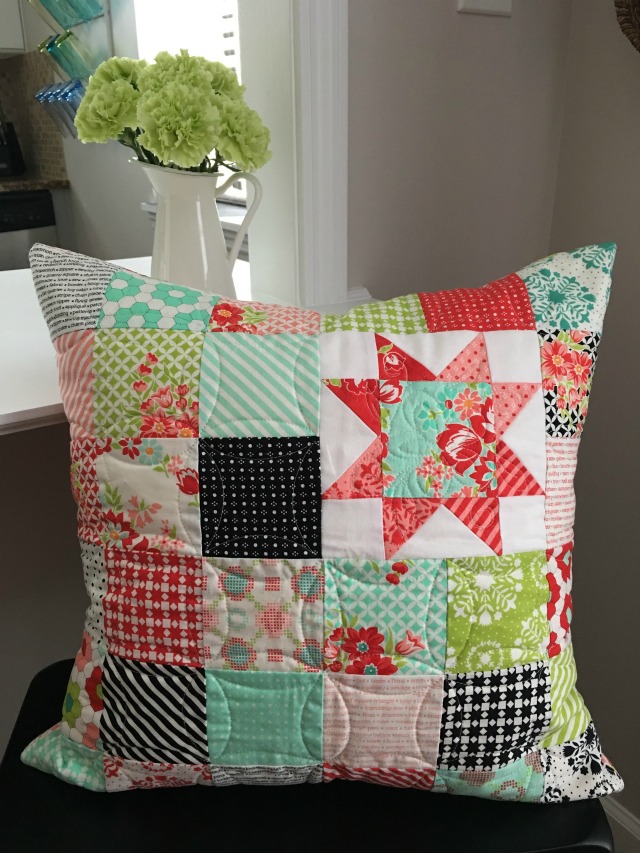
Simple patchwork is always fun, and with a simple zippered pillow back, I hope this project is even more fun for you! I made another pillow with a treat of Handmade by Bonnie and Camille to show you an example of a zipper with no flap and no binding on the pillow. It's just as cute I think! I did switch out the heart block for a simple sawtooth star block, which you could easily do with any 6" finished block.
I would love to see all your pretty pillows! Just tag me on Instagram @sterlingquiltco using #PatchworkPillowLove.
Sterling LaBosky

![]()
Posted in:
Comments