Warehouses Closed June 6-13 For Exclusive Event
Accentuate the Positive Quilt {NOV 18 2016}
Accentuate the Positive Quilt {NOV 18 2016}
Published:
Sep 18 2016 - 23:00
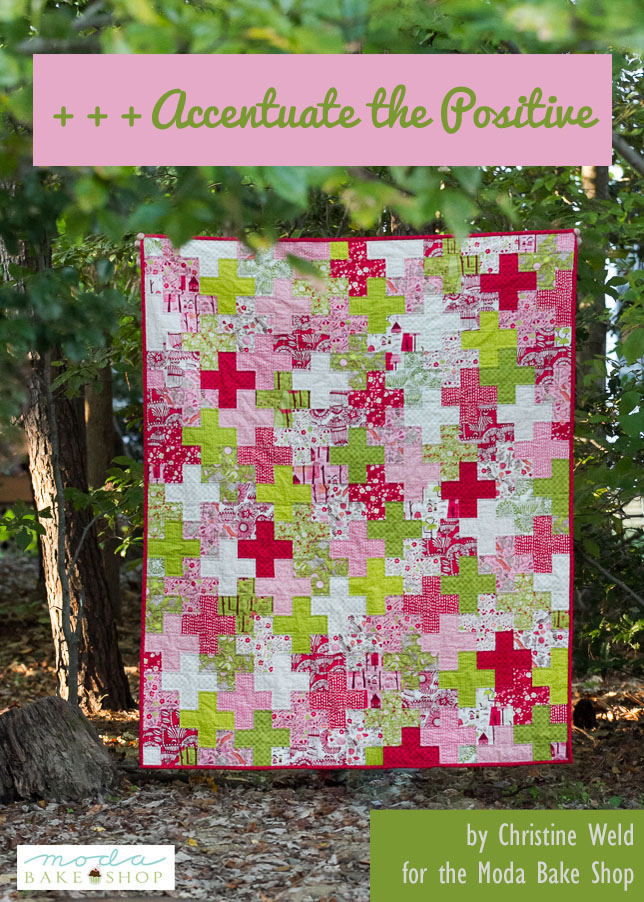

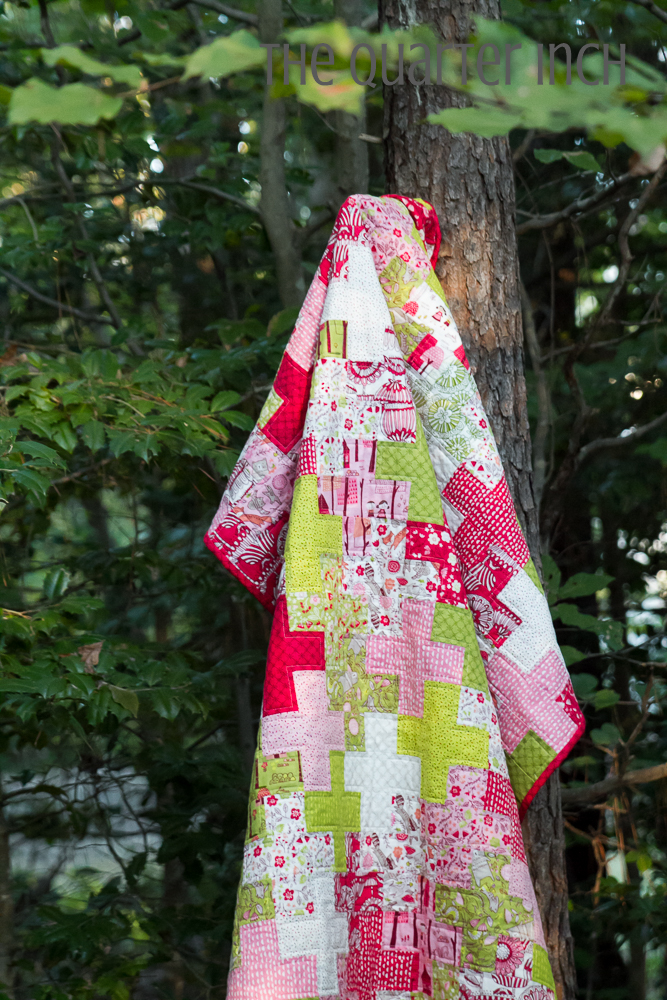
Plus quilts are positively awesome! I’ve been seeing plus quilts around a lot and I thought one would make a perfect jelly roll project. All you need for the quilt top is a single jelly roll. Yup, that's right--just one jelly roll!
The quilt is simply squares and rectangles, making it ideal for novice quilters looking for a more adventurous project. Lay out your plus signs before sewing and be patient. Slow, careful sewing will help make this project successful.
The finishes at 46" by 56".
![]()
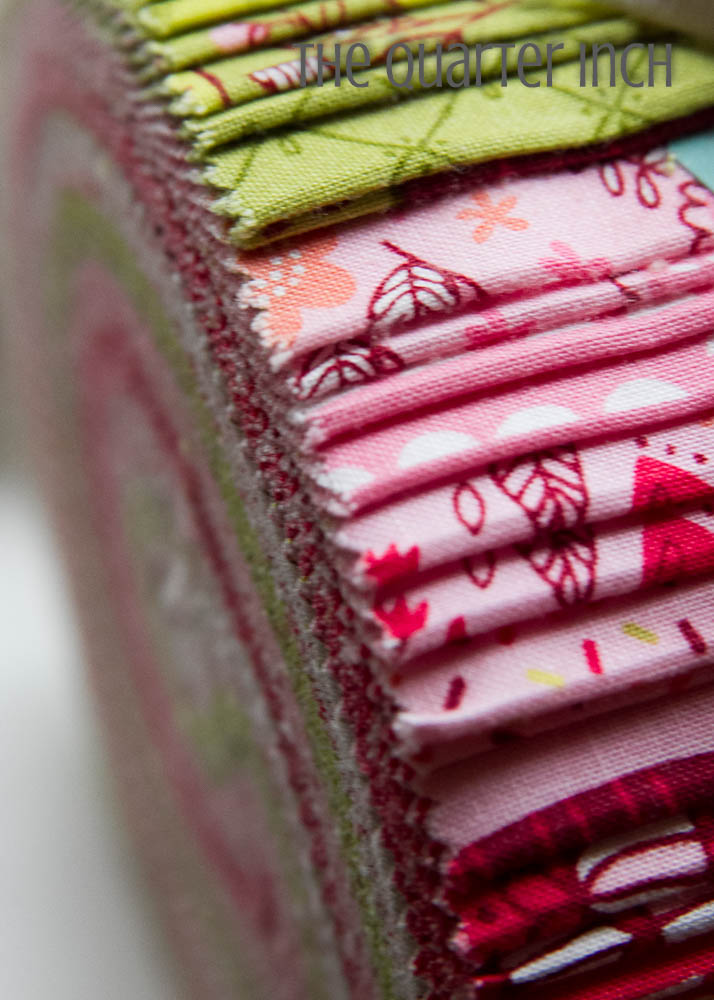
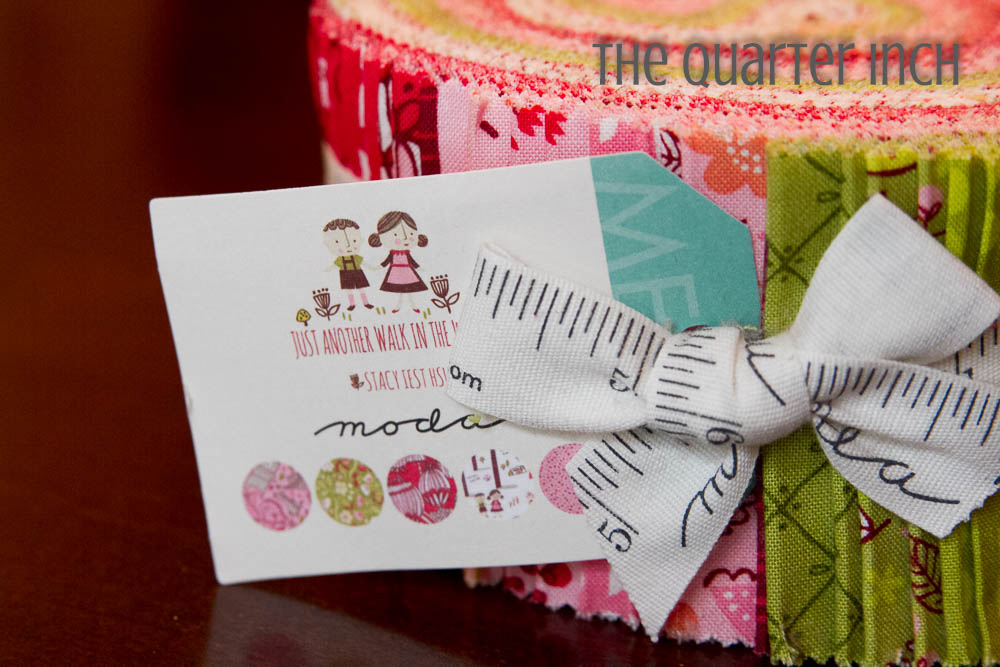
1 Jelly Roll (I used Just Another Walk in the Woods by Stacey Iest Hsu)
½ yard for binding
3 yards backing fabric
![]()
Cutting
From 30 jelly roll strips (that is, all but ten), cut three 6 ½” pieces and six 2 ½” pieces. You will have about eight inches left from each strip. Set the extra bits aside for now.
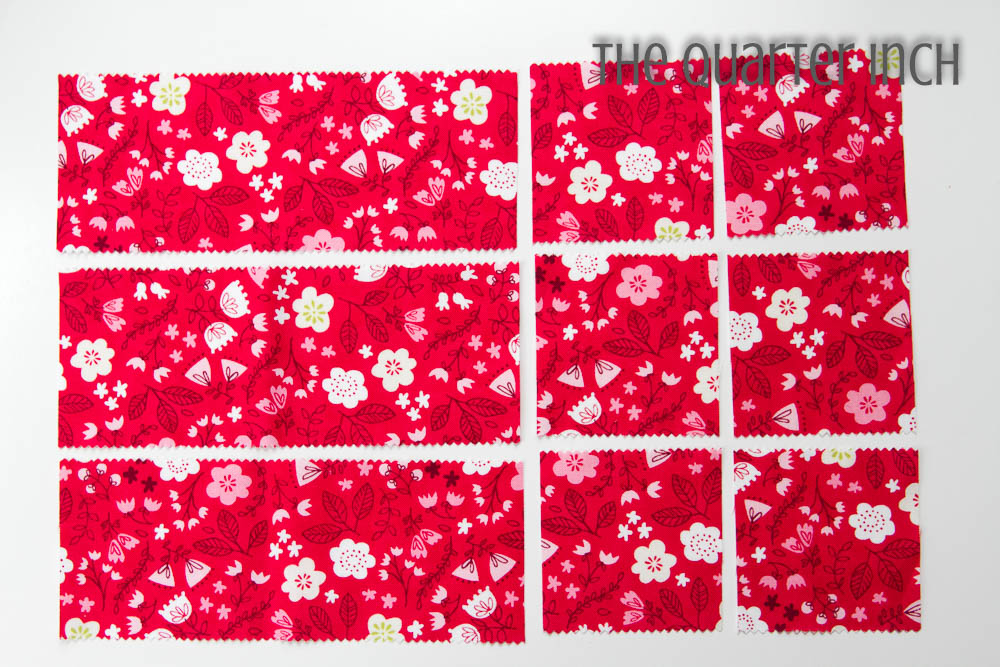
Separate the pieces you cut into 90 sets, each consisting of one 6 ½” piece and two 2 ½” squares. All pieces in each set should be the same fabric. Put these sets in a pile labeled “Full Plus Signs."
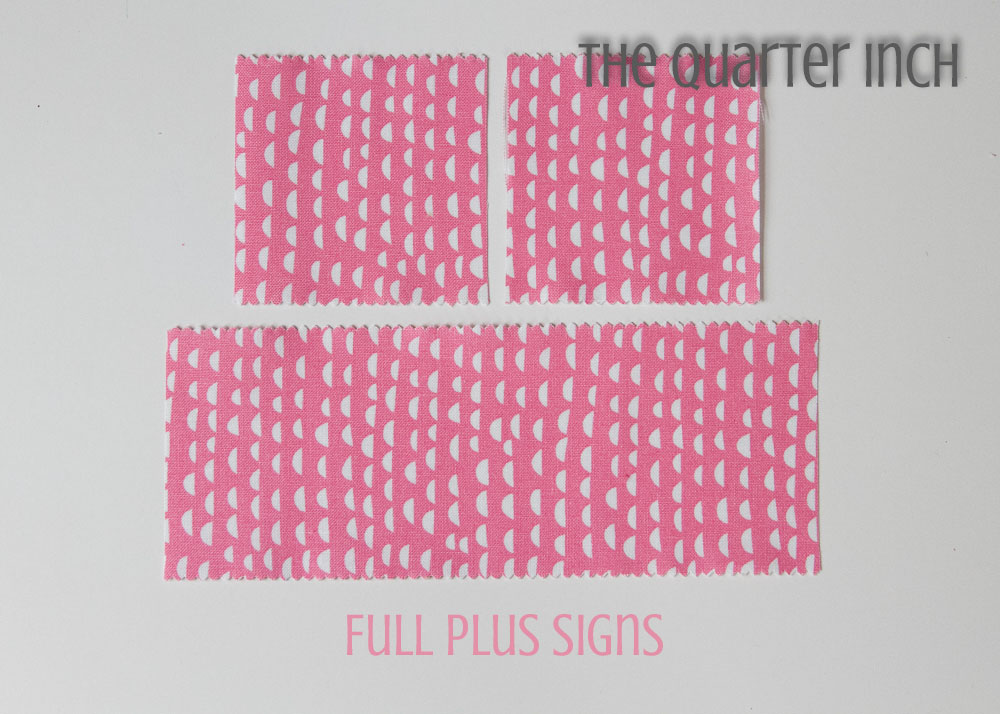
From the remaining 10 strips, cut two 6 ½” pieces, one 4 ½” piece and six 2 ½” pieces. Place 20 more full sets (one 6 ½” piece and two 2 ½” squares) in the "Full Plus Signs" pile.
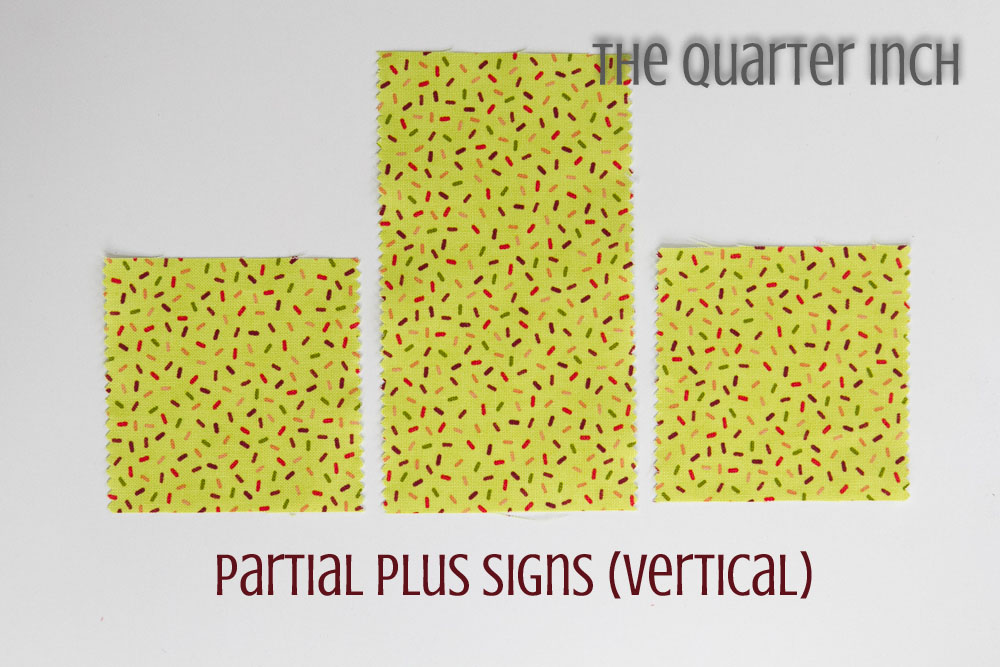
Take the 4 ½” piece and two 2 ½” pieces from each fabric and place these ten sets in a pile labeled “Partial Plus Signs--Vertical."
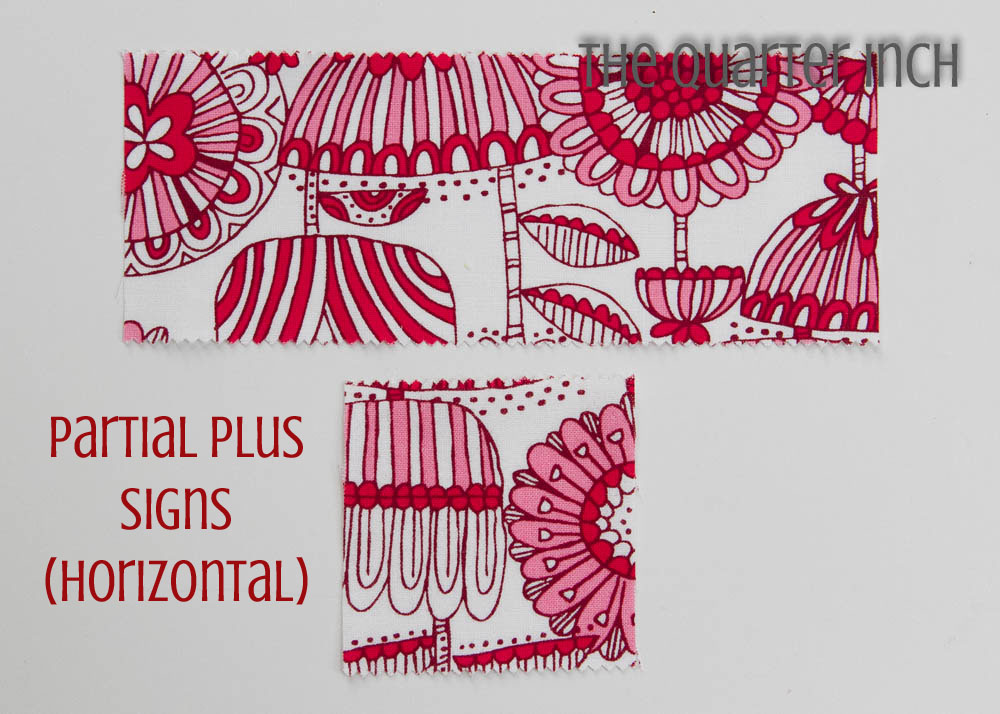
From what is remaining of your jelly roll, cut eight sets consisting of one 6 ½” piece and one 2 ½” pieces from each set of fabric. Place the eight sets in a pile labeled “Partial Plus Signs--Horizontal” pile.
Note: When cutting the pieces for the “Partial Plus Signs--Horizontal,” you can match up fabrics that repeat in your jelly roll (most jelly rolls repeat a few fabrics). If your jelly roll doesn't have repeats, use the longer pieces leftover from cutting the "Partial Plus Signs--Vertical" to cut the pieces for the “Partial Plus Signs--Horizontal.”
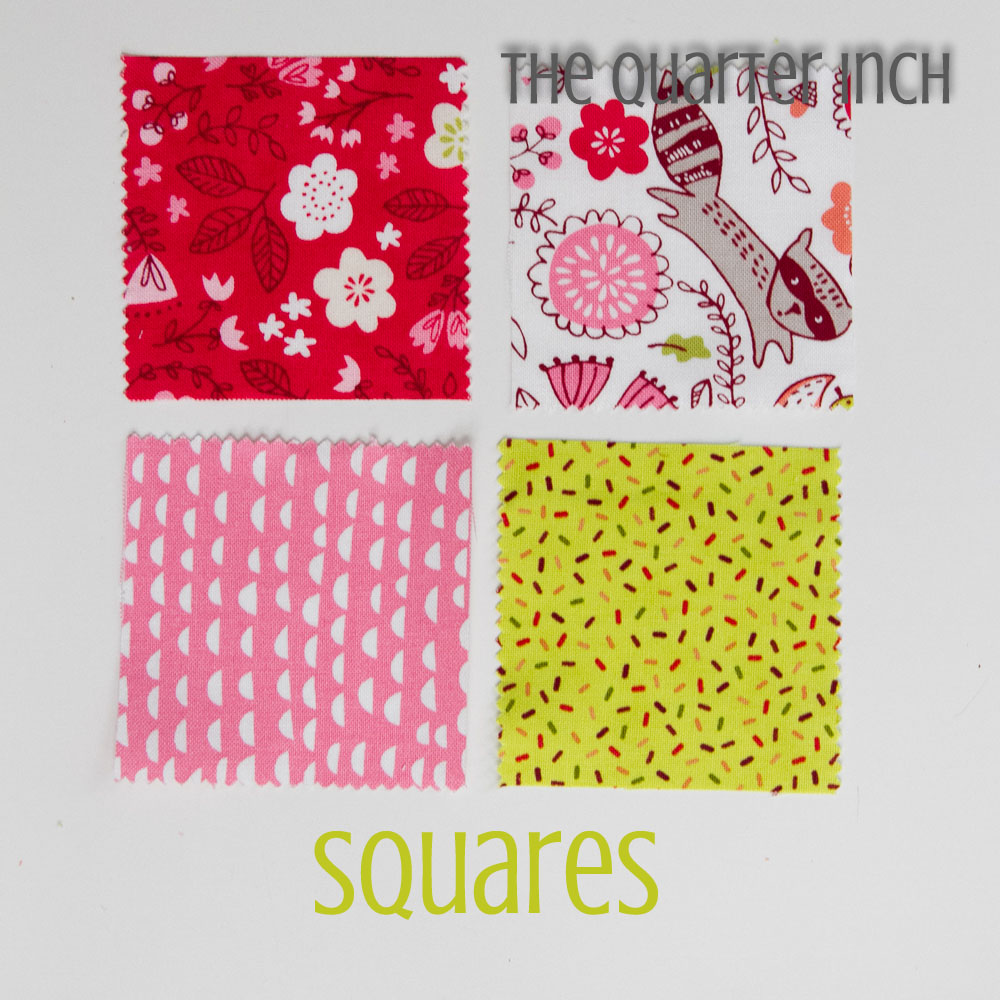
From the remaining fabric, cut 22 2 ½” squares and place them in a pile labeled “Squares.”
To review, you should have the following four piles:
110 Full Plus Signs (one 6 ½” by 2 ½" rectangle and two 2 ½” squares)
10 Partial Plus Signs—Vertical (0ne 4 ½” by 2 ½" rectangle and two 2 ½” squares)
8 Partial Plus Signs —Horizontal (one 6 ½” by 2 ½" rectangle and one 2 ½” square)
22 Squares (2 ½" squares)
Remember, the pieces in each set are all the same fabric.
Lay Out the Quilt
A design way will come in very handy for this next step! If you don’t have a design wall, consider making a temporary one by hanging a large piece of felt or batting. An economical option is to purchase an inexpensive vinyl table cloth. The back is "sticky" enough to hold fabric temporarily. If a design wall isn’t possible, simply lay the quilt out on a floor or bed.
Using the following diagram as a reference, lay out your quilt. The “Partial Plus Signs—Horizontal” are all placed along the top and bottom of the quilt and the “Partial Plus Signs—Vertical” are all placed along the sides. The individual squares are placed on all four sides.
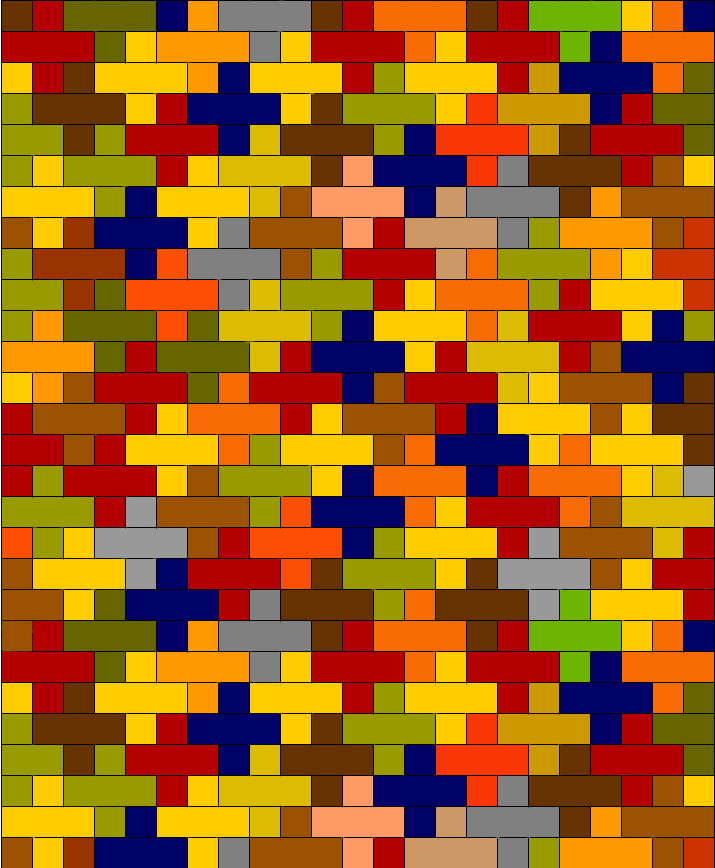
Take your time laying out the quilt! Move pieces around until you are pleased with the layout. When you are satisfied, TAKE A PICTURE! Pieces will fall off your design wall, pieces will get disturbed. It’s quite useful to have a picture on your phone or tablet to refer back to.
Sewing the Quilt Together
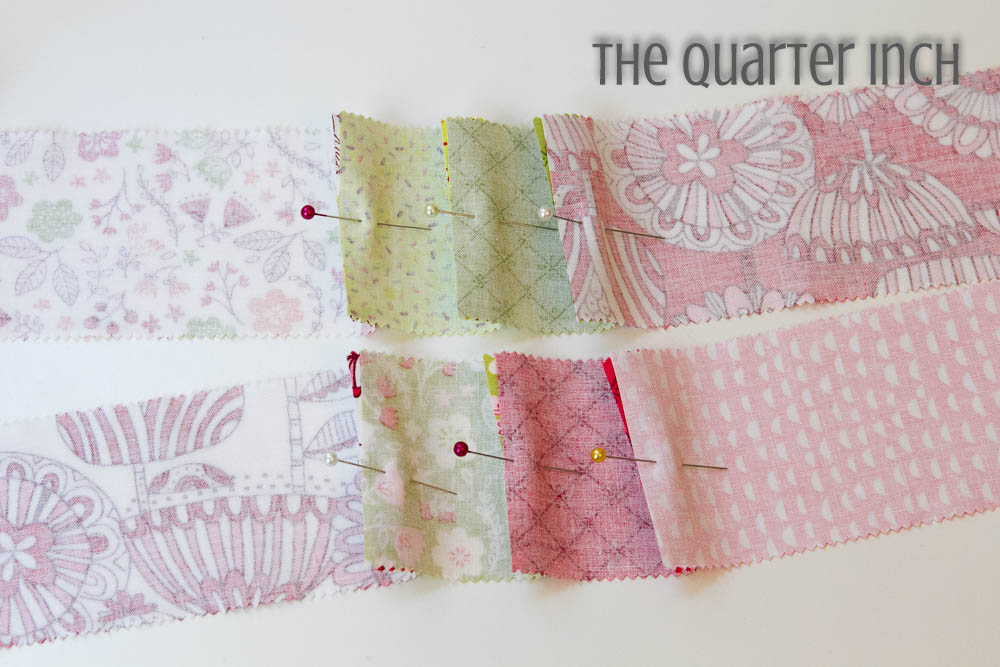
Once you are pleased with the design, start sewing! I sewed one row at a time, pinning all the pieces together in two sections. This allowed me to sew the pieces in a modified chain piecing manner. The pinning ensured the pieces stayed in order, but sewing moved a bit quicker than adding the pieces one by one.
Check frequently to make sure your plus signs are lining up correctly and you are not getting off track.
Press all the pieces in the first row to the left. Press all the pieces in the second row to the right. Continue in this fashion (odd rows pressed to the left, even rows pressed to the right).
Sew all rows together, nestling seams where they meet.
Finishing
Layer backing, batting and quilt top and quilt as desired.
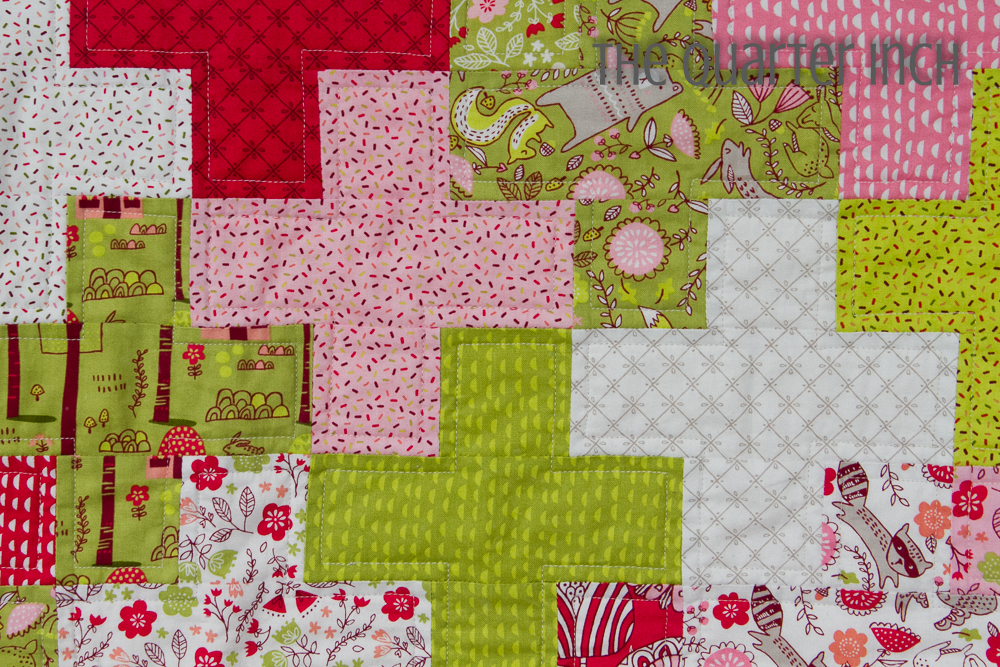
I quilted this project on my home machine, echoing each plus sign a quarter of an inch in from the edge of the plus sign.
![]()
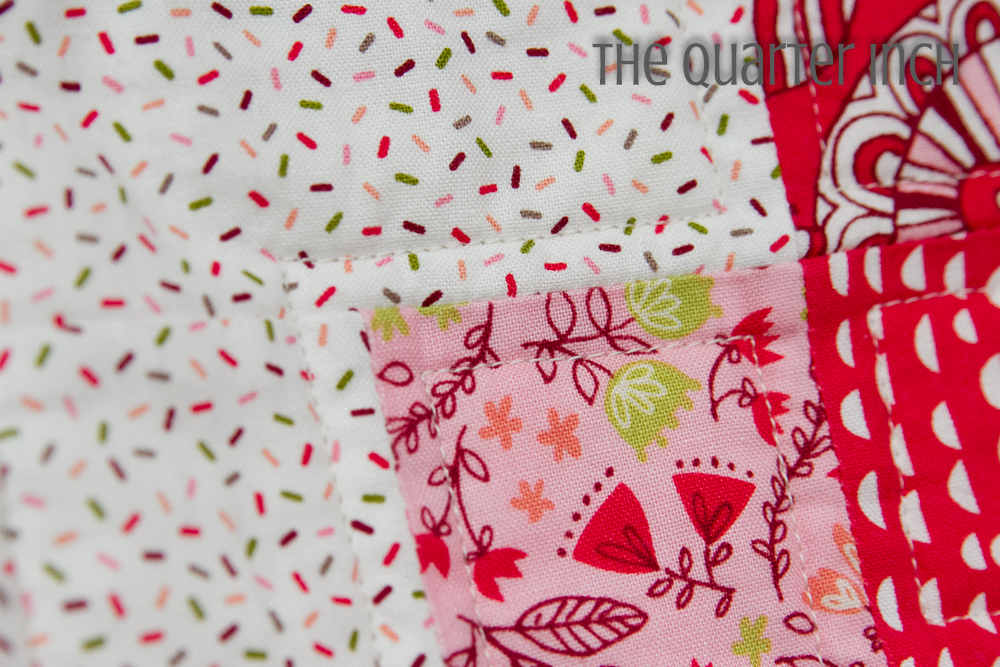
This quilt finishes at 46" x 56". When using novelty or juvenile fabrics, this quilt is perfect for a special little one.
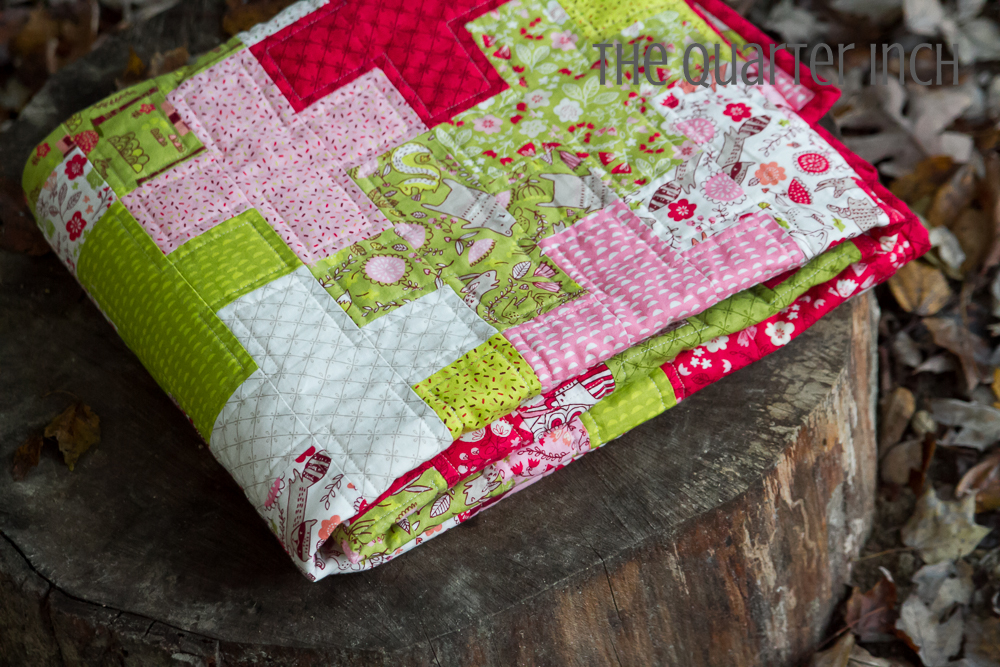
Hope your quilting is positively perfect!
Christine Weld
![]()