Welcome to Moda Fabrics!
Charming Checkers Quilted Pillow
Charming Checkers Quilted Pillow
Published:
Jun 25 2016 - 23:00


Hi there, Quilty Friends! My name is Celeste and I am so excited to be making my very first contribution to Moda Bake Shop. Thanks for joining me. I have been quilting for around 14 years and still love every minute of it. You can find me posting daily on Instagram with all kinds of quilt fun! I also have a blog and an Etsy shop.
Today I am sharing a fun quilted pillow made from just one Moda Mini Charm Pack. These little sweet treats are always just so hard to resist and I love projects that take a precut and just a little bit of extra fabric!
This pillow cover finishes at 18" square.
![]()
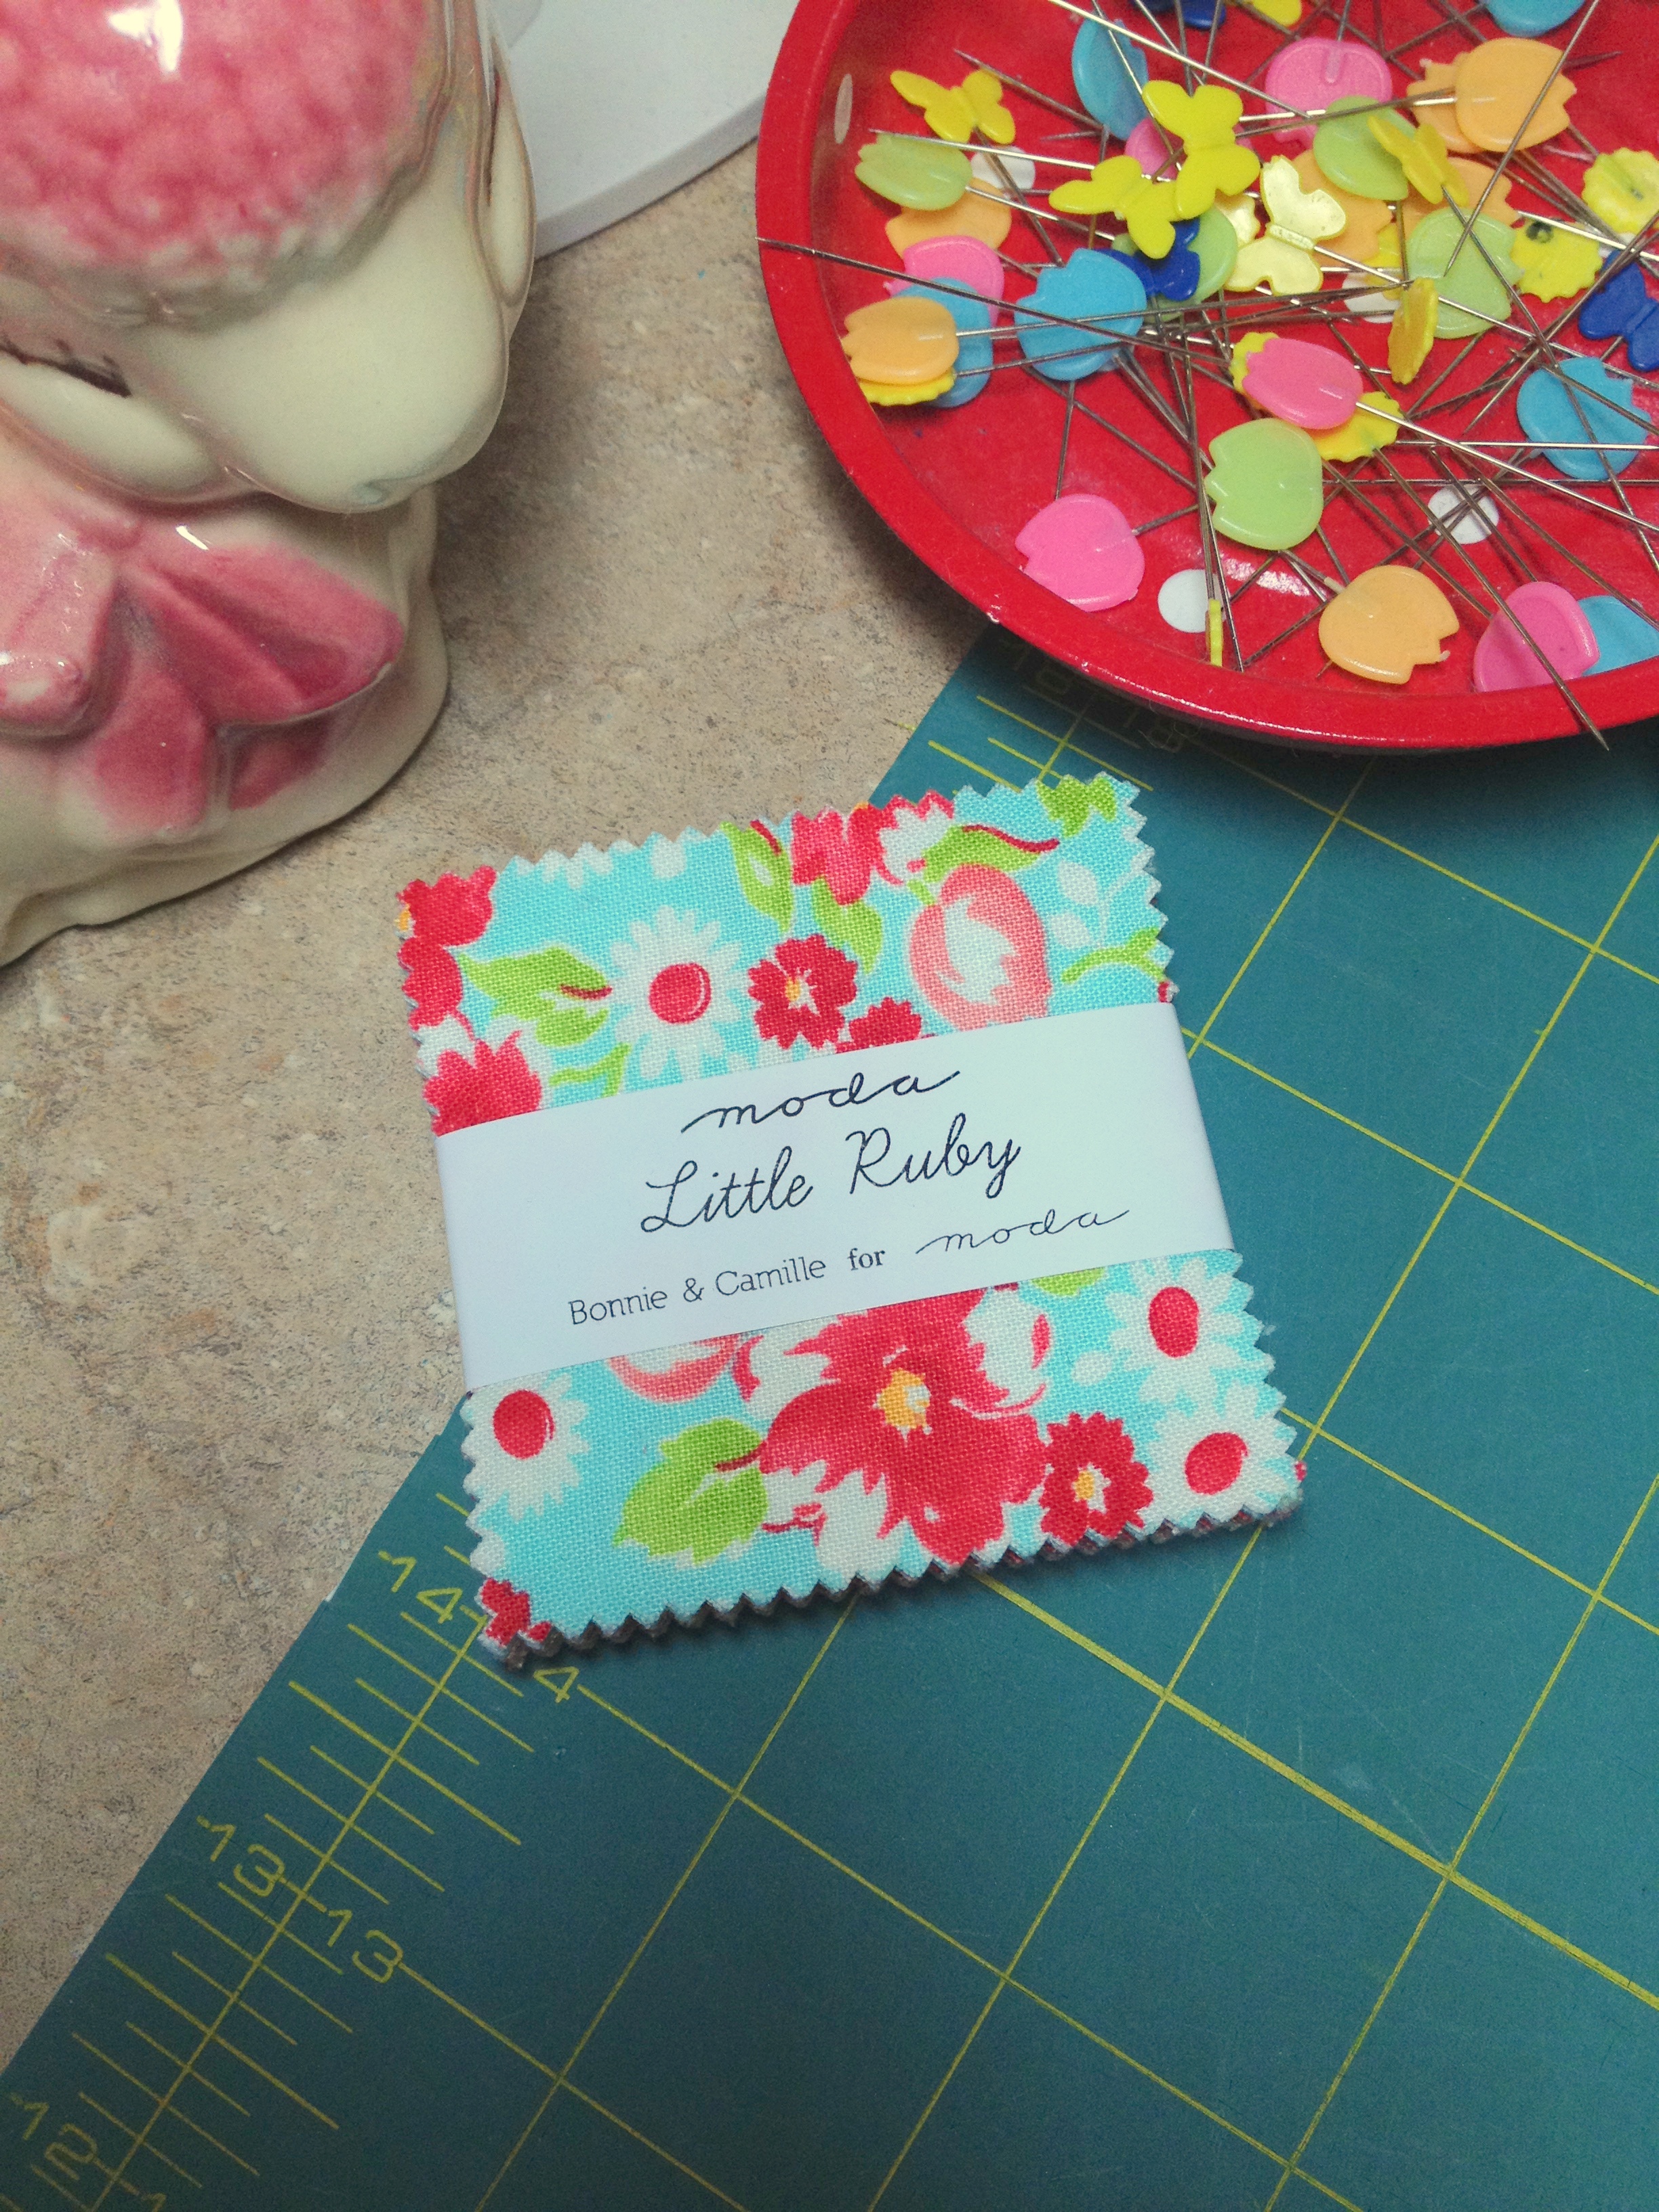
1 Little Ruby Mini Charm Pack (55130MC)
1 fat quarter Bella Solids White Bleached (9900 98 )
3/4 yard backing fabric (used to make envelope backing)
1/8 yard or 1 fat quarter binding fabric
![]()
So let's get started!
Unwrap your pretty little Moda Mini Charm Pack.
Cut the following from the Bella White fat quarter:
4 - 2.5" squares
4 - 2.5" x 6.5" strips
4 - 2.5" x 14.5" strips

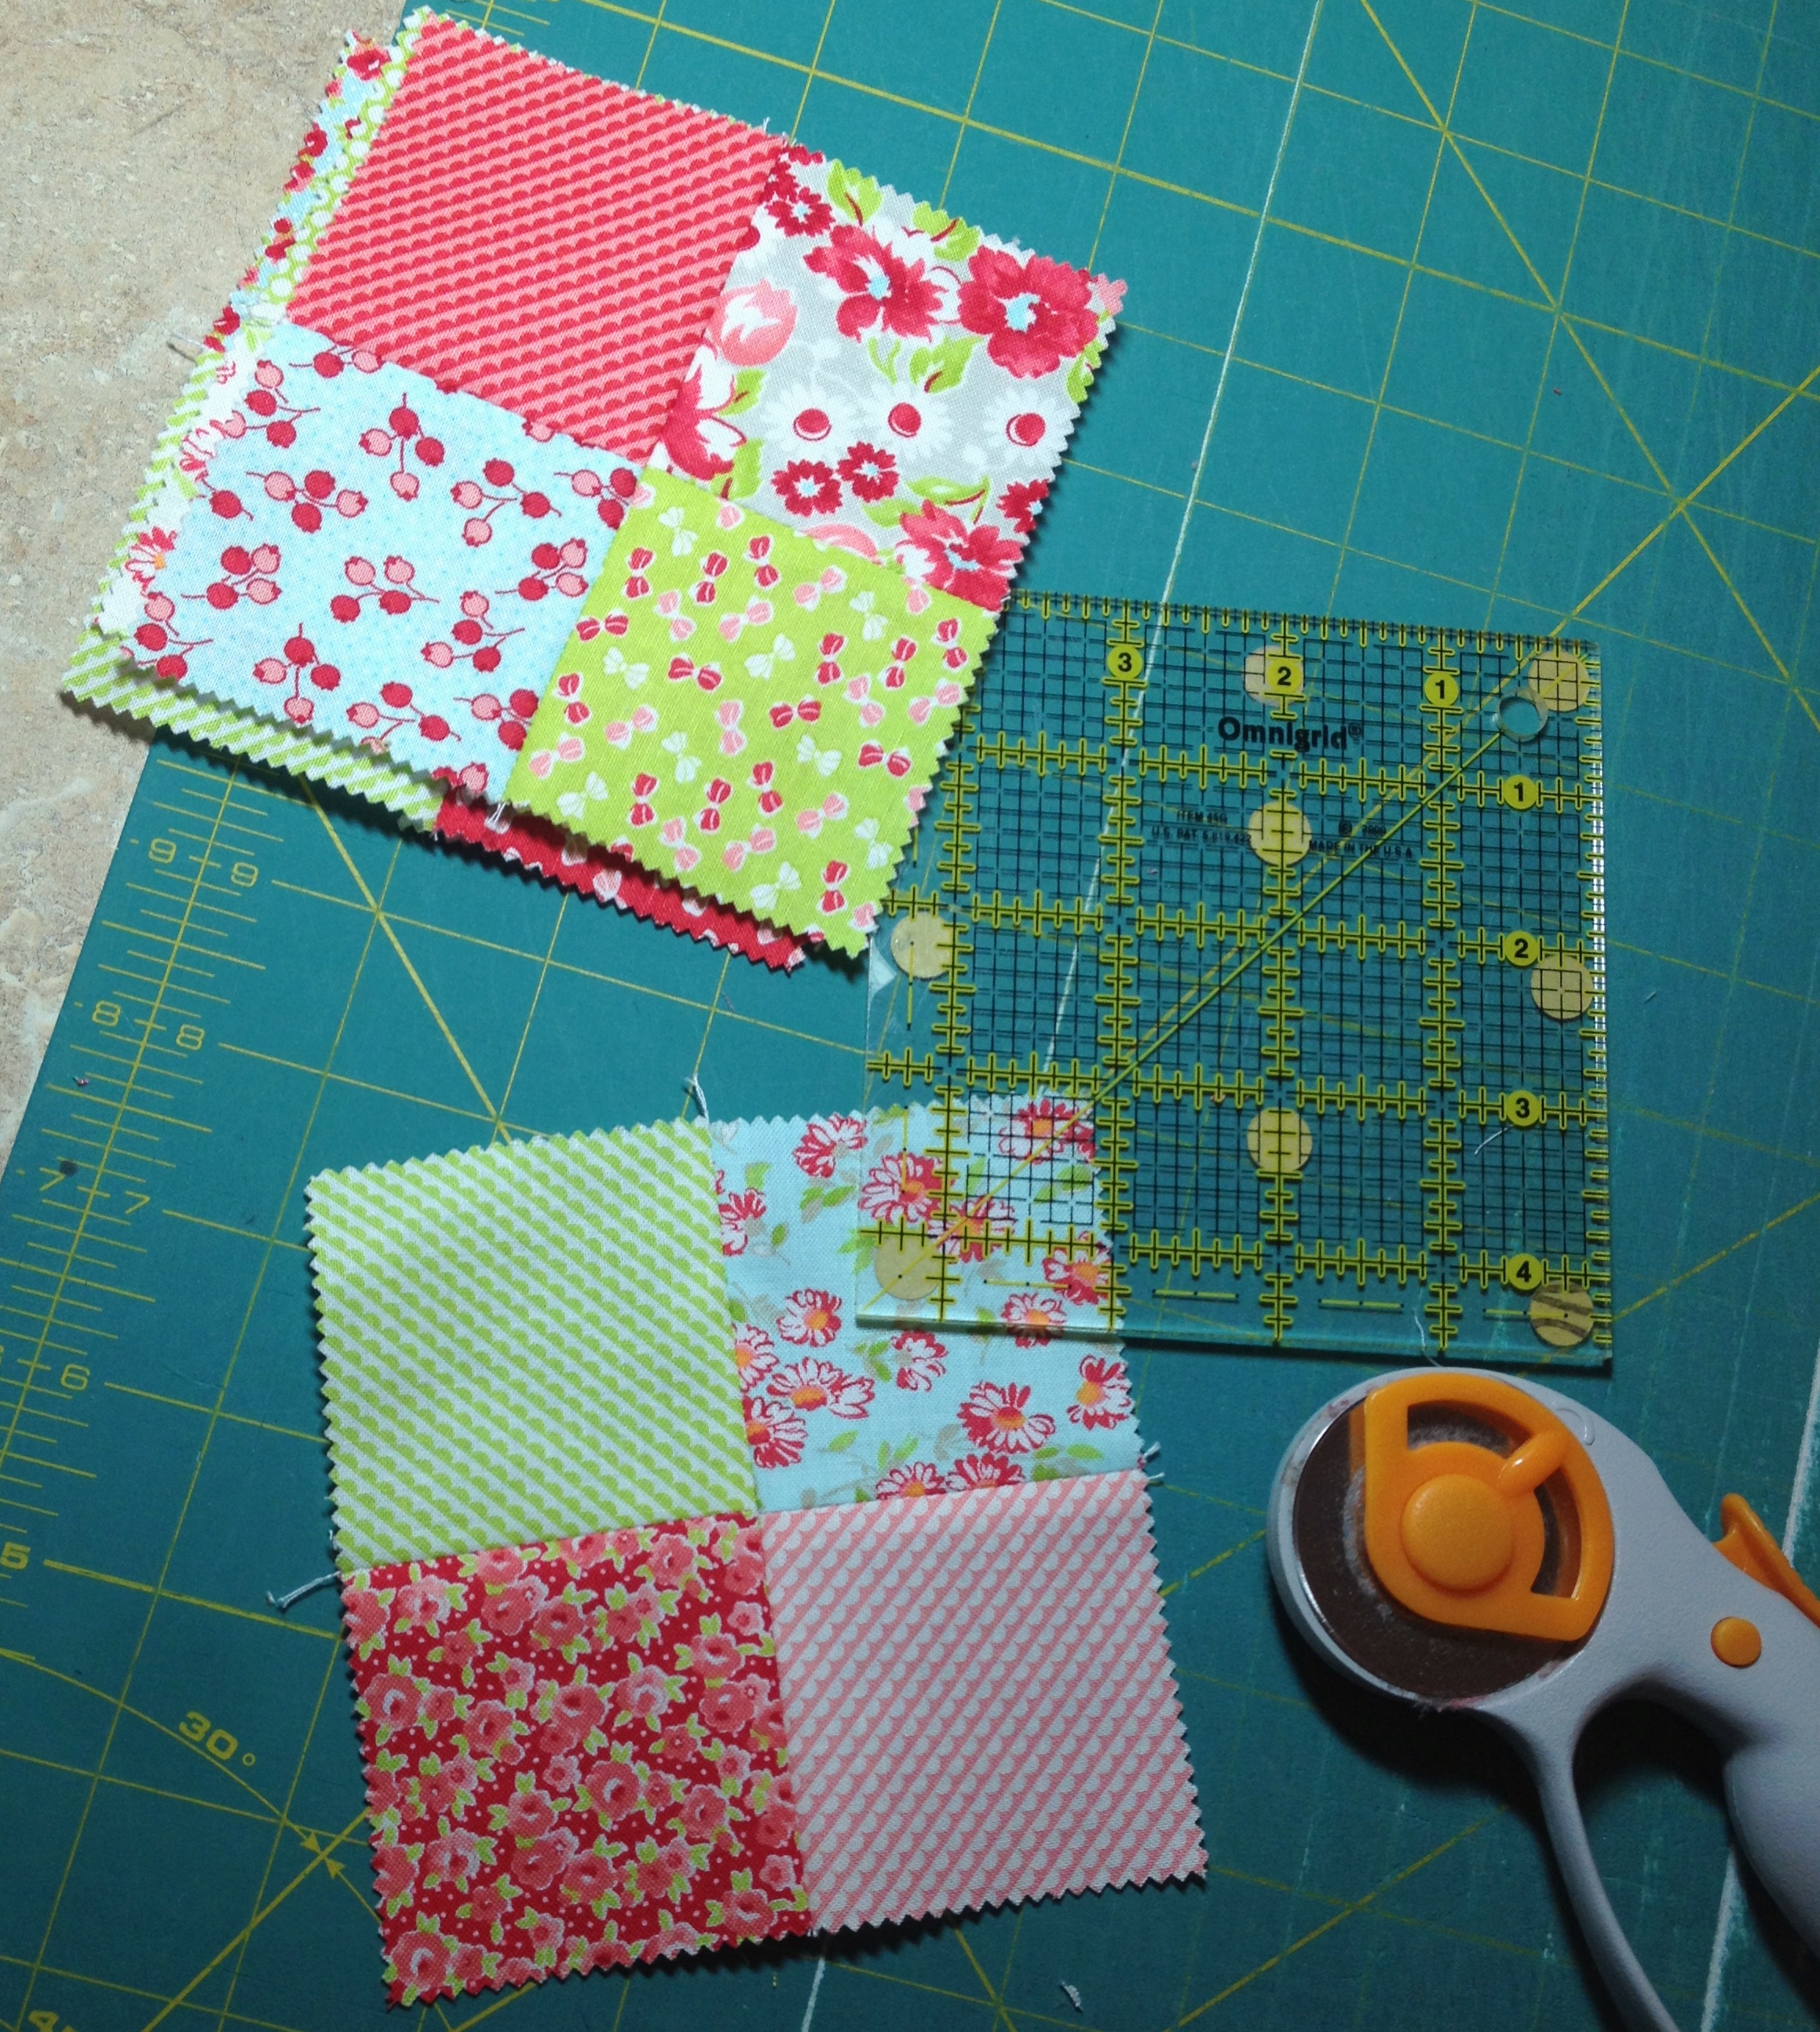
Next you want to take your mini charm pack and start laying out the squares in a pleasing arrangement. This is always fun because you get to play with the all the fun prints. I like to take a photo of my design after doing this. It's a great way to see the colors from a different perspective. Once you are happy with your arrangement, keep that photo.

After I have decided on my final arrangement of mini charms, it's time to start sewing them together. I like to put the sections together on my design board and put it next to my machine.
Piece together the following sections:
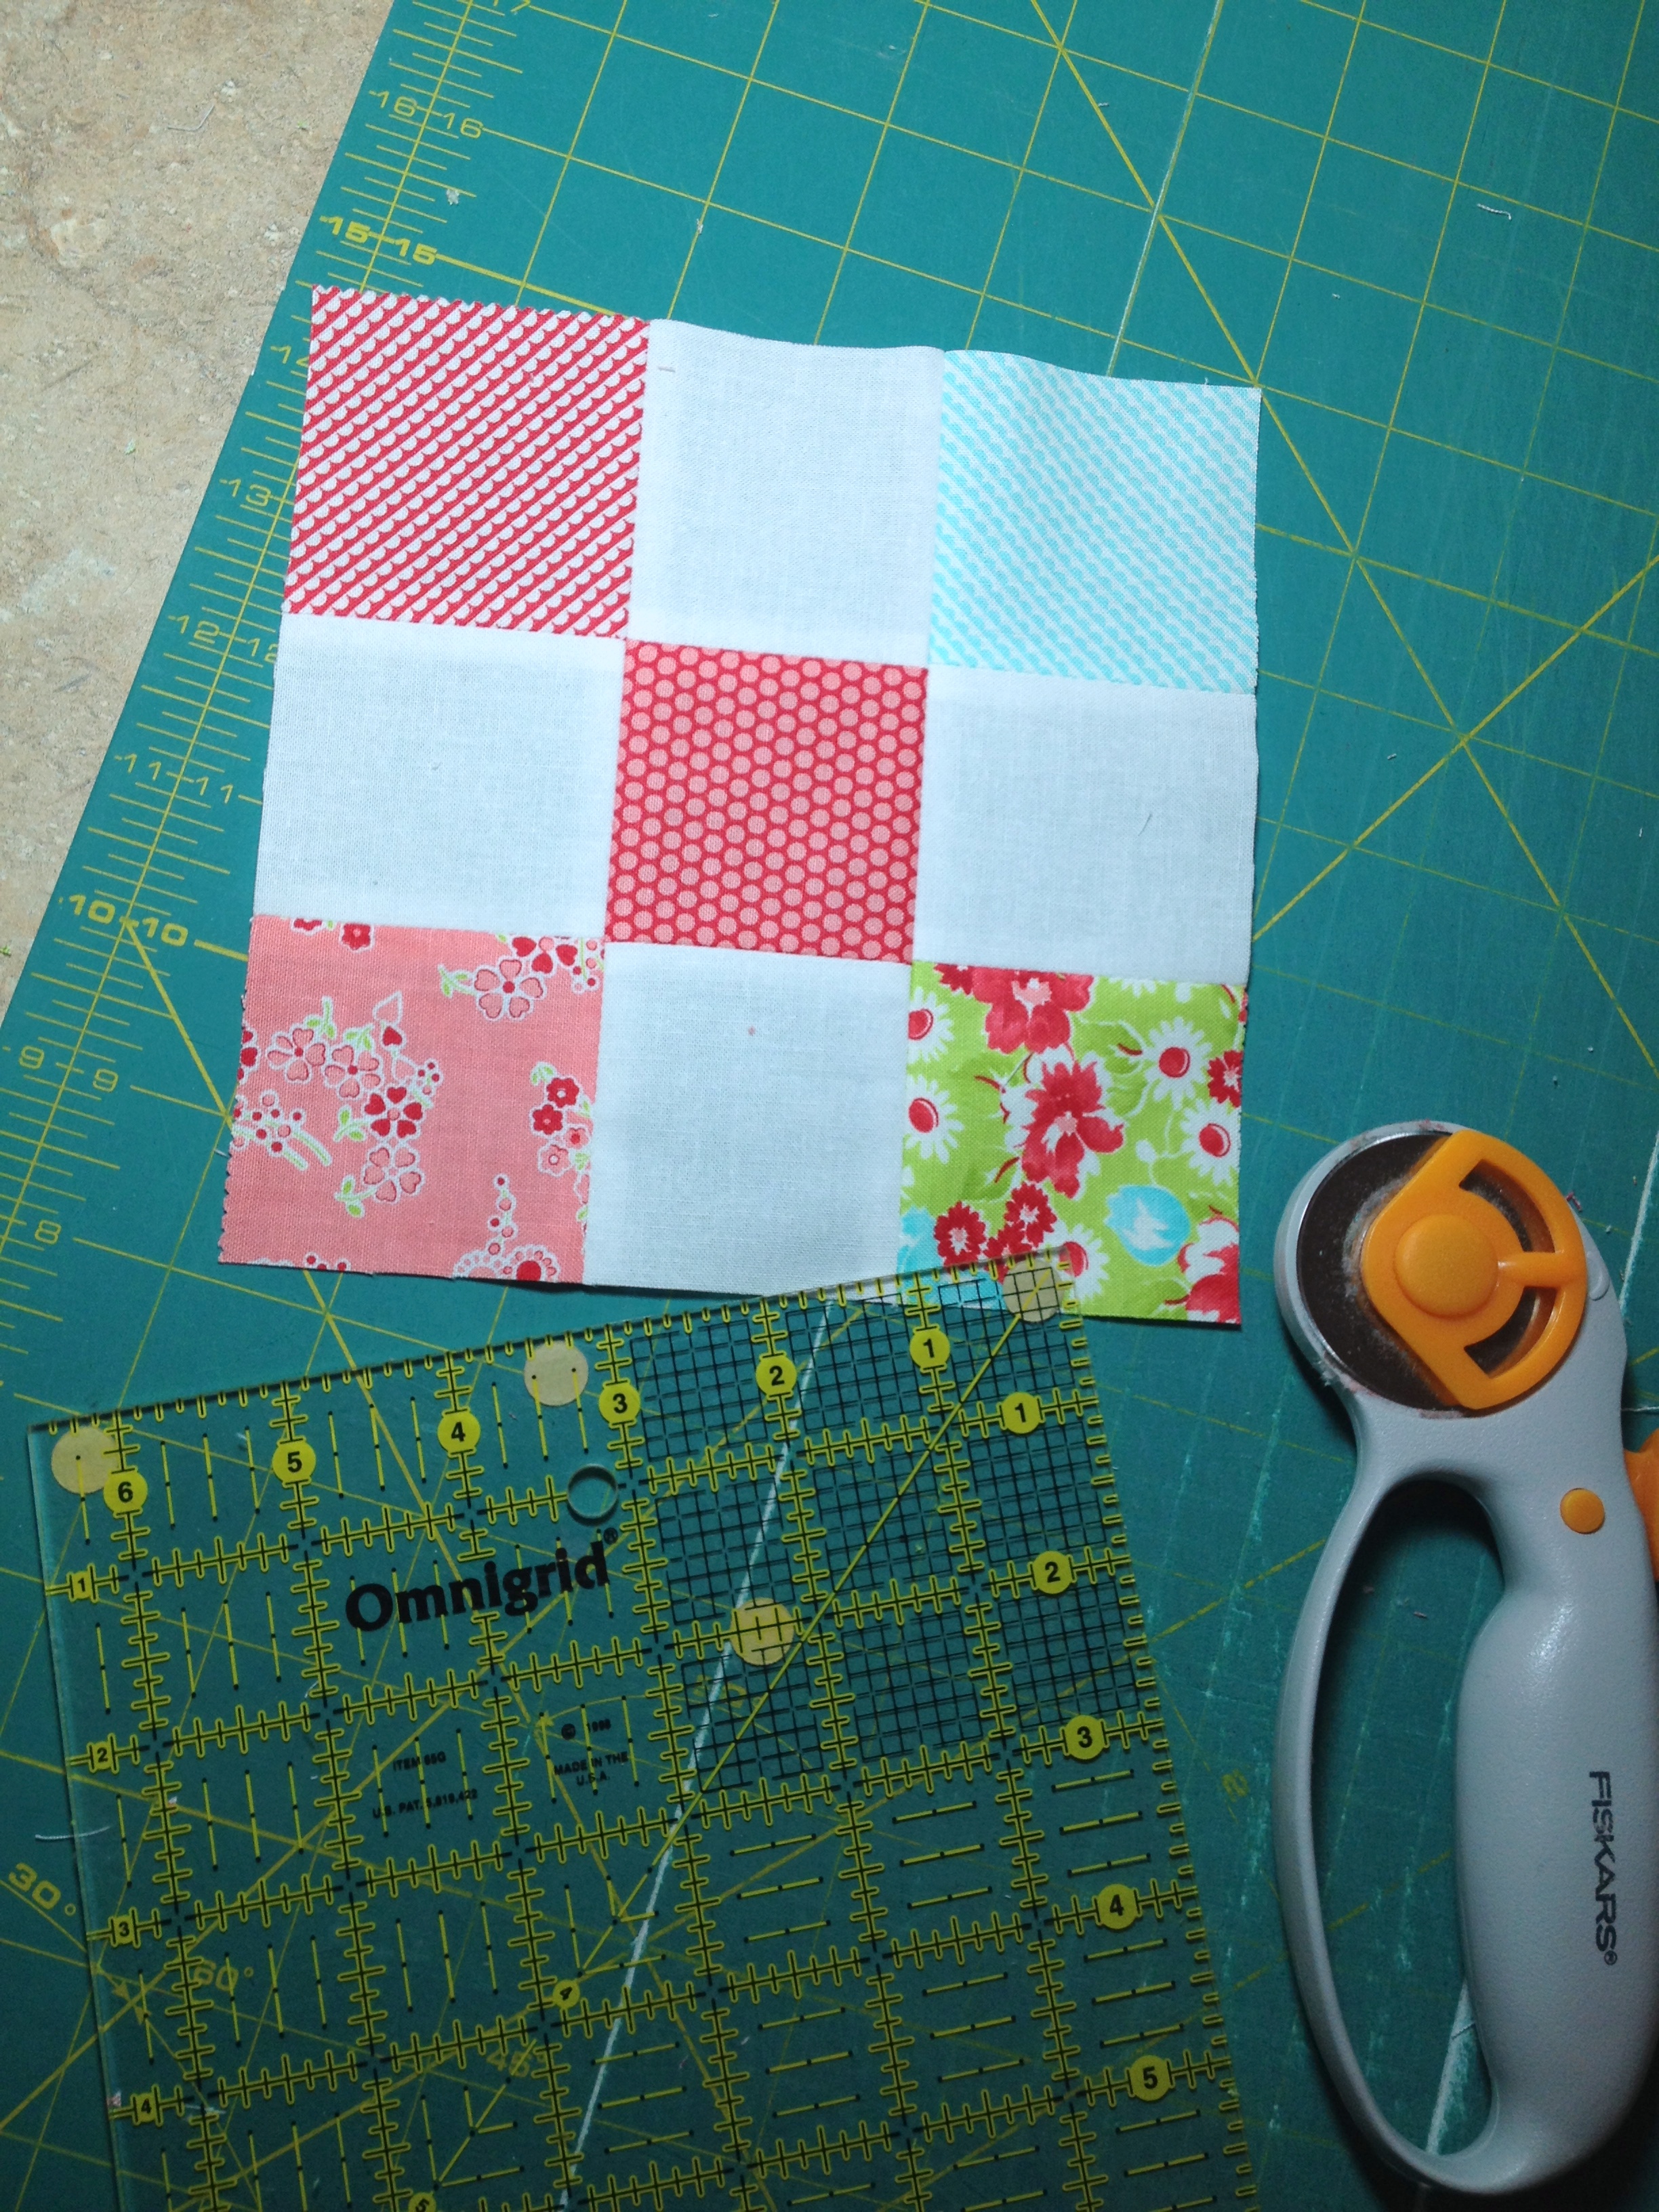
-center nine patch section (5 mini charms and 4 Bella 2.5" squares)
-4 side sections (each made up of 3 mini charms and 1 Bella 2.5"x 6.5" strip)
-4 four patch squares (4 mini charms each)
-2 long side strips (each made up of 2 mini charms and 1 Bella 2.5" x 14.5" strip)
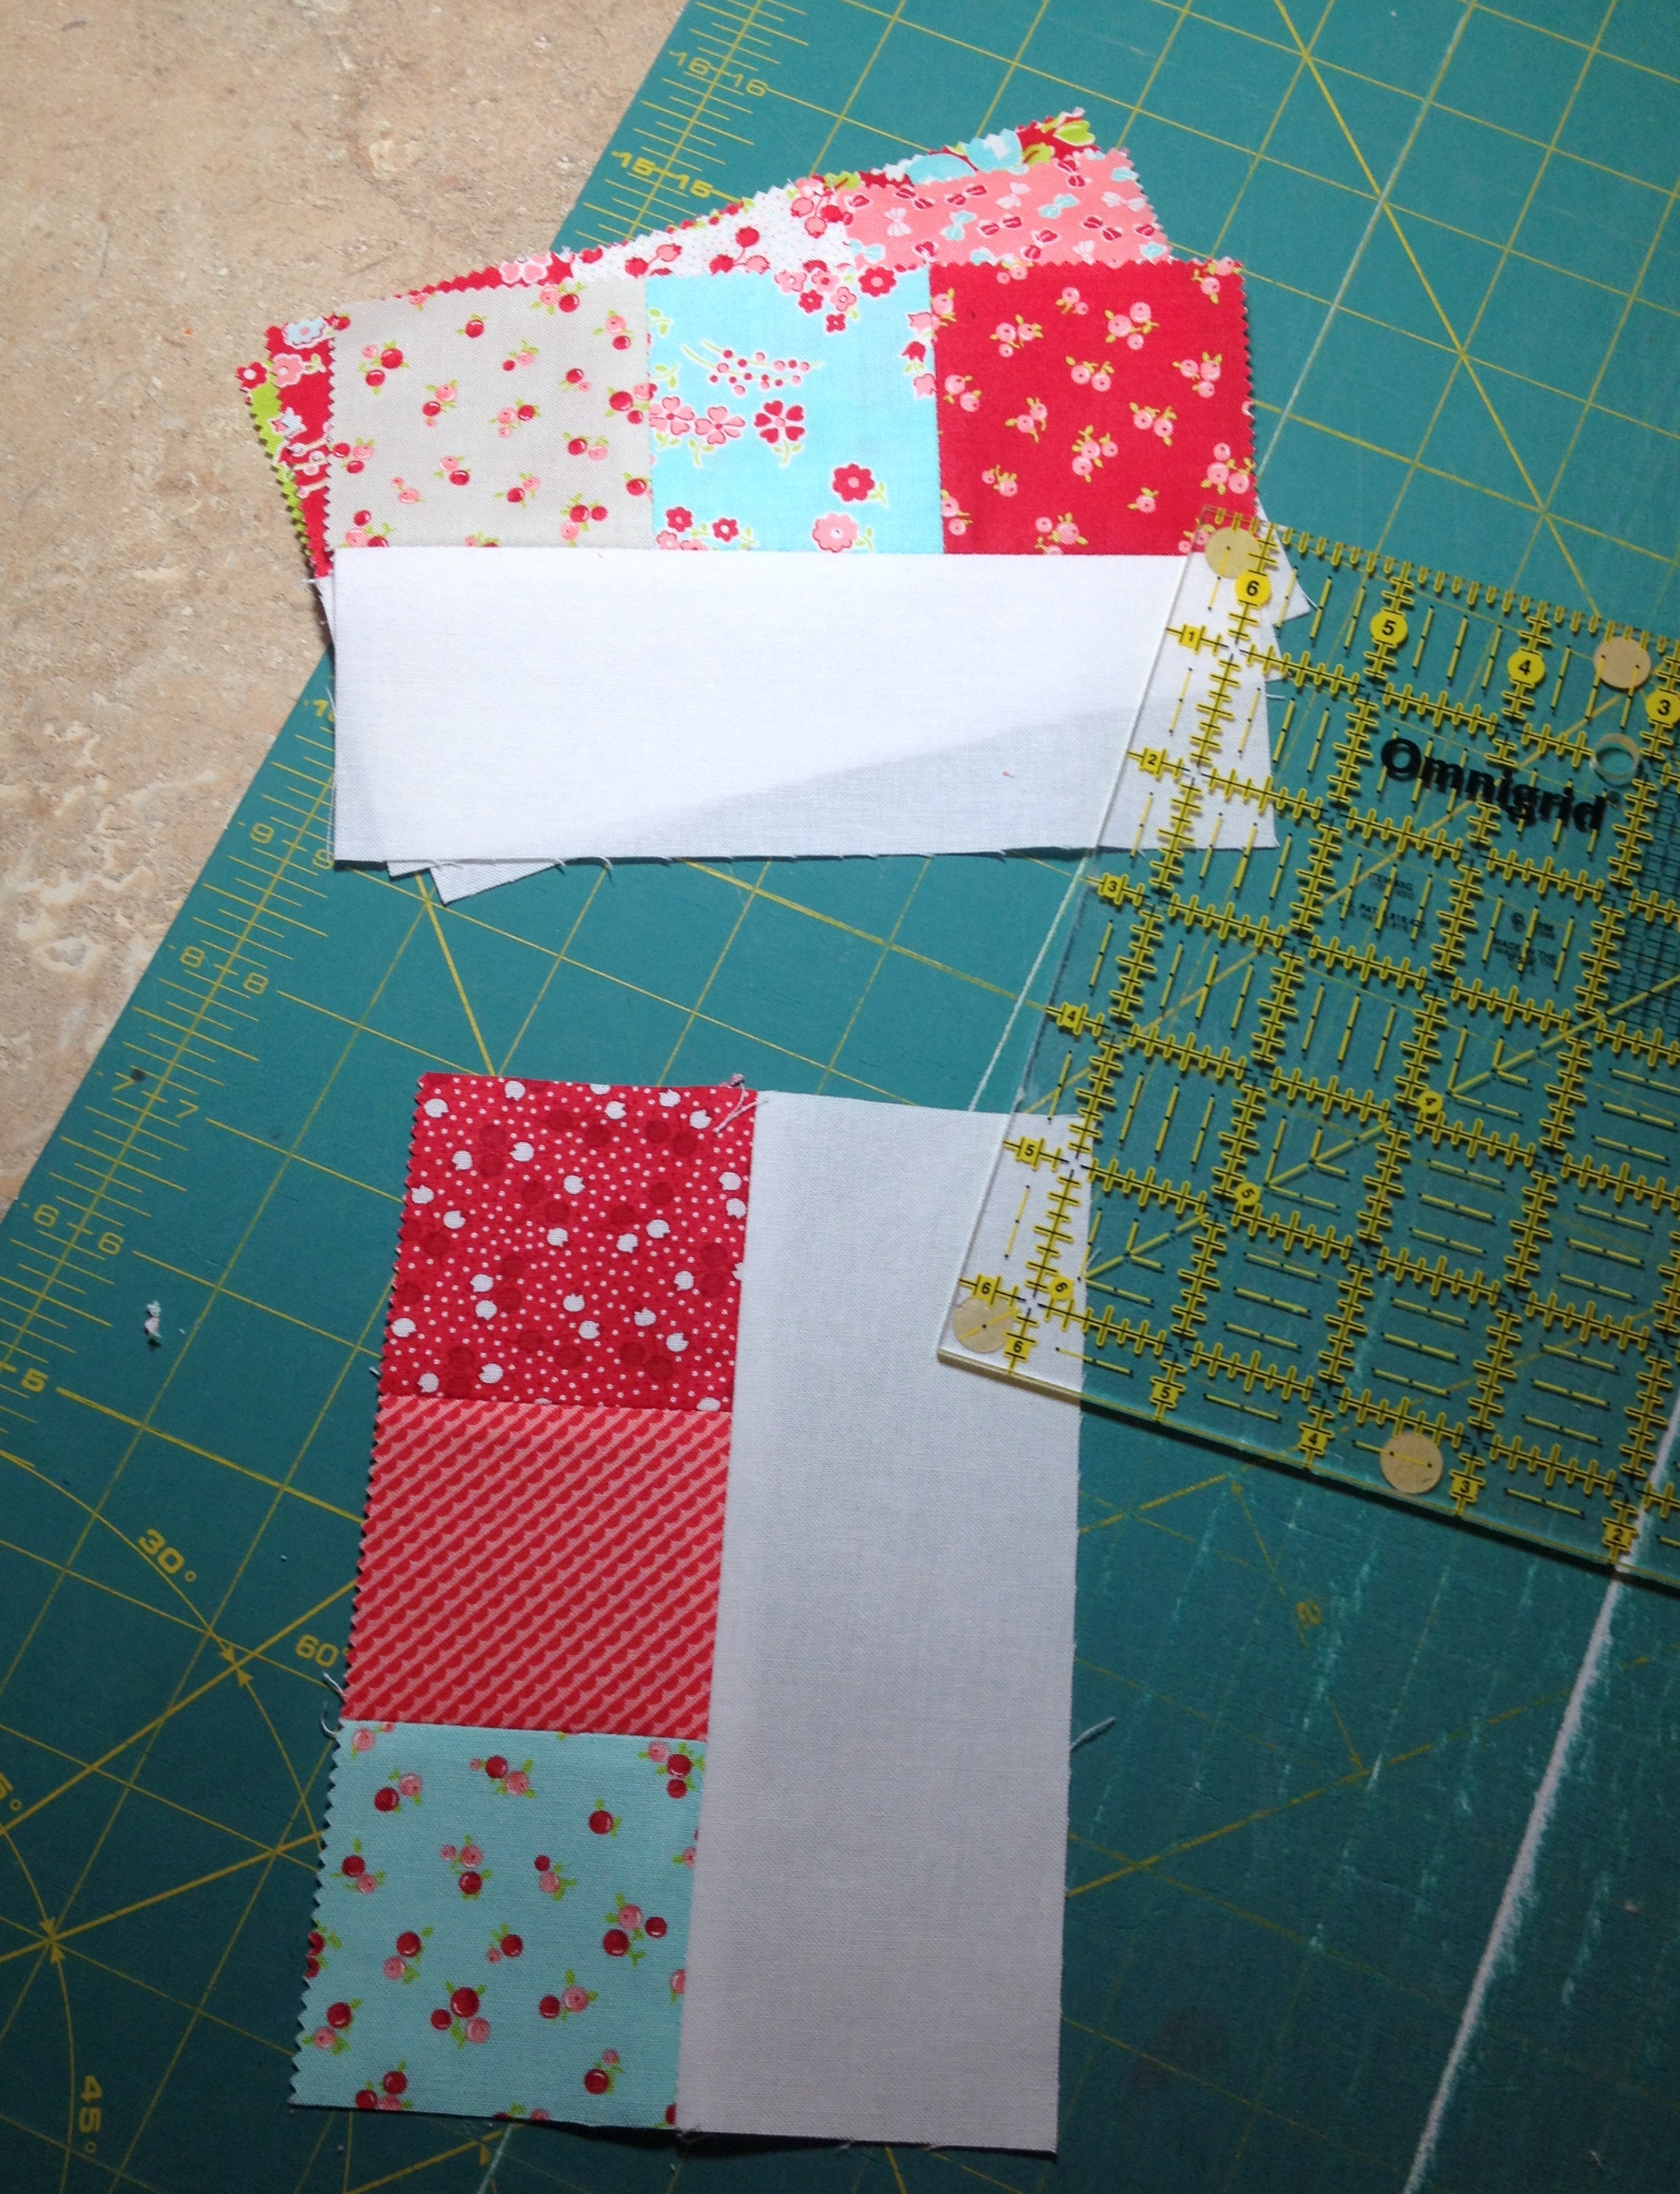
The following photo shows how to piece together the different sections.
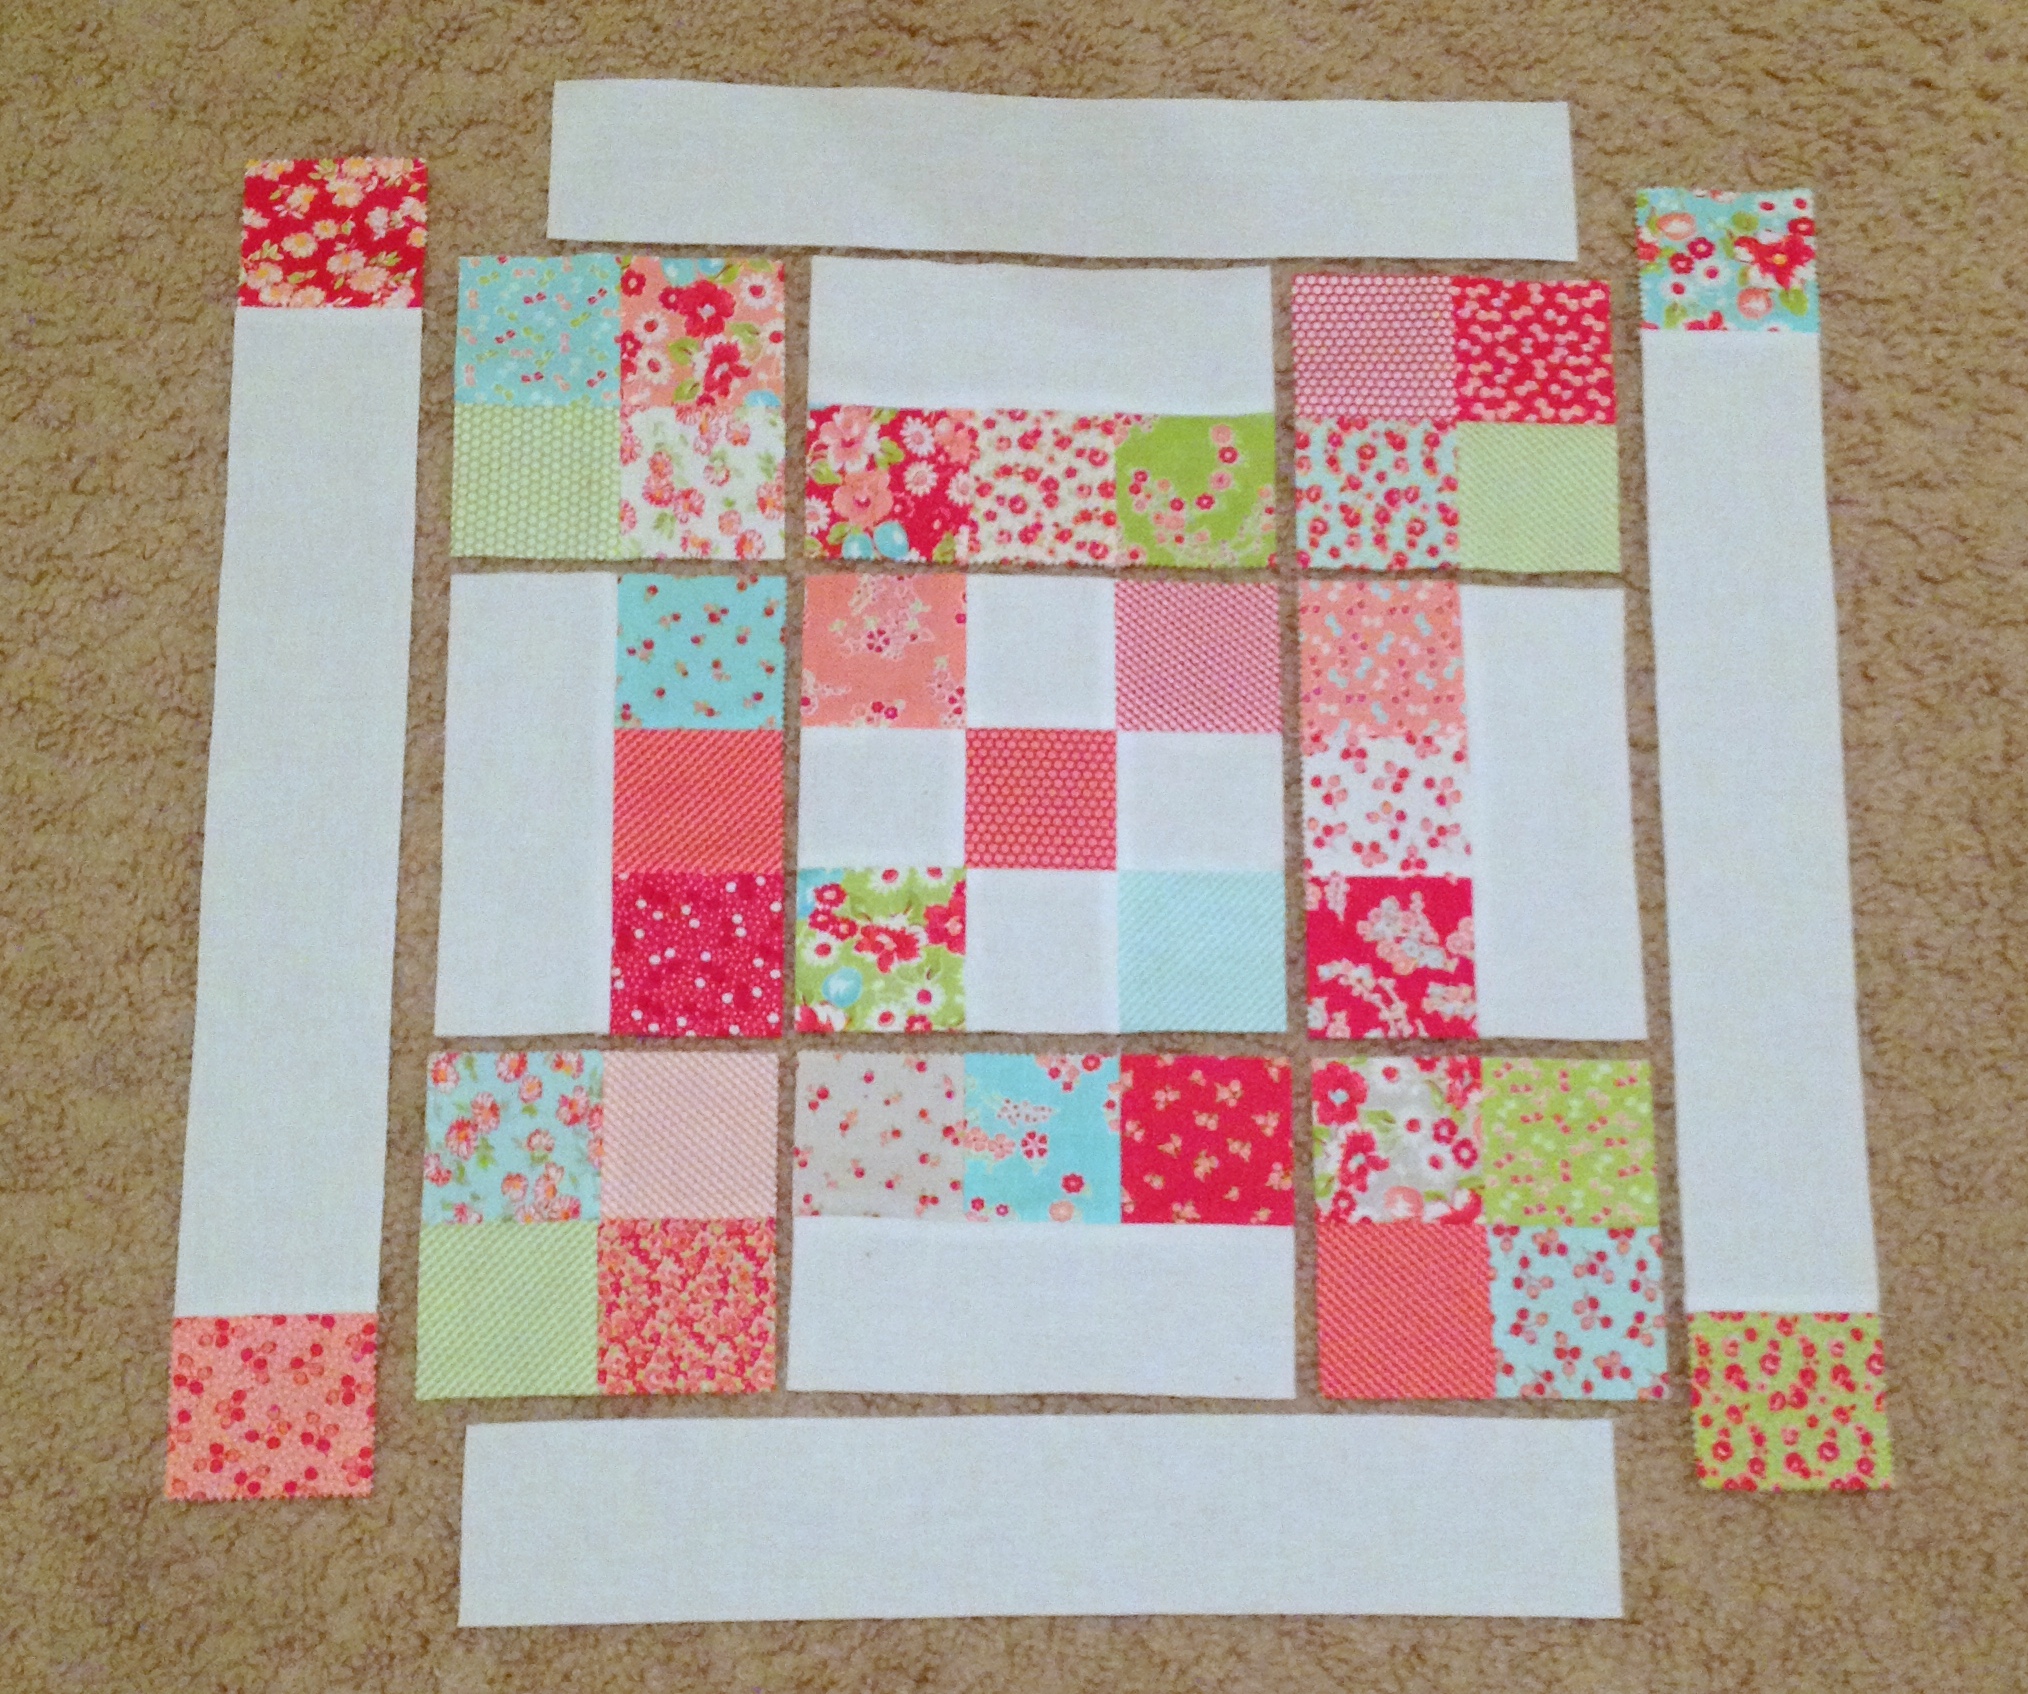
While constructing this pillow cover, I pressed all seams open. It is also very helpful to trim each of the above units to size before assembling the complete top.
Trim the following:
center section: 6.5" square
side sections: 4.5" x 6.5"
four patches: 4.5" square
Now it's time to sew all the sections together.
1. Assembles rows A, B and C, pressing seams open.
2. Sew together all rows, pressing seams open. This will create a 14.5" square block.
3. Add strips labeled D, pressing seams out toward D strips.
4. Add strips labeled E, pressing seams out toward E strips.

Now you should have a beautiful block measuring 18.5" unfinished.

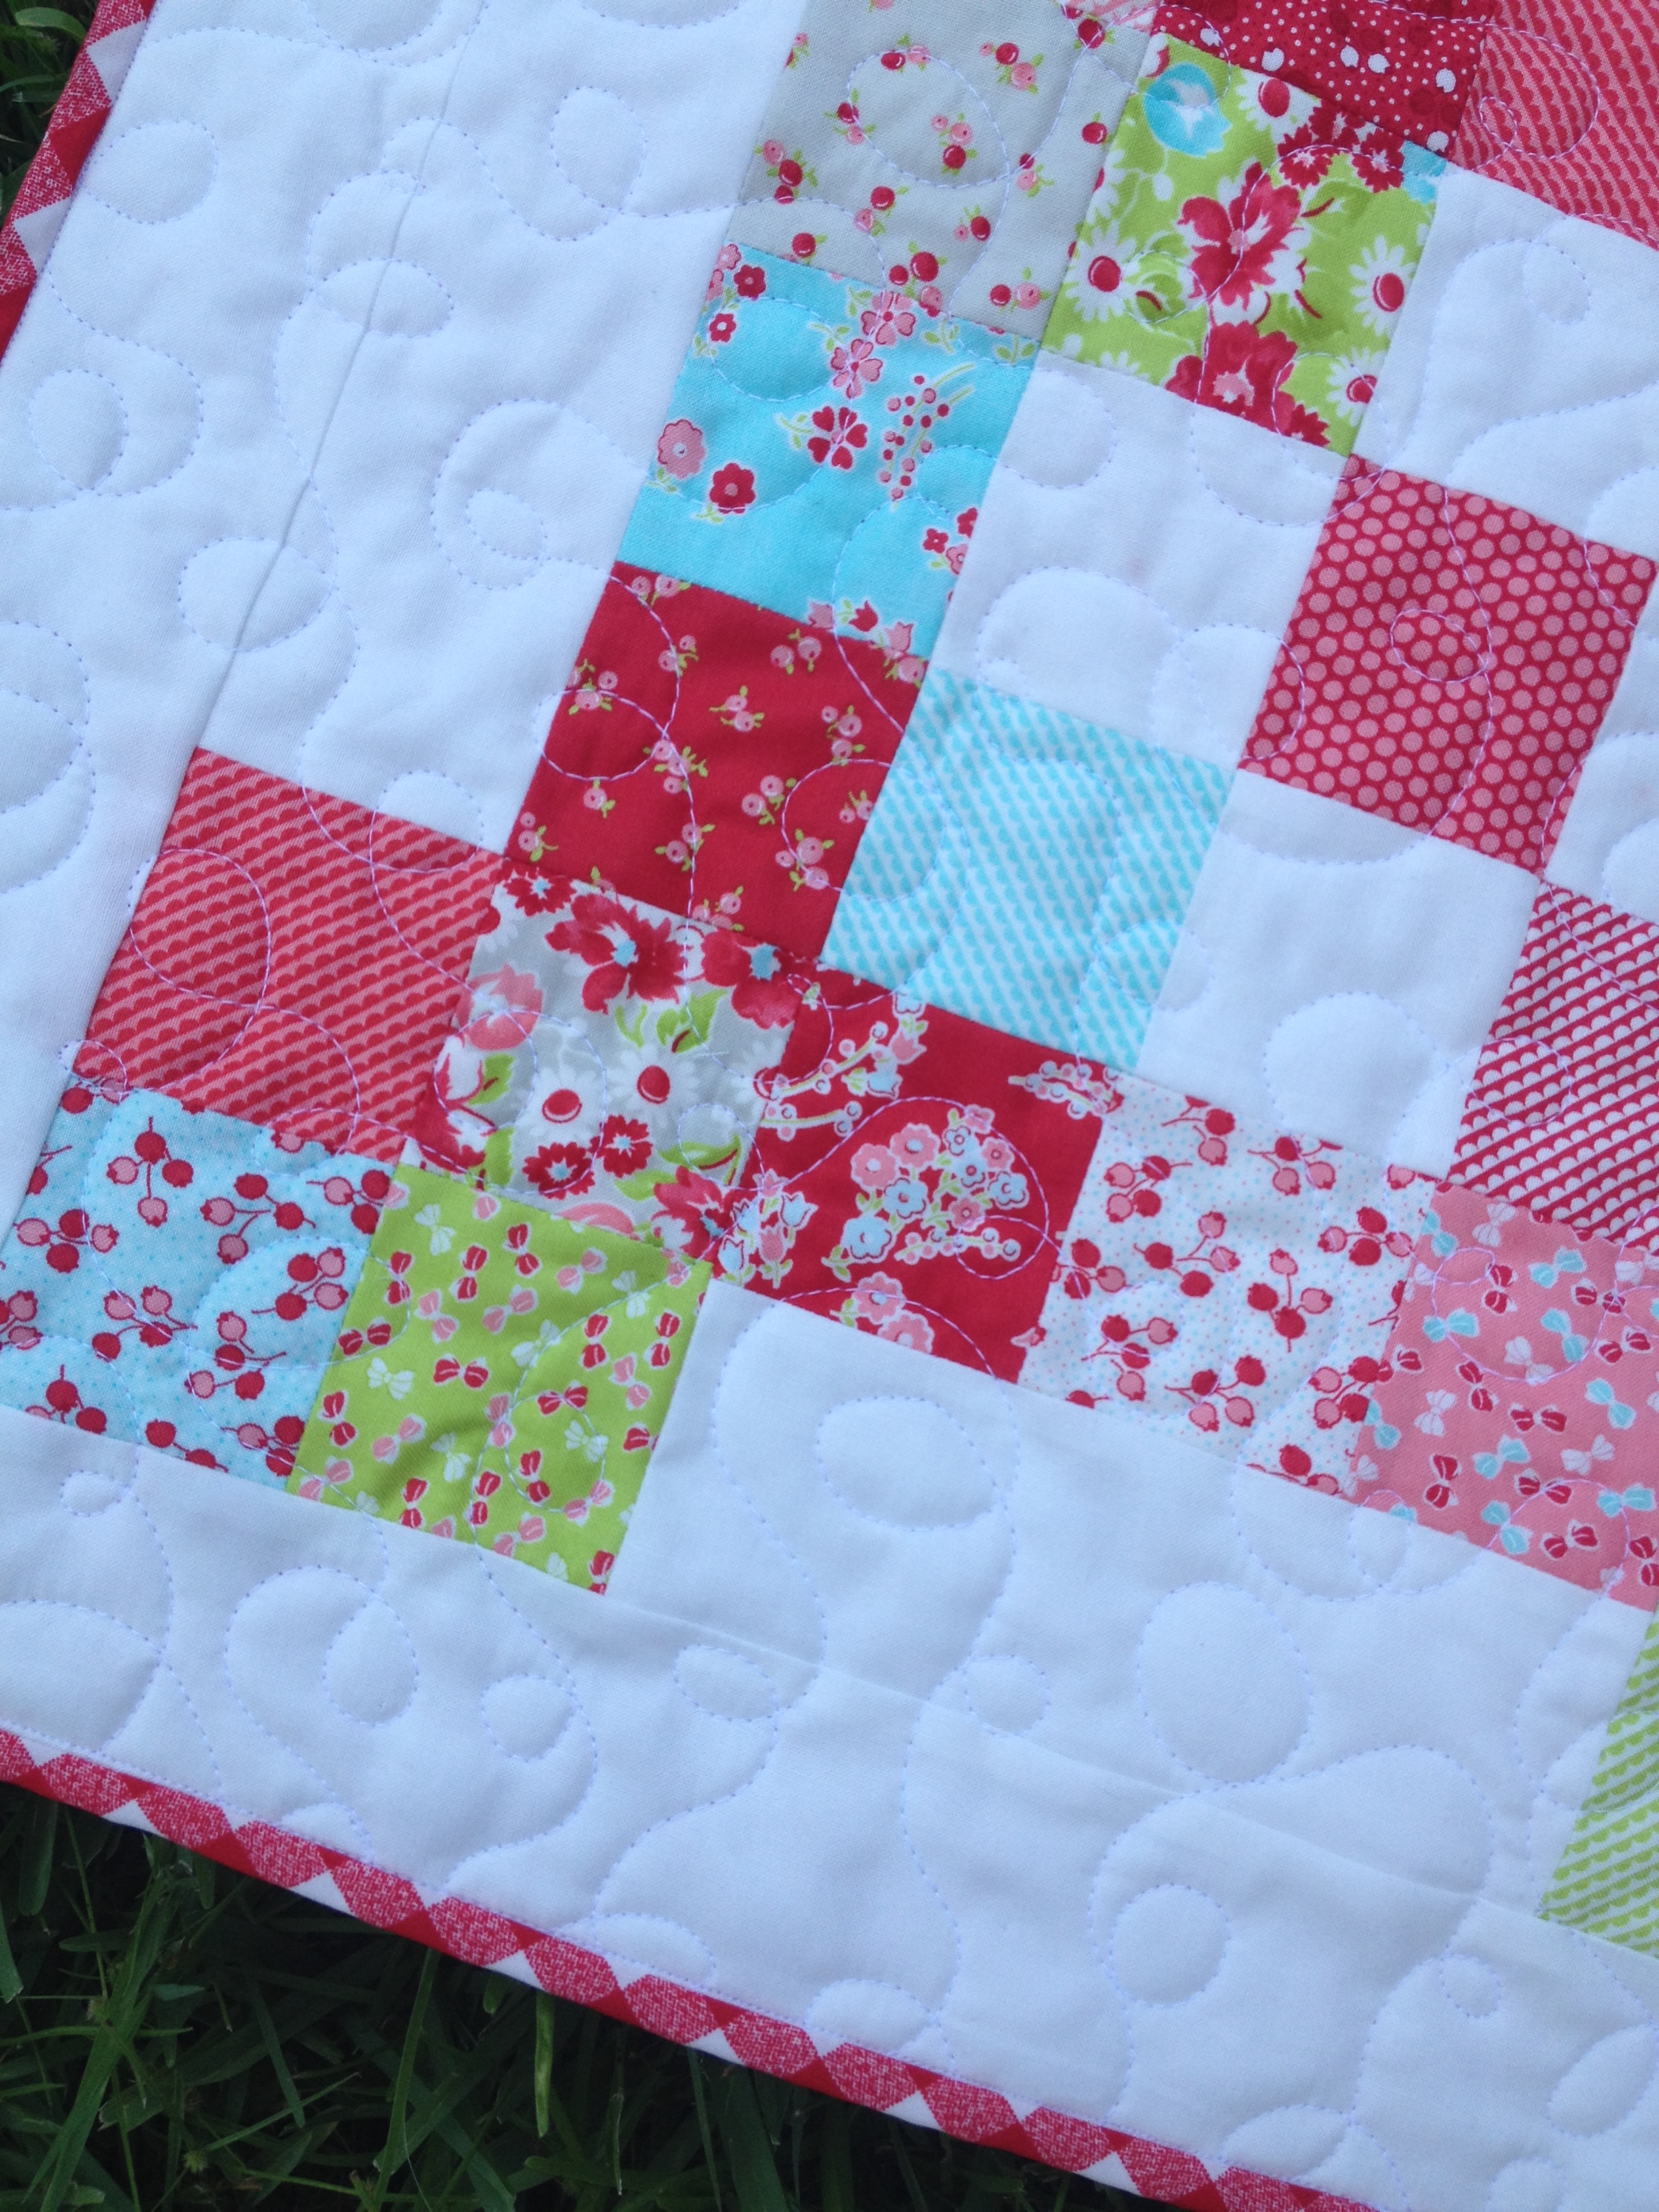
The first time I made this block, I used it to create a quilted and bound pillow cover. When making a quilted pillow cover, I like to create a "quilt sandwich" with the finished pillow top before doing some free motion quilting. I use a layer of Warm and White batting and some muslin or inexpensive white "backing". Then I do some pretty free motion quilting (my favorite).
When you are finished quilting, trim your batting and "backing" flush with the edges of the pillow top.
For the envelope backing, this is my favorite method:
-From the 3/4 yard of backing fabric, cut 2 rectangles measuring 18.5" x 24".
-Fold each rectangle in half, so that the folded rectangles measure 18.5" x 12".
-Topstitch along the folded edge of both rectangles.
-Lay your pillow top right side down and place the folded rectangles on top. The raw edges should match the raw edges of the pillow front and the folded edges should overlap in the middle.
-Pin layers well and stitch all the way around the outside of the pillow cover using an 1/8" seam allowance.
-Bind quilted pillow cover using your preferred method.
You did it!
This makes a lovely finished pillow cover every time! I think you will love the results!
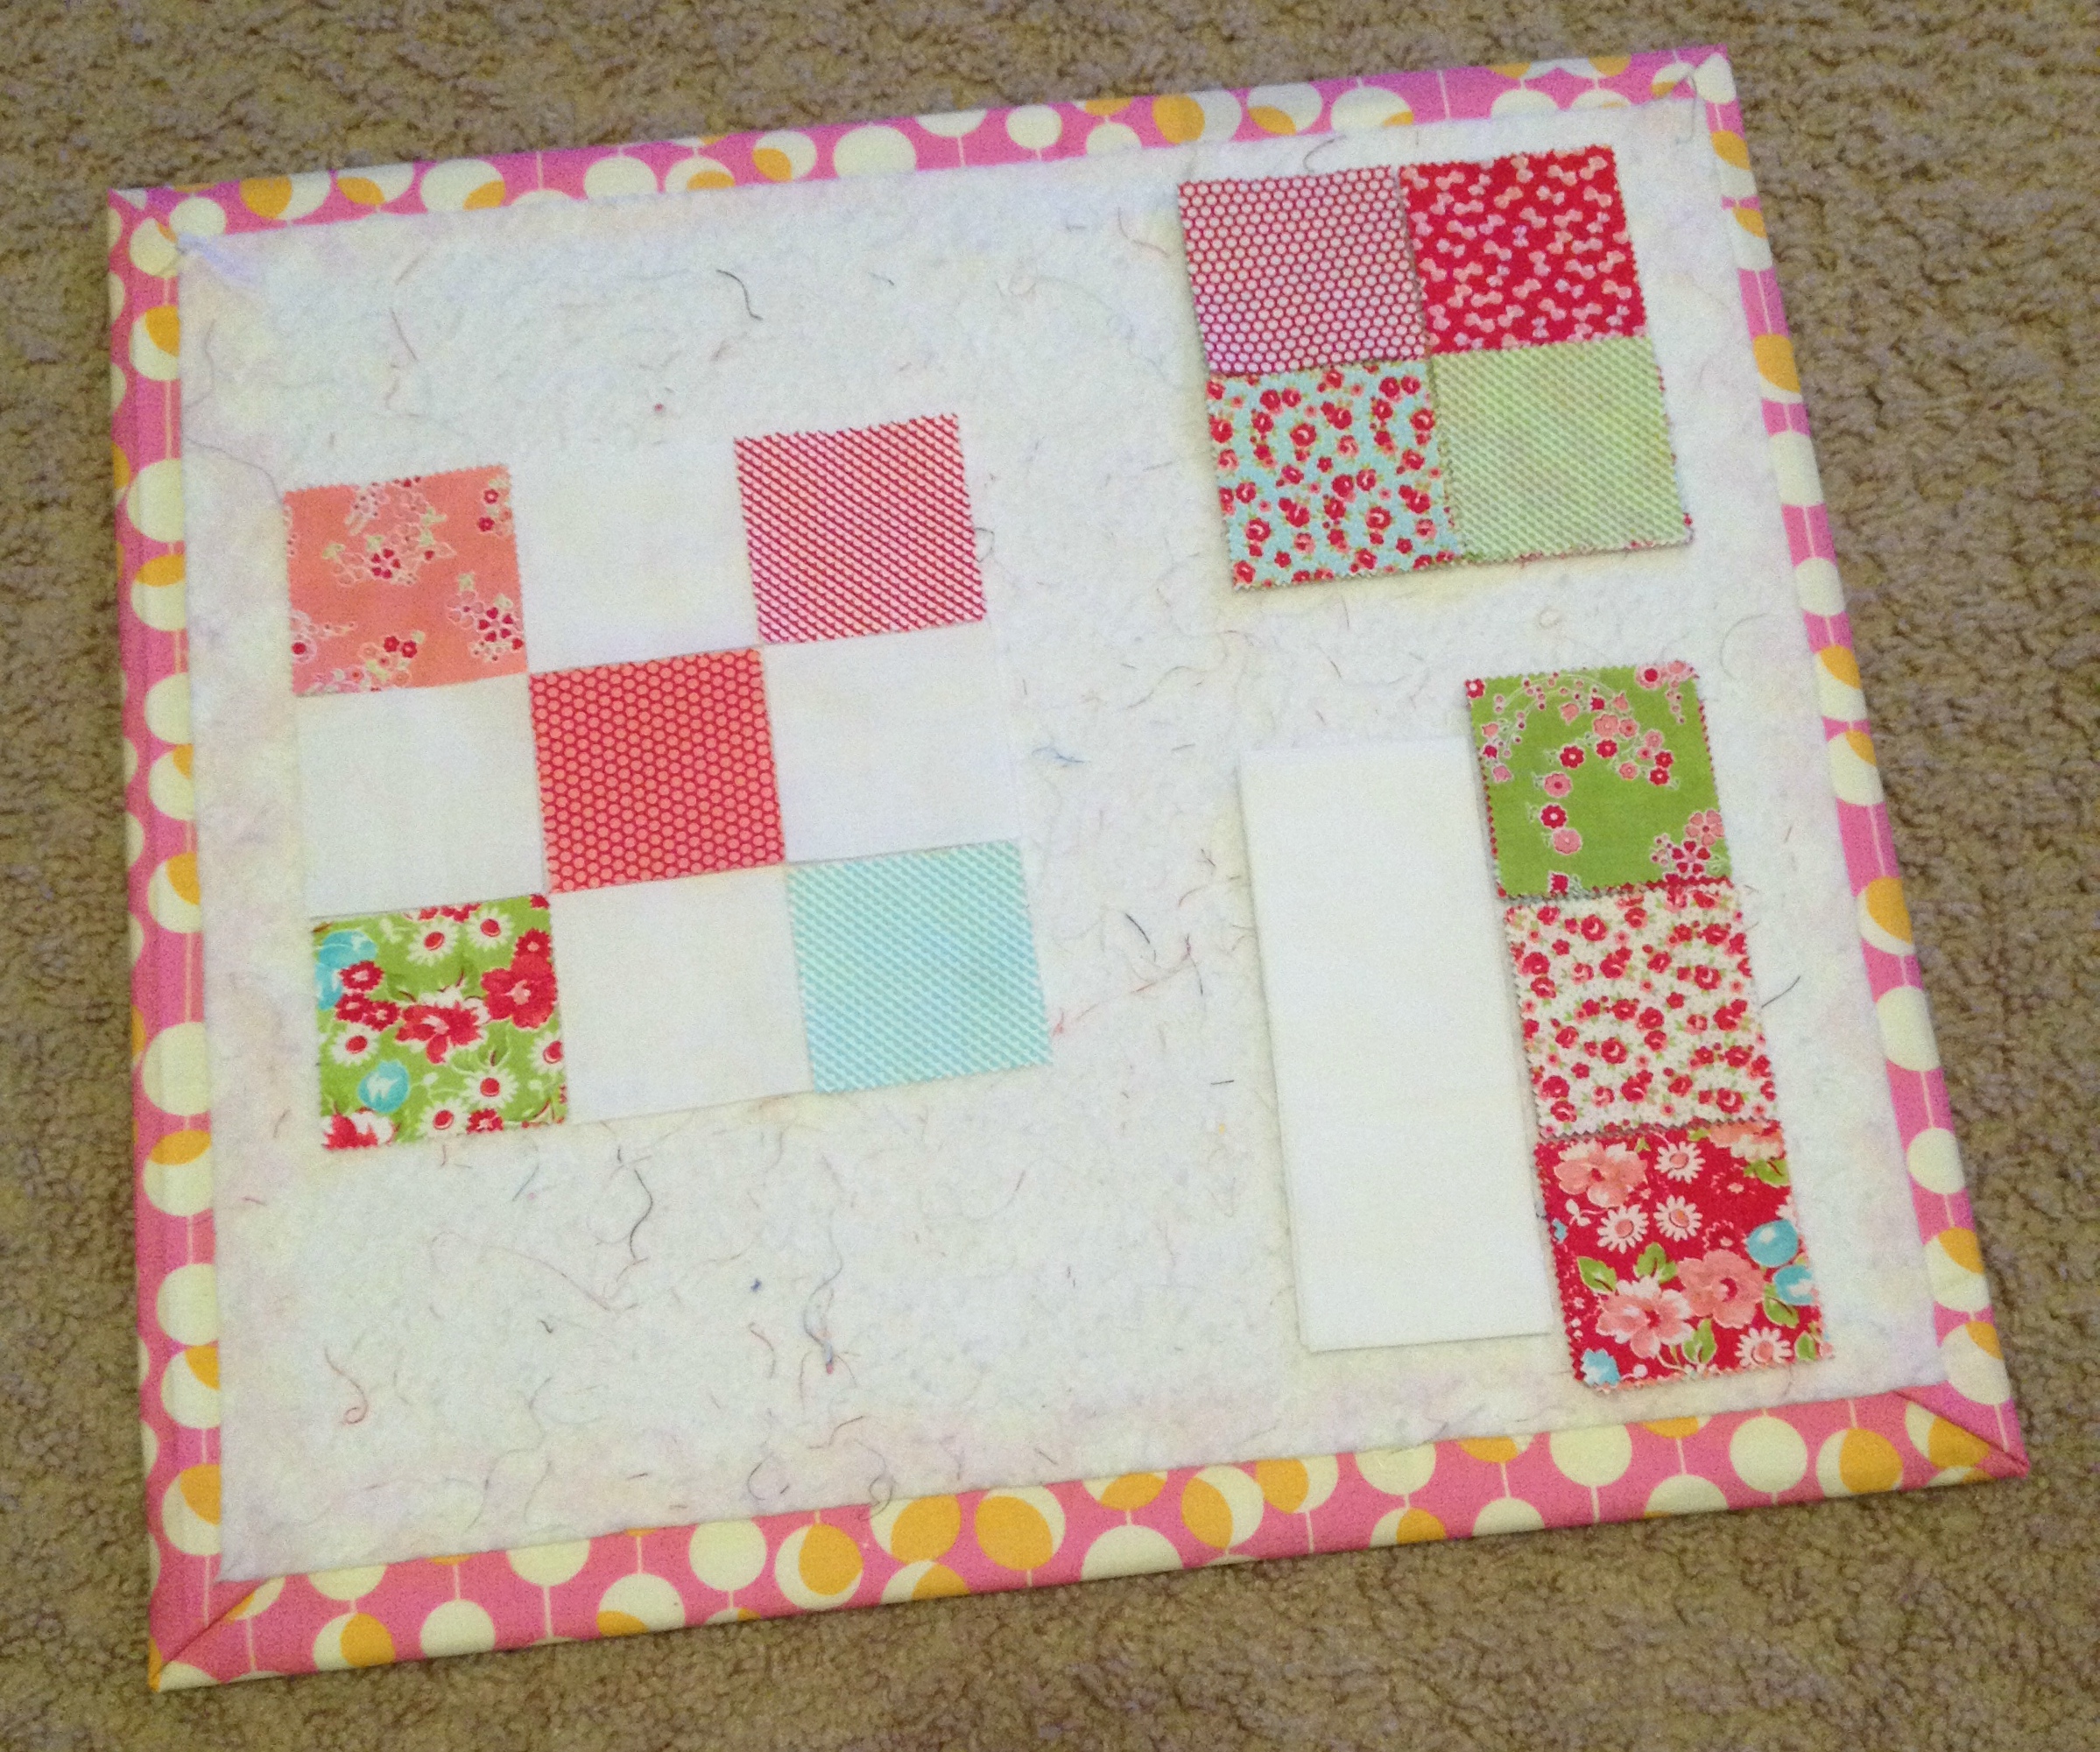
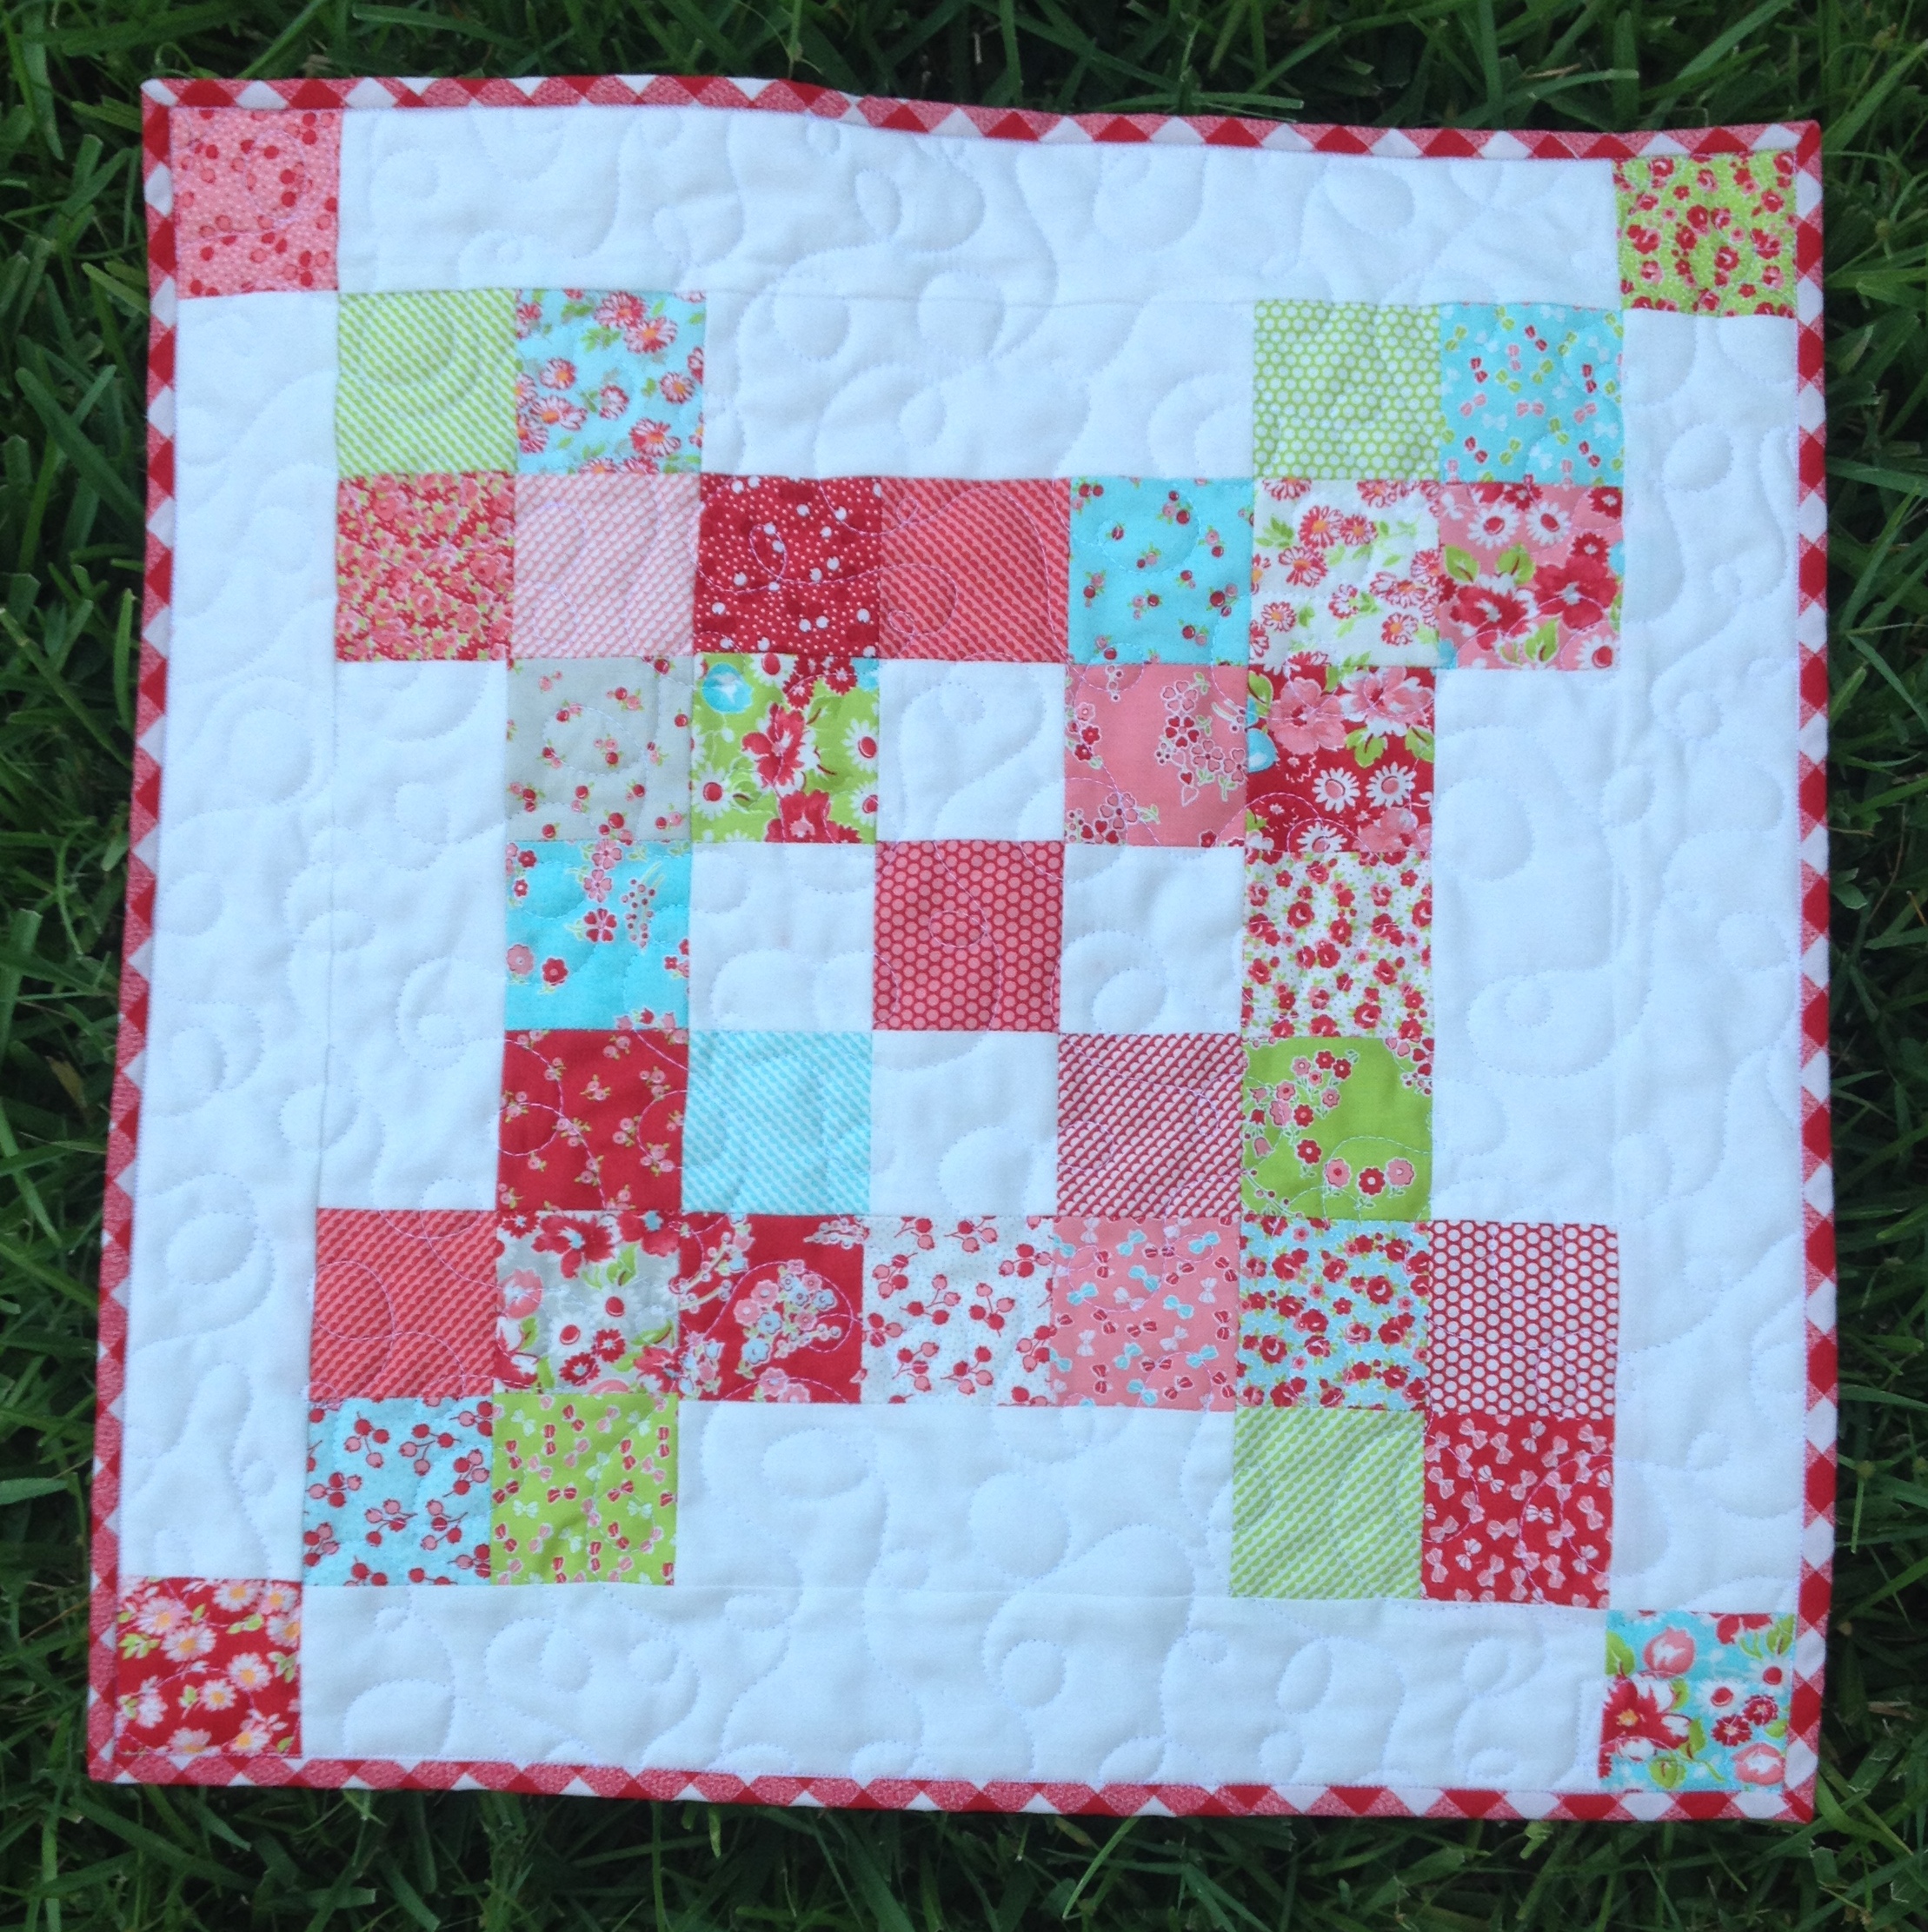
**If you are not in the mood to make this block into a pillow cover, you can also make a mini quilt to give as a gift or hang on the wall. (I did that too!)
![]()
This pillow cover (or mini quilt) finishes at 18.5" square
Again, thank you so much for stopping by for my very first Moda Bake Shop tutorial! I had such fun. I hope you enjoy making this!
Celeste Harrington
{www.celestecreates.blogspot.com}
![]()
Posted in: