Welcome to Moda Fabrics!
QAL - Lightsaber Block
QAL - Lightsaber Block
Published:
Apr 12 2016 - 23:00


Hi! I'm Jenn Nevitt and I blog at mommysew.com. I've enjoyed contributing to the Bake Shop in the past, so when the opportunity came up to be part of the Bake Shop Birthday QAL, I couldn't resist!
Our household is currently in the thrall of the Star Wars universe, so this just seemed like a perfect pairing! 
This block finishes at 36.5"x23".
![]()

1 Jelly Roll® of Mama Said Sew Vol II by Sweetwater
1/2 yard background fabric (if you want to make the letters as well, you will need 3 yards of background fabric)
![]()
For your block, you will need the following:
Cut from the jelly roll, 31 dark red 2.5" squares, 16 light red 2.5" squares, 3 grey 2.5" squares and 22 black 2.5" squares.
You will also need the following cut from your background fabric: 6 2.5" squares, 2 8.5"x8.5" squares, and 2 22.5"x8.5" rectangles.

Using your black squares, make two rows of four blocks each. Then make a row that has a black square, two light red squares and another black square. Assemble the rows with a row of black on the top and bottom, and the row with the light red squares in the middle. Press well. This makes the handle of the lightsaber.

For the hilt, you will assemble rows of three blocks. Make the following rows:
Two with background squares on either side and a dark red square in the center.
Four rows with a black square on either side and a light red square in the center.
Two rows of three black squares.
Two rows with a grey square at one end, and two black squares.
One row with a grey square in the center and black squares on either side.
Assemble these rows by following the photo. The three grey squares should form a diagonal line. Press well.

For the blade, we will also assemble rows of three blocks.
Make ten rows with a dark red square on either side, and a light red square in the center.
Make one row with background squares on either side and a dark red square in the center.
Assemble your rows by following the photo. Press well.

Sew the 8.5" squares to the top and bottom of the assembled handle rows. Sew the background rectangles to the top and bottom of the assembled blade rows. Following the photo, assemble the saber sections.
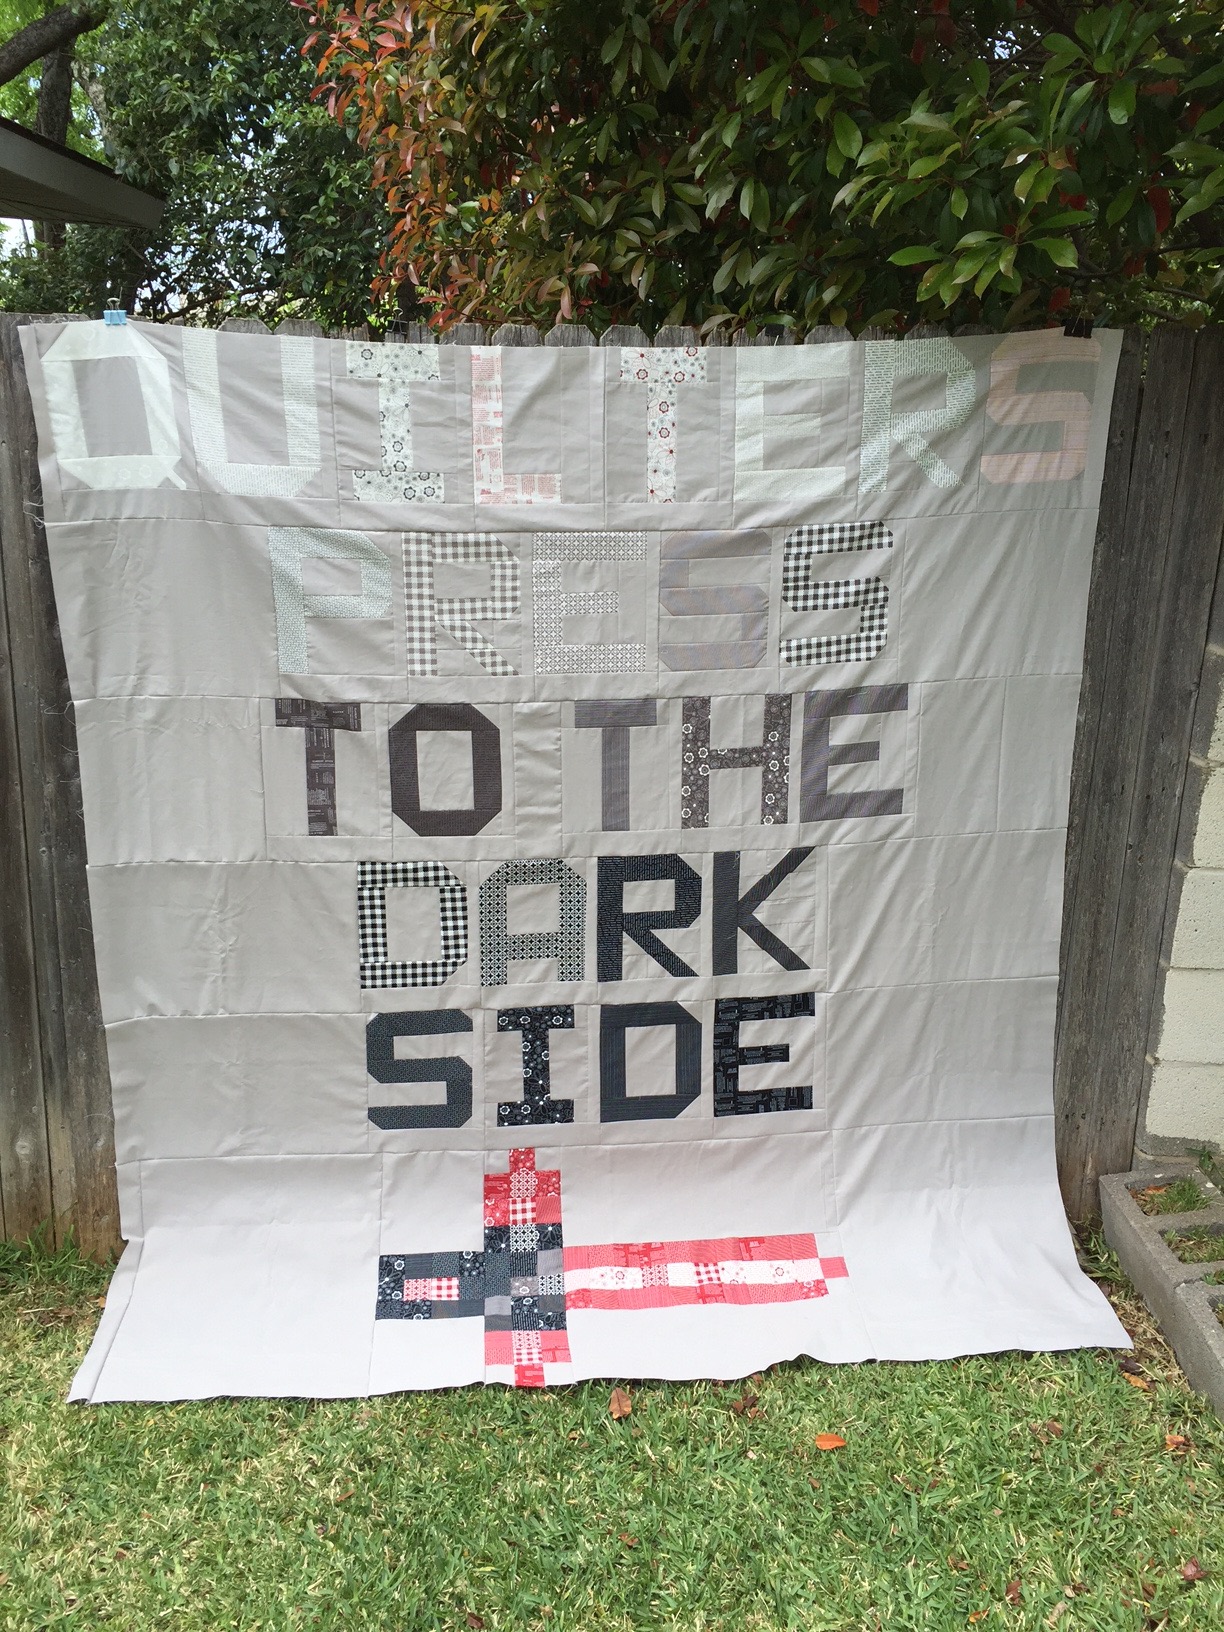
I added the letters to spell "Quilters Press to the Dark Side" as well!
Enjoy!
![]()
This quilt finishes at 73" x 83".
I'd love to see any lightsabers you sew up!
Jenn Nevitt
www.mommysew.com
![]()
Posted in: