Welcome to Moda Fabrics!
Matrix Quilt
Matrix Quilt
Published:
Apr 20 2016 - 23:00


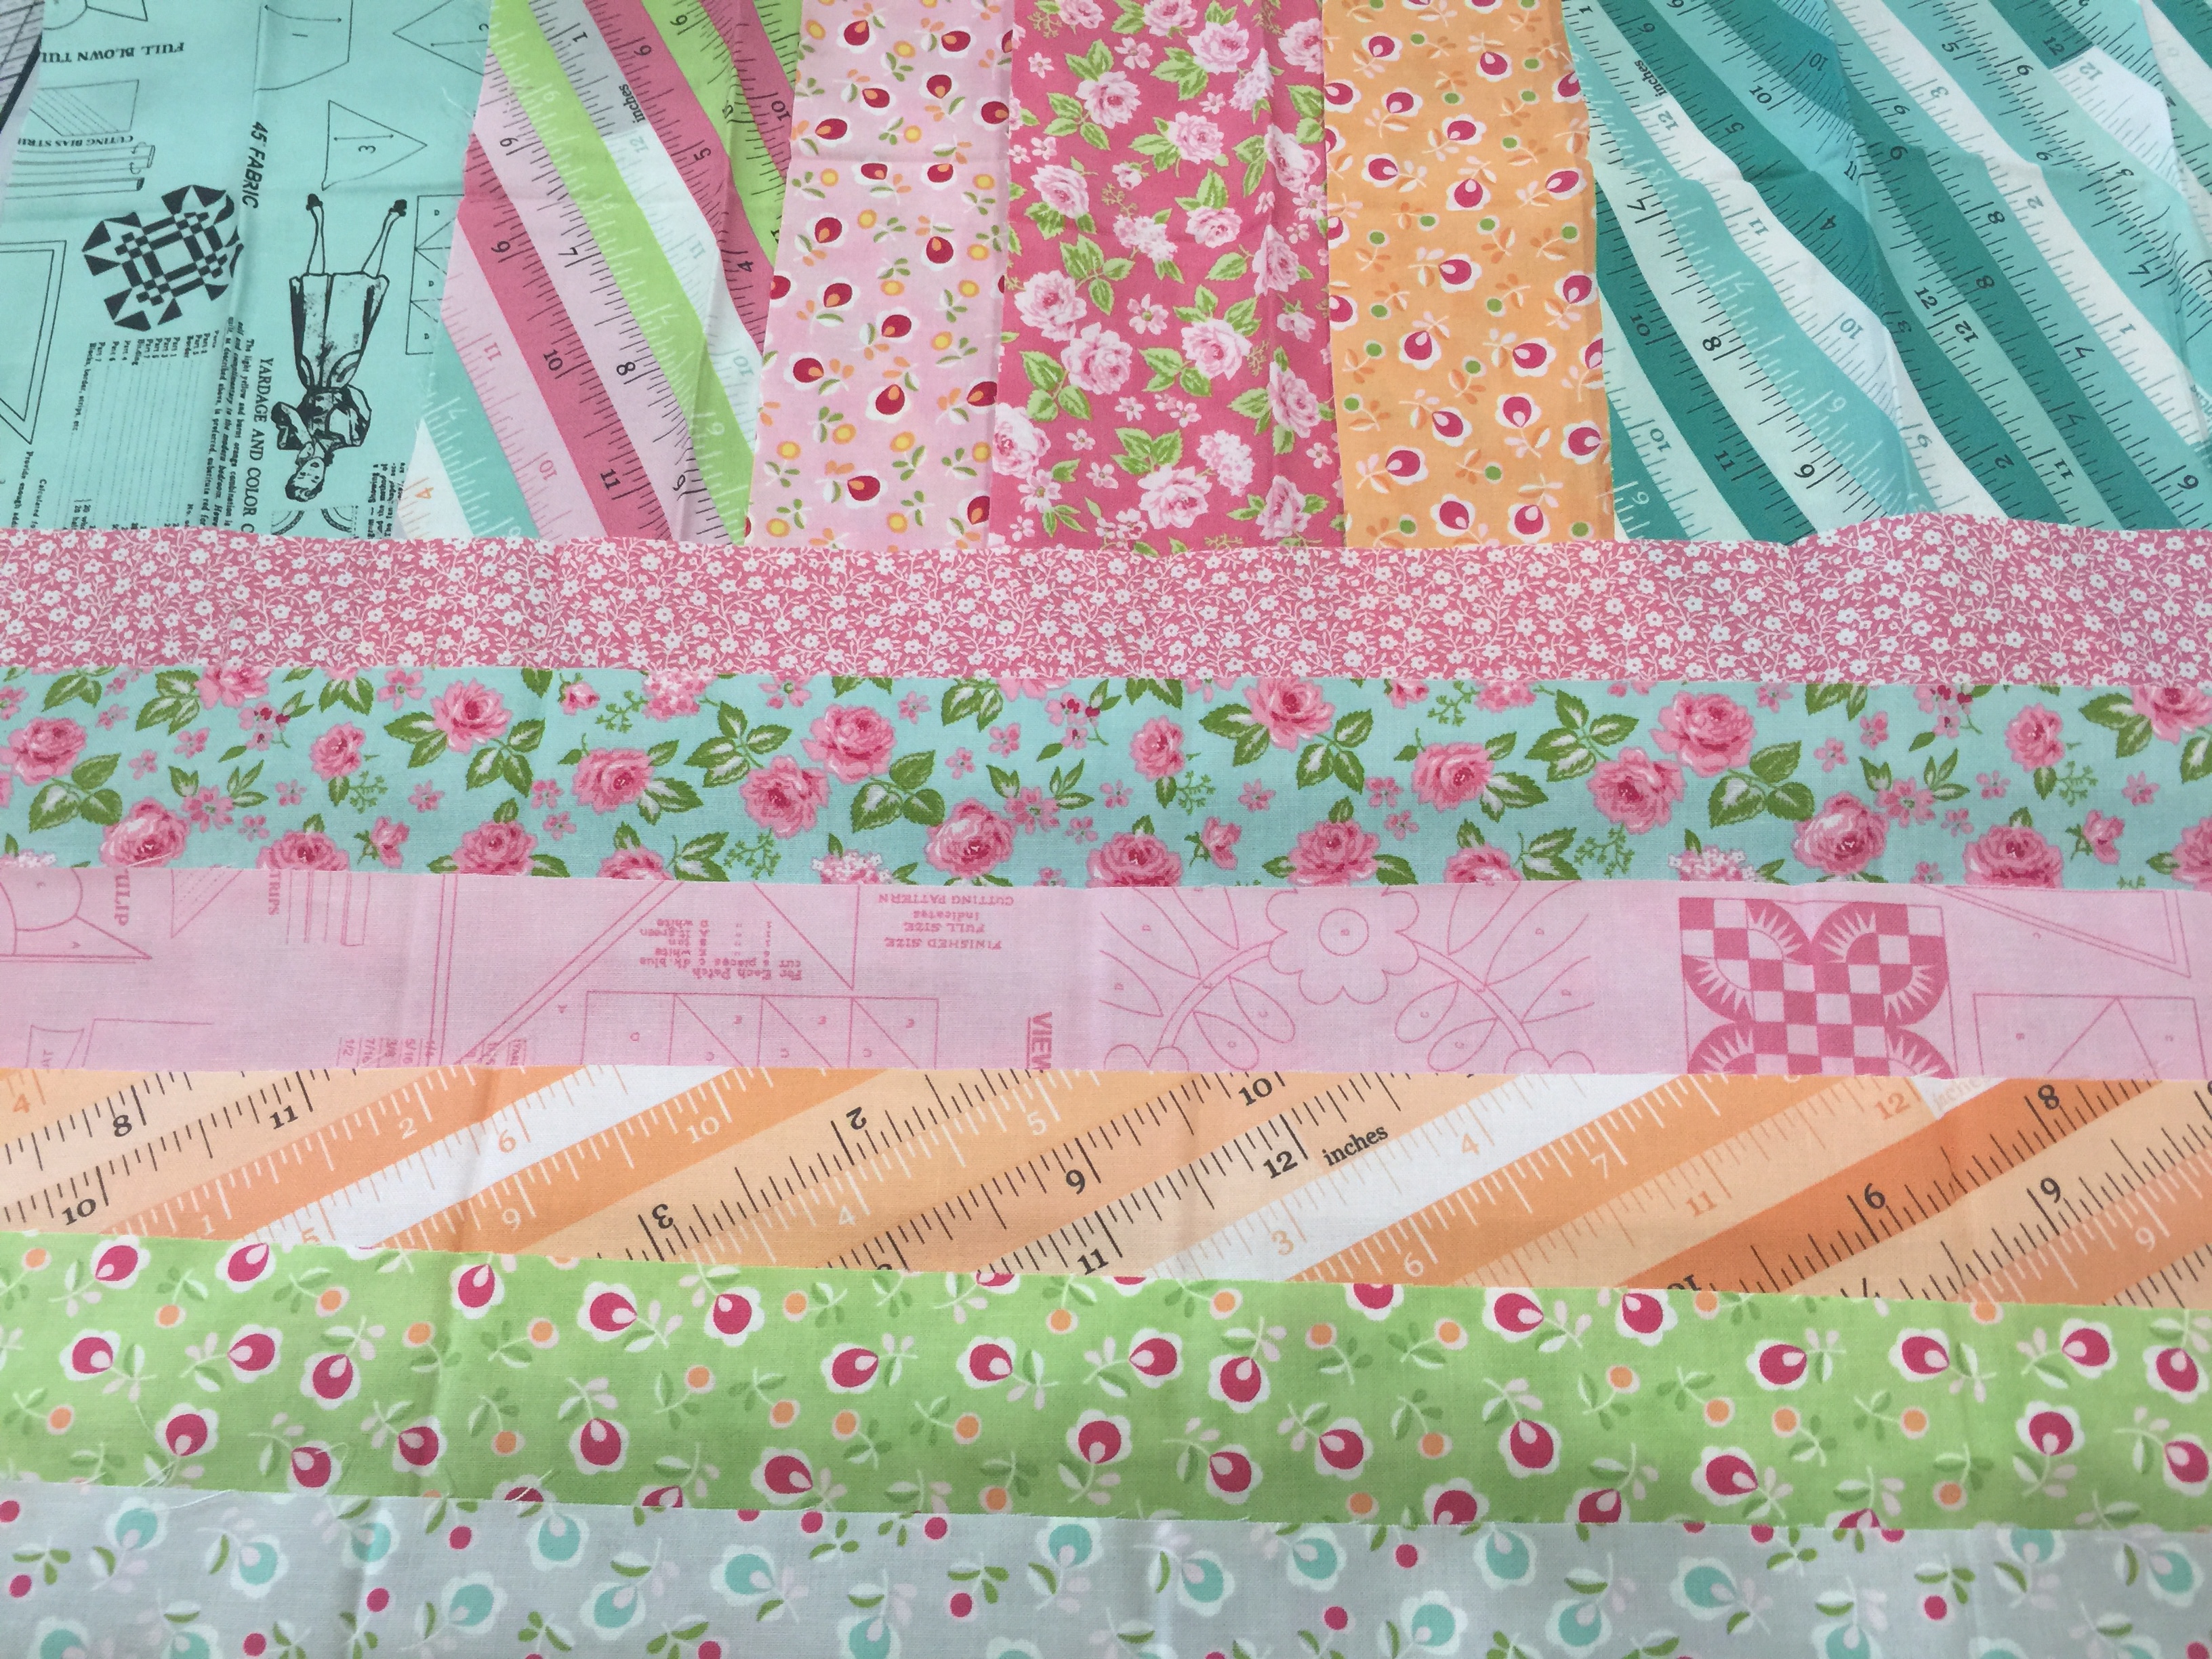
Hi All! Welcome back to the Bake Shop, and today we're going to be getting a bit of improv going. You're going to get directions that are much more just guidelines than an actual pattern. So buckle up, and have some fun! I've only done a bit of improv myself, so this still uses rulers and straight lines, but it could easily be adapted for further wonkiness. More pictures and projects can be found over at my blog - quiltingintheheartland.blogspot.com, so stop on by. The featured fabric is called Sew & Sew by Chloe's Closet and will be available in stores in June.
This quilt finishes at 76" x 80".
![]()

1 Fat quarter bundle of Sew & Sew (33180AB)
3 yards Bella Solids Bleached White PFD 9900 97 Moda
5 yards Sew Sew Licorice 33186 26 Moda (background and binding)
4 yards Sew Sew Licorice Whip Cream 33181 26 (backing)
Batting for a queen size quilt, plus additional batting for squares
![]()
Start out by selecting 16 of your fat quarters to be used in the blocks. Try to get a good variety of colors and patterns, and fabric that will contrast with the white borders around your blocks. The remainder can either be used in your backing, or saved for another project.
Take each of these, and cut in 16 different sized squares/rectangles. Get a good variety of sizes. As a general rule, don't go smaller than 8-10 inches in any direction, or larger than 16-18 inches.
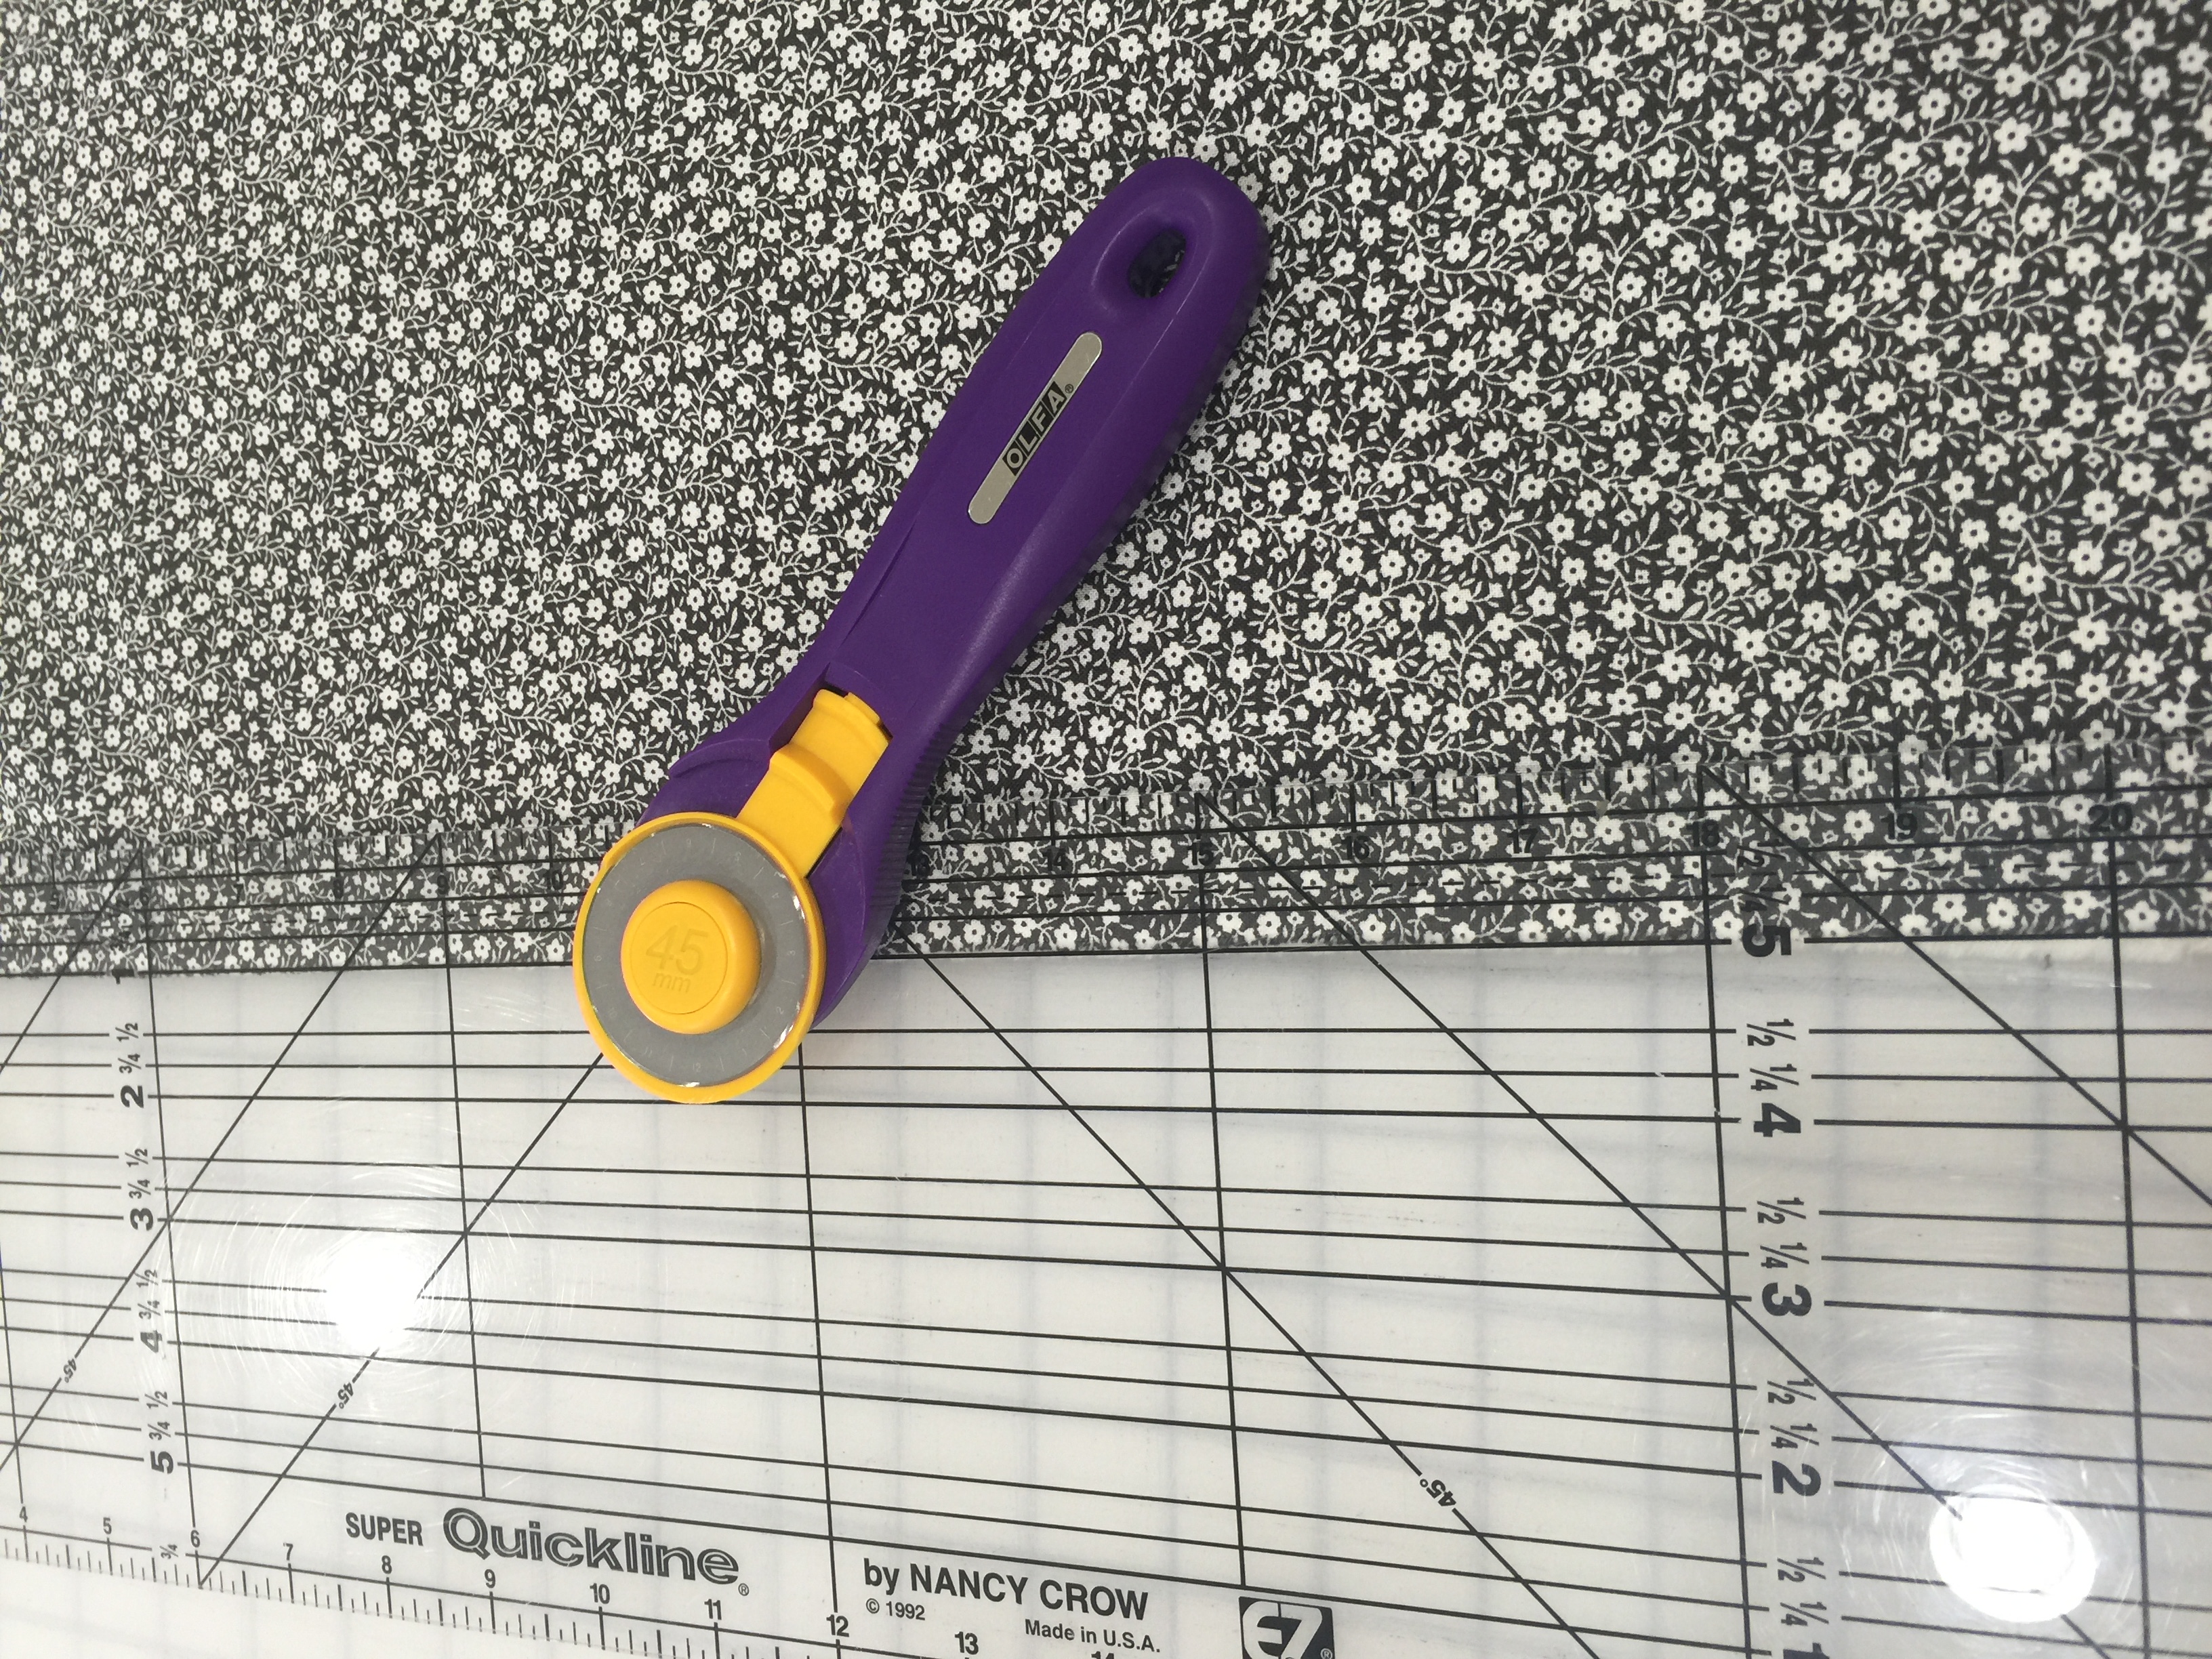
Now take about 2 yards of your white, and cut it into various width strips. I varied it from 1 1/4 inches up to 4 1/2 inches.
Take one of your focus fabrics, and randomly grab a white strip. Trim the white strip to size, and sew onto the side. Turn the focus fabric 90 degrees, and repeat. Do it two more times, until you've put a white strip of some size onto all four sides. I tried to keep each square with no dimension smaller than 10 or so inches, and none larger than 20, but there was some variation.
Take your background fabric, and reserve 3/4 yard for binding. Cut the remainder in half lengthwise. Trim off the selvedges.
Sew the two pieces together along the selvedge edge. This is now the size of your finished quilt - the additional pieces will be appliqued onto this. Place it on your design wall, or some other large surface where you can lay it flat.
Arrange each of your squares in a 4x4 arrangement of your choosing. The squares don't have to line up, or be centered along any point. We're going for a bit of random here.

Once you've come up with an arrangement of your liking, cut the remainder of your white fabric into 2.5 inch strips. I ended up using two thickness of strip to keep the background from showing, so if necessary double them up. Using this as a general guide (although it only shows 3x4 rather than 4x4), cut strips to about 3/4 inch longer than the space, and place strips between each of your squares and the edge of your background fabric. Tuck the ends under the squares.

Again the strips don't have to be in a straight line up and down or across.

We're going to give the squares some extra dimension and pop. Take your extra batting. One at a time, remove the squares from your top, and cut a piece of extra batting to match, making it about 1/8 - 1/4 inch smaller in each direction.

Place the batting in the center of the square, then put it back on your quilt top.

To get this ready for quilting/applique, I used spray adhesive. If you're not a fan of spray adhesive, pinning is of course an option. I worked pretty much one piece at a time, to make sure things ended up where they started. For each white strip, after removing it from the design wall I basted the two layers together, then sprayed one side and placed it on the quilt. After I had done the white strips surrounding each square, I spray basted the extra batting piece to the square, and then to the quilt.
Once you've adhered everything to the front, layer with batting and your backing piece. I used leftover fat quarters to break up the backing fabric.

I did the quilting and applique in one step. I used a standard applique stitch around the edge of each square, and on on the each of each white strip. (I would change one thing about how I did this; my additional batting squares were enough smaller than the blocks that my applique stitch did not catch the edges, so I ended up doing some FMQ along each edge, and I'd really wanted to leave the white areas completely un-quilted. I didn't want the batting to bunch, however, so I elected to put in the extra quilting.) I used a black variegated thread in the background, and did straight line spirals about a half inch apart through-out the entire shape. In the middle of each block (in the colored area) I did a larger-scale stipple. My goal was keep the extra loft from the additional layer of batting as obvious as possible.

Cut your binding fabric into your preferred width for binding, and finish it with your favorite binding technique.

![]()
This quilt finishes at 76" x 80".
I hope you enjoy this project! I think it has a ton of flexibility, and it was a bit of a stretch for me to not measure everything and just go with the flow a bit. I'd love to see any projects you make with this tutorial.
Brenna Goode
{quiltingintheheartland.blogspot.com}
![]()
Posted in: