Welcome to Moda Fabrics!
Monster Mash Churn Dash
Monster Mash Churn Dash
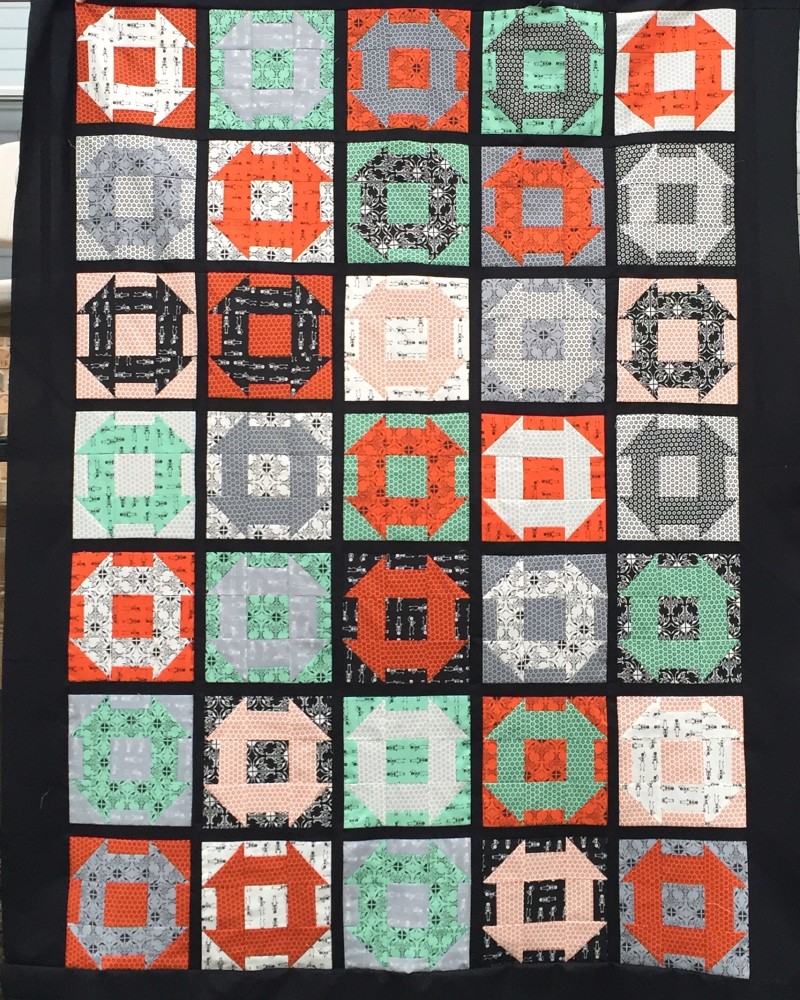
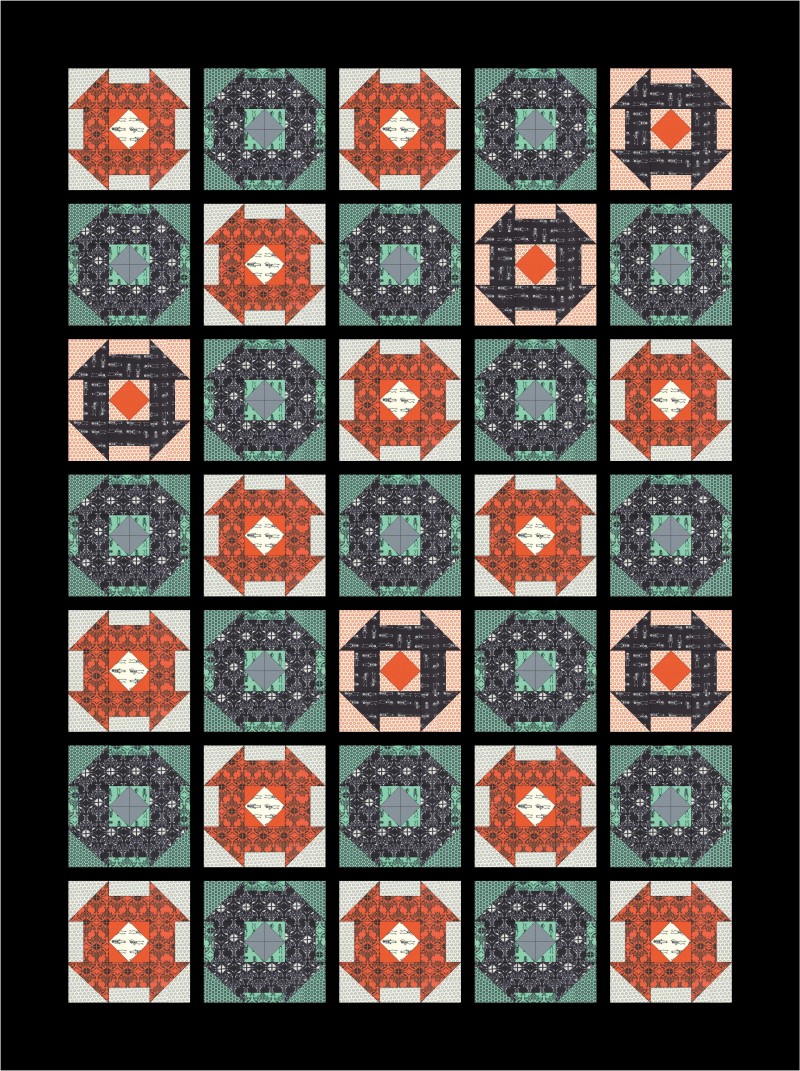
Welcome to my ghoulishly fun tutorial! I am Stacey from The Tilted Quilt. I have taken a very well known block, the Churn Dash, and changed it up just a little to showcase these hauntingly fun fabrics from The Comstocks. The finished product is a 9-inch "chubby" churn dash block that can be whipped up in a snap. This is my original mockup..
18 Fat Quarters - I used Haunted Gala by the Comstocks
2 yards for sashing and border - Moda Bella Black (9900 199)
4.5 yards backing
1/2 yard binding
One small note on this pattern. Now is a really good time to make sure you have a scant 1/4" seam going on your machine. Everyone achieves this in a different way - but I have found that if I use a 1/4" foot and then move the needle one thread over to the right, I can get pretty darn close. If you take the time to perfect your 1/4" seam, you will really see the positive benefits when making half square triangles (below).
Sort your fat quarters into 9 pairs, choosing contrasting colors for each pair. Each fat quarter pair will make two churn dash blocks.
Making the Half Square Triangle (HST) (4 per block)
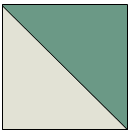
To make the HST's, you will need two four inch squares in contrasting fabrics - here they are represented by gray (Fabric A) and green (Fabric B).

In order to make my HST, I use a Fons & Porter Quarter Inch Seam Marker. Place your 4" squares, right side together. I place the marker down diagonally across the 4" square and mark on either side of the marker all the way down. ![IMG_0725[1]](https://www.modafabrics.com/wp-content/uploads/2015/09/IMG_07251-e1442857035139-800x600.jpg)
Next, sew on each of the lines, then cut down the middle of the two seams, and press seams to the darker fabric. One pair of 4" squares creates 2 HST's.
Trim your HST's to a 3 1/2" square.
Repeat this process to make 2 more HST's for a total of 4 per block.
3 1/2" square Side Units (4 per block)
For this unit, you will need two strips of fabric. The first one, Fabric A should be 1 1/2" by at least 15 ". The second strip should be 2 1/2" by at least 15".
Sew the contrasting strips together, then subcut into 3 1/2" Side Units, like this. Make 4.
3 1/2" Center Square from Fabric A (1 per block)
Lay out the block, as show below. Here - the skeletons are Fabric A, and the orange dots are Fabric B.
Sew the rows together. For the top and bottom row, press the middle unit toward the outer units. For the middle row, press the middle unit toward the center, so that your seams will nest together when assembled.
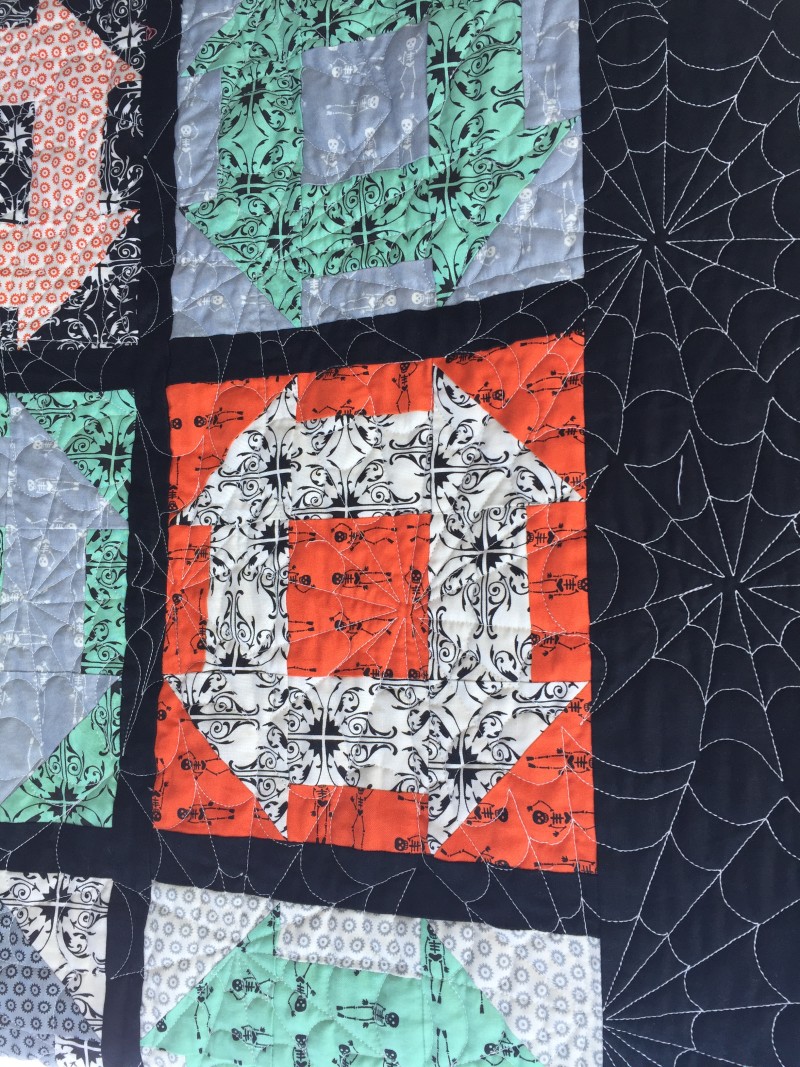
I was able to make two churn dash blocks from each fat quarter, and I alternated which fabric would be the churn dash, and which would be the background.
Sashing and Border
Sashing is optional - for this colorway, I found that adding solid black worked really well to break up the busy-ness of the fabrics.
For the sashing, I cut strips 1 1/2" wide. Add between each block first, then connect rows with one large sashing strip.
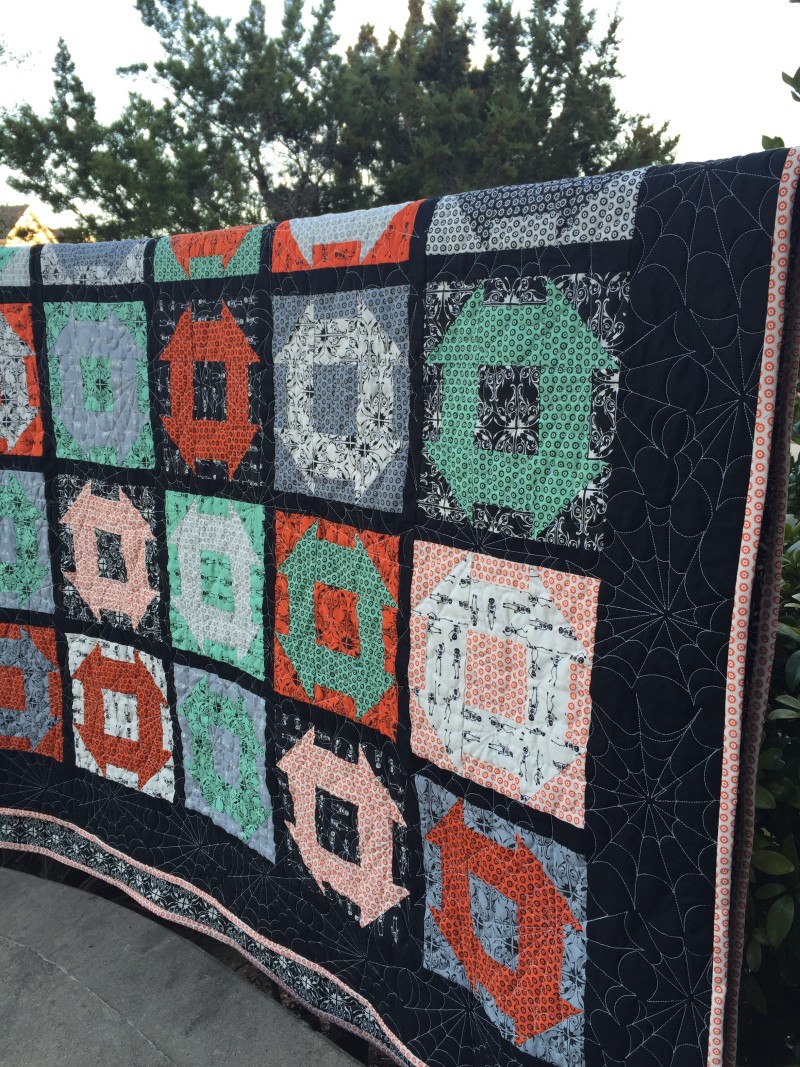
A border is also optional - for this quilt, I wanted to have spiderweb quilting, so I added a 3 1/2" border around the entire quilt as well.
I hope you enjoy making this chubby churn dash block! Please let me know if you have any questions at all!
This quilt finishes at 59" x 79".
Stacey Napier
{The Tilted Quilt}


![IMG_0749[1]](https://www.modafabrics.com/wp-content/uploads/2015/09/IMG_07491-e1442857122579-800x1067.jpg)

![IMG_0748[1]](https://www.modafabrics.com/wp-content/uploads/2015/09/IMG_07481-e1442857215221-800x1067.jpg)
