Welcome to Moda Fabrics!
Sweet Little Bunting Mini Quilt
Sweet Little Bunting Mini Quilt
Published:
Dec 26 2015 - 23:00


Hi, I'm Jane Davidson from Want it Need it Quilt aka Quiltjane. Today I am sharing a mini made with the new Sweetwater Volume II collection, a mix of greys, blacks, reds and ivory, reminiscent of one of my favourite Sweetwater collections Mama Said Sew. The mini is based on a previous ModaBakeShop project - Children's bed runner and quilt with pockets. The mini charms were prefect for the bunting and the fabulous new ribbon found with pre-cut bundles was used as the bunting string and borders. The improv technique used in the making of the bunting block and the illusion of the pieced background using the Colour Me Happy wide grey strip fabric, gives the quilt a fresh, modern feel that could be used as a mini, pillow or even a quilt block to make a larger project.
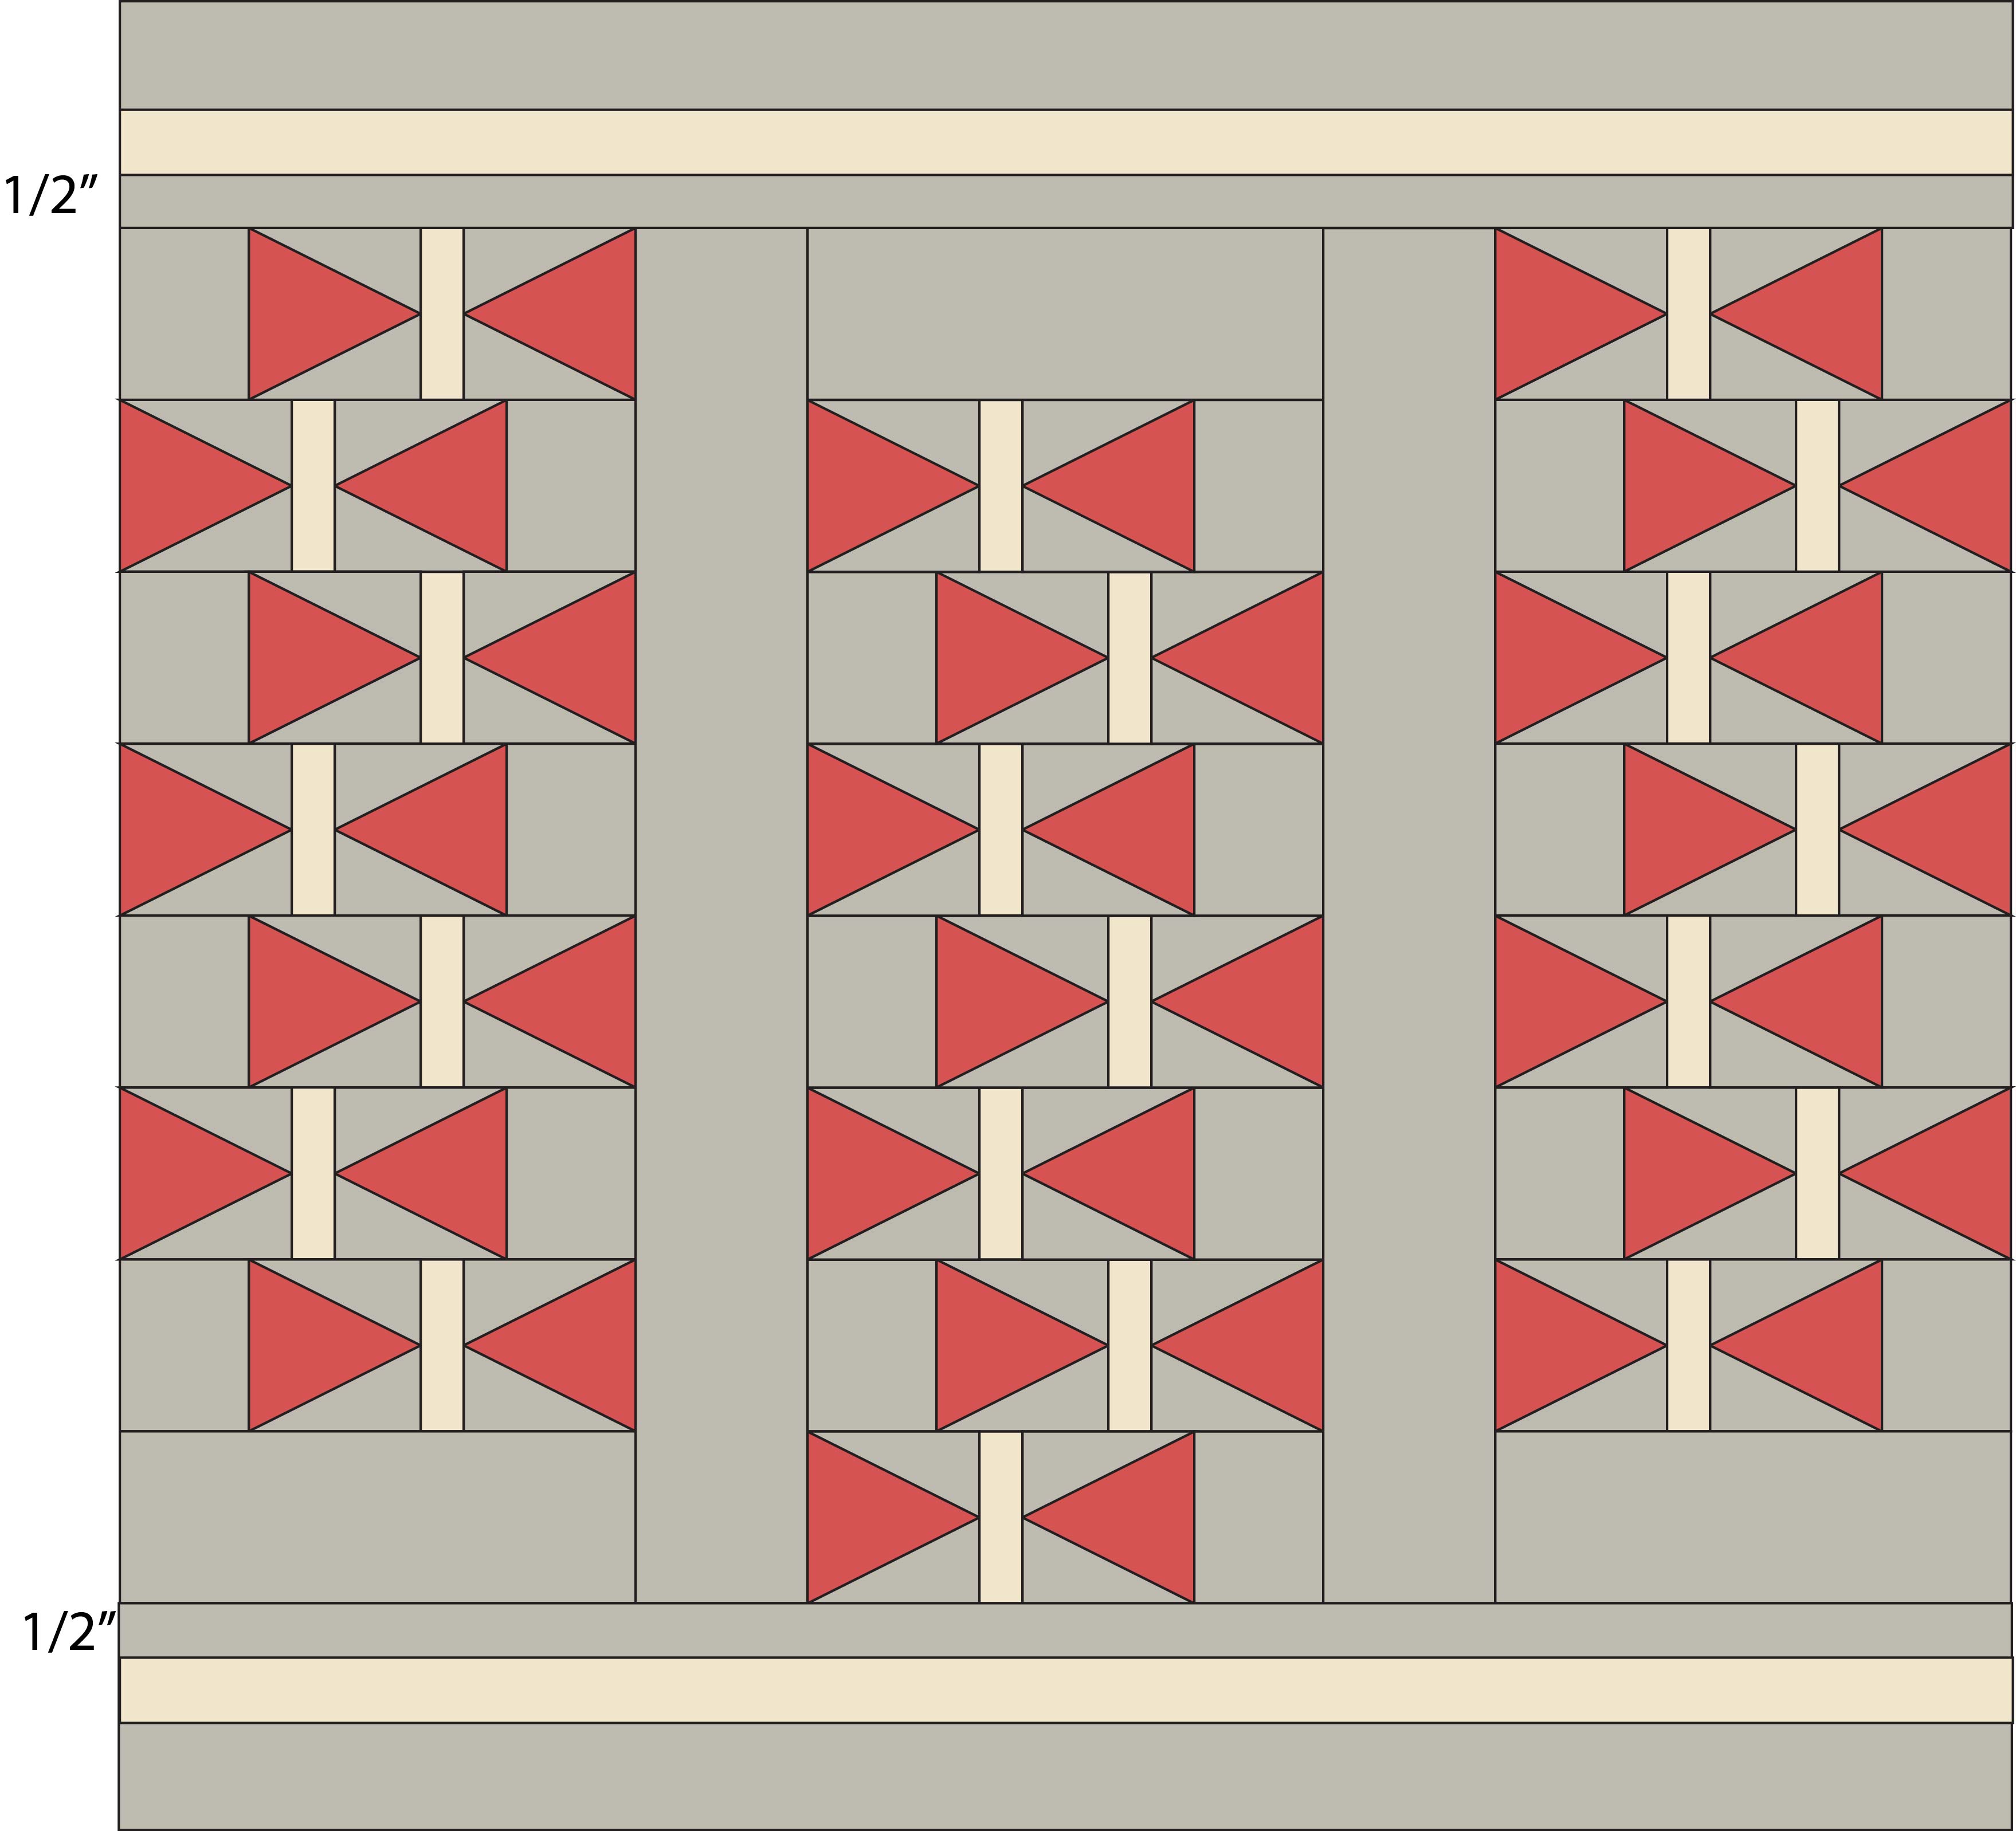
This quilt/project finishes at 16 1/4" x 16 1/2".
![]()
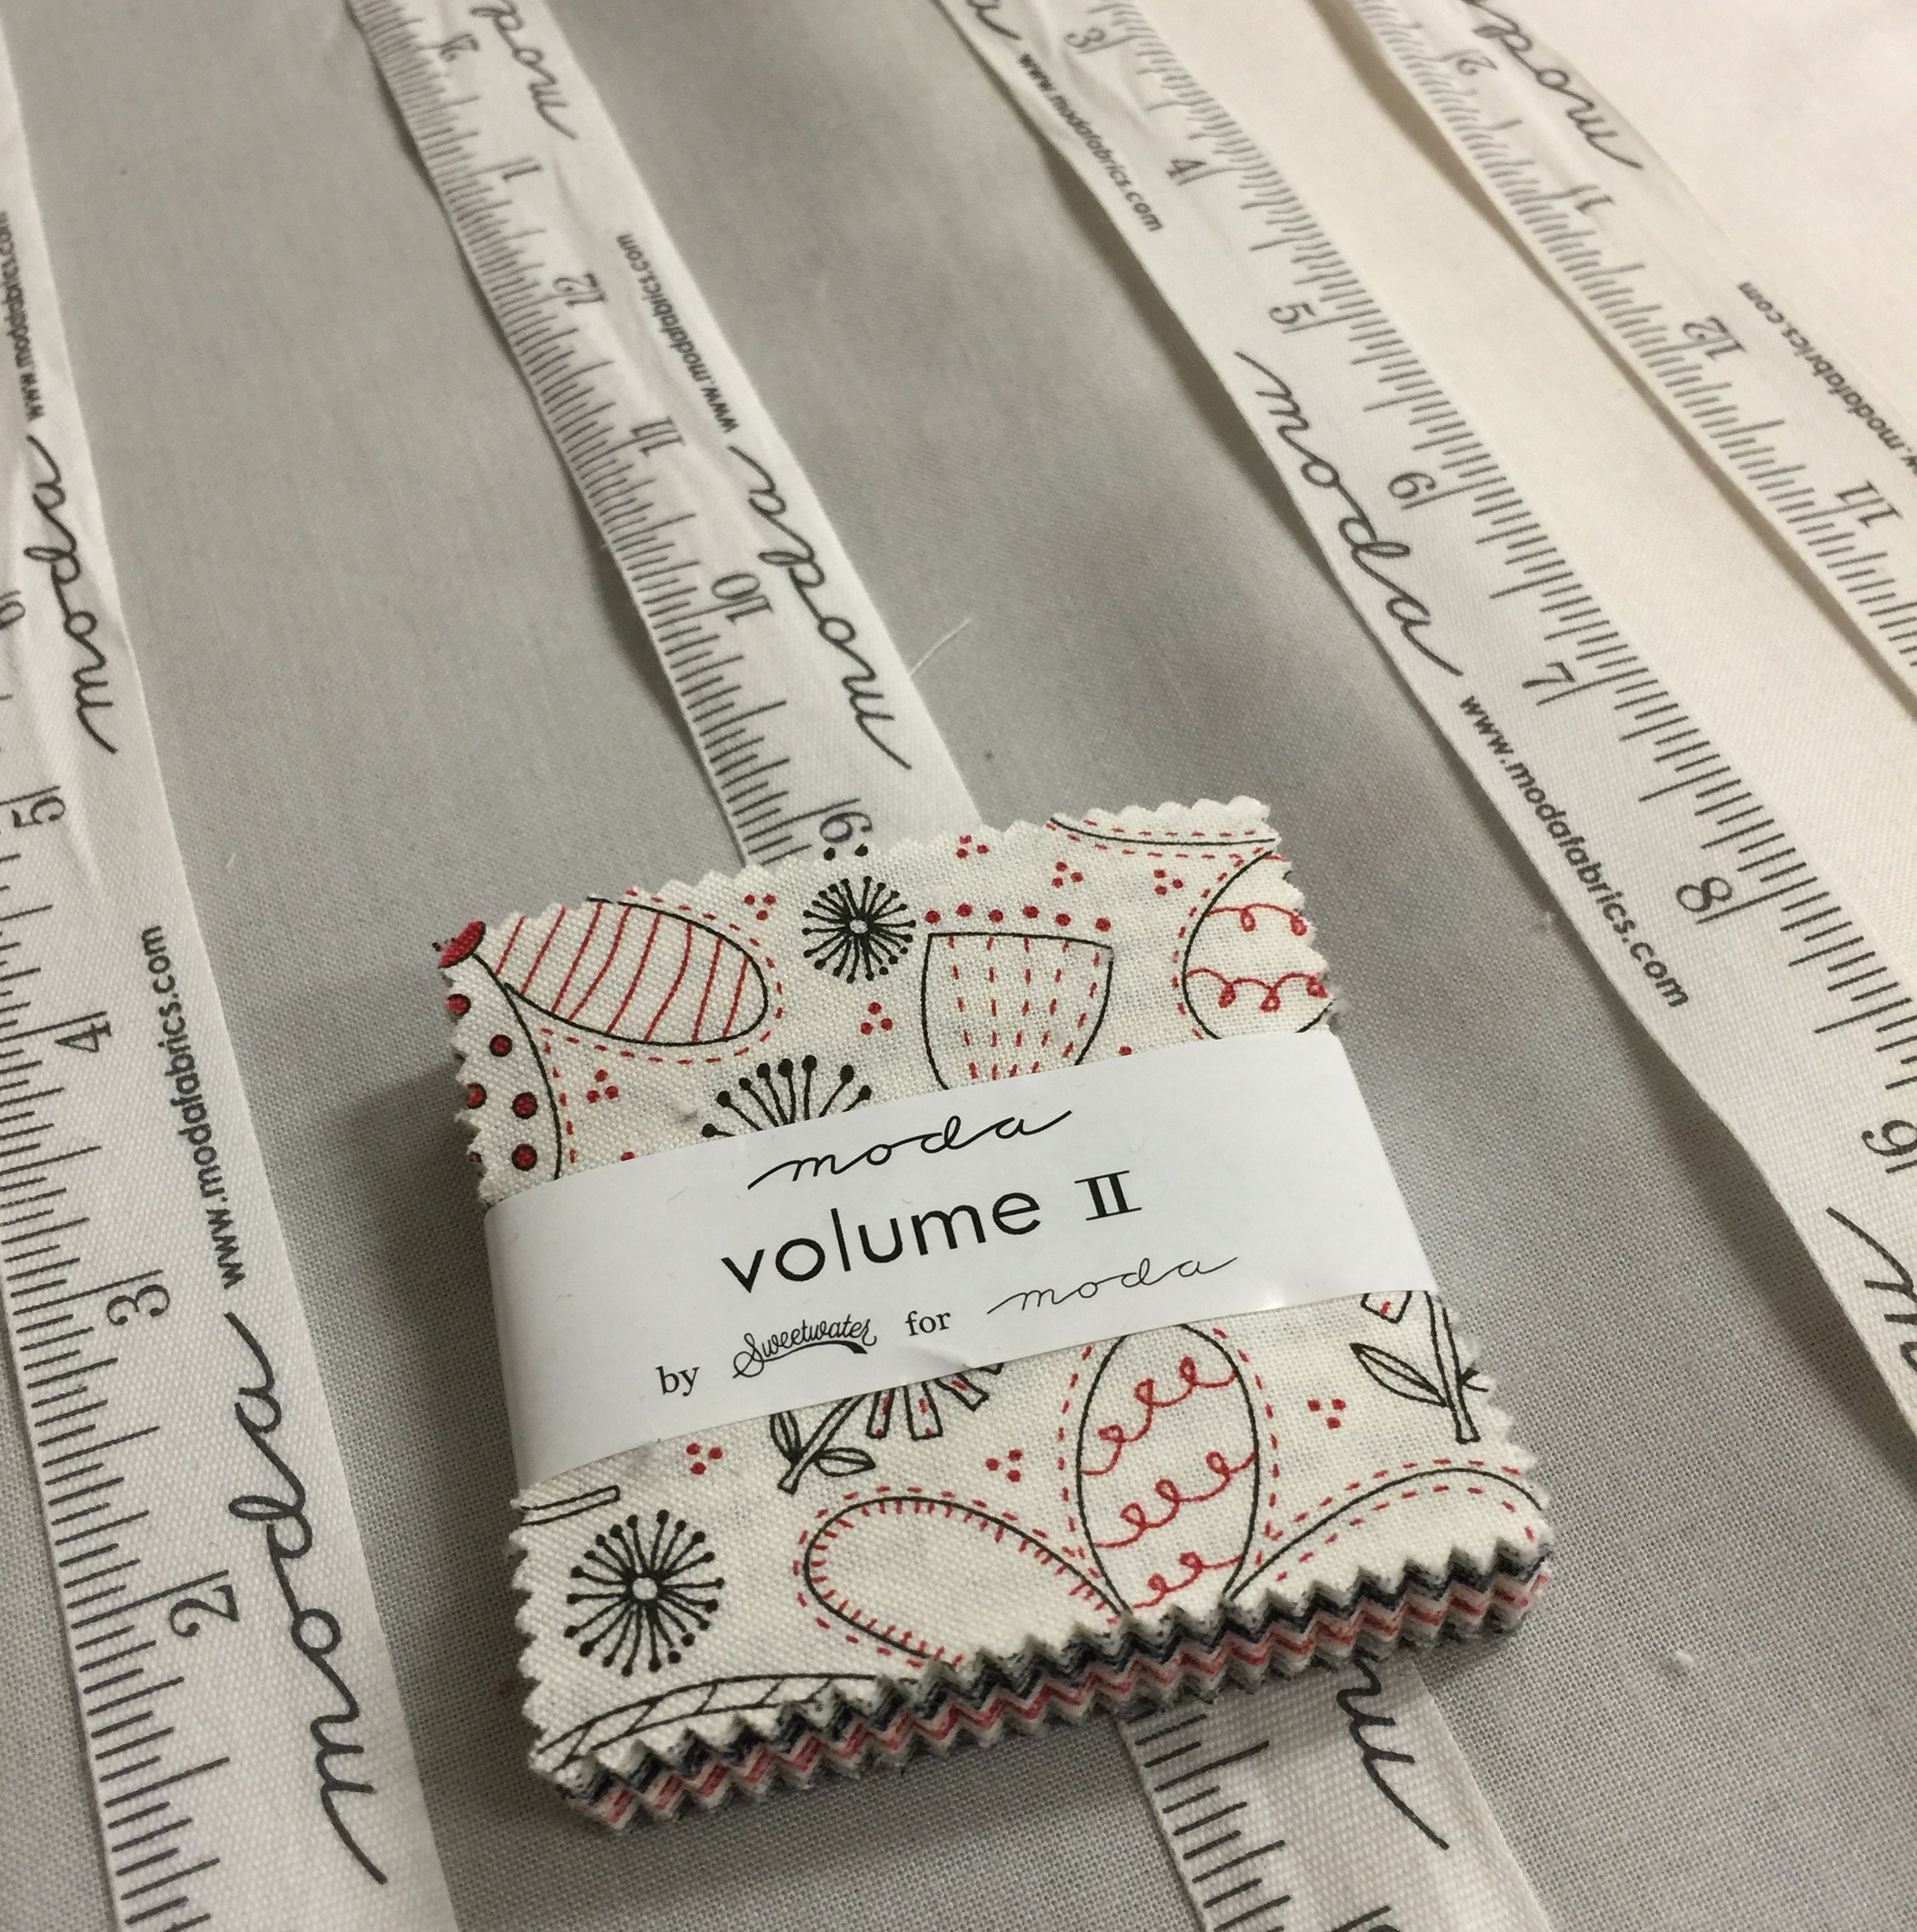
1 x Moda Candy (Mini Charm 42 - 2 1/2" x 2 1/2" squares) Volume II by Sweetwater
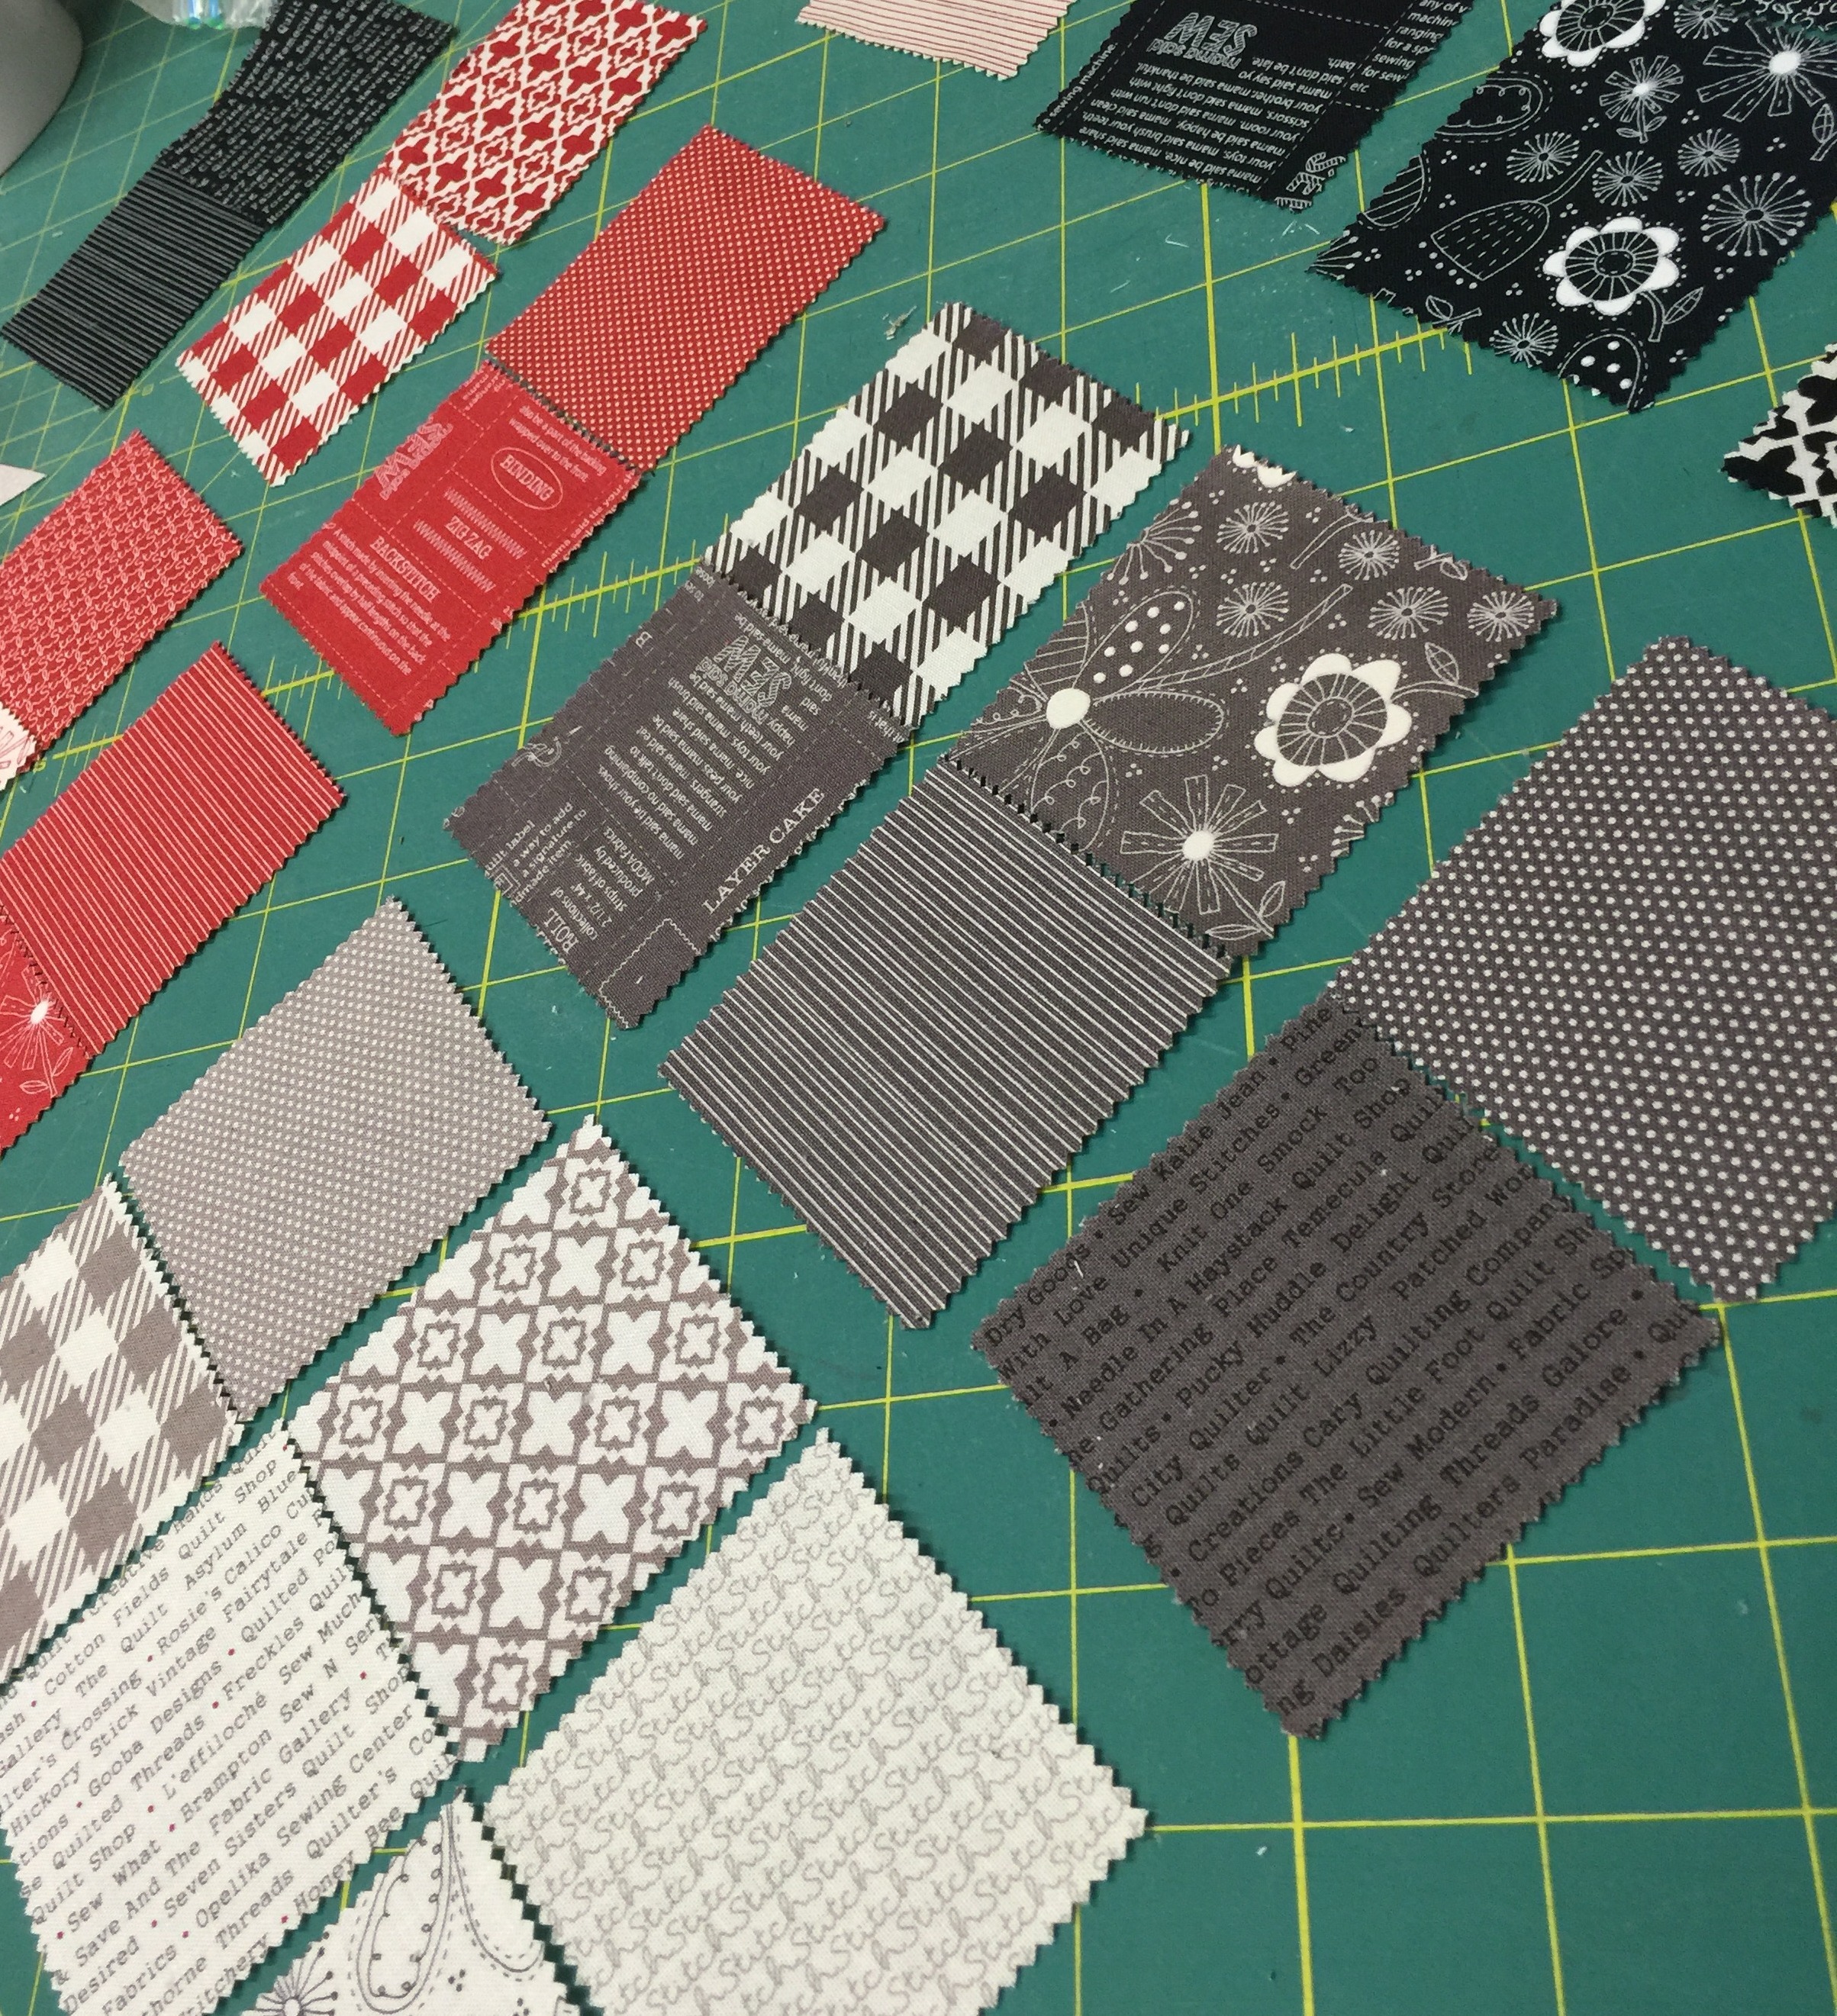
1/2 yard light grey background fabric {For this project I used Colour Me Happy M10829-17 by V&C }
2/3 yards backing fabric.
1/4 yards black text print binding fabric
2 1/8 yards of 3/4" wide ribbon or twill.
![]()
Cutting:
From the background fabric cut:
- 84 rectangles - 2" x 3 1/2"
- 21 rectangles - 1 1/2" x 2"
- 2 strips - 2" x 12 1/2" (sashing)
- 2 strips 2 1/2" x 16 1/4" (top and bottom borders)
- 3 rectangles 2" x 4 3/4"
From the binding fabric cut:
- 2 strips - 2 1/2" x width of fabric
From the ribbon cut:
- 2 strips - 16 1/4" x width of ribbon
- 21 strips - 2" x width of ribbon
Block Assembly
Bunting Unit
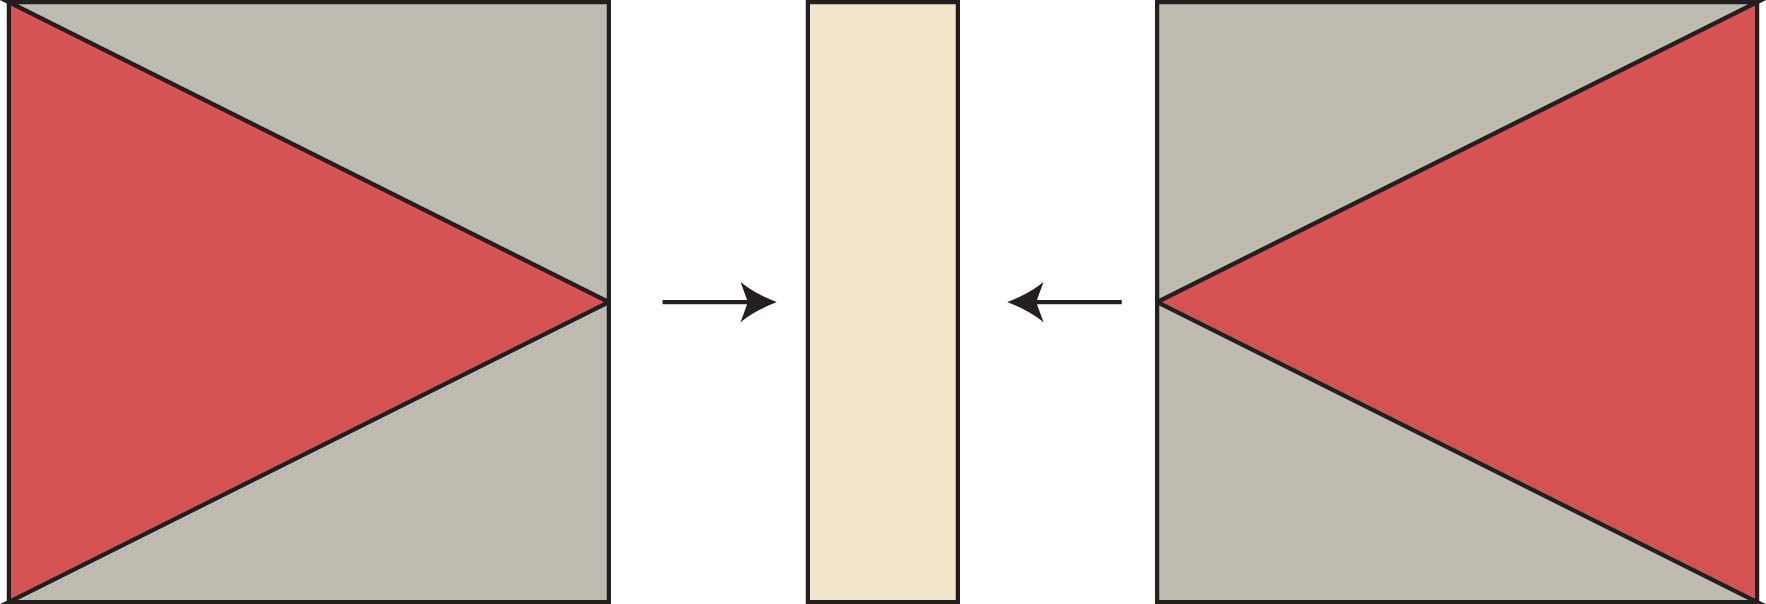
1.Finger press each 2 1/2" x 2 1/2" candy square in half to find centre.
2. Place a 2" x 3 1/2" rectangle and candy square right sides together as shown in diagram 1.
3. Sew, trim excess fabric and press rectangle away from the centre.
4. Repeat for the other side.
 Diagram 1
5. Place a square ruler 1/4" above the tip of the triangle and 1" ruler marking on the centre fold line. Cut top and side.

6. Turn the block and square to 2" x 2". There should be 1/4" on top and sides of the triangle.

7. Make 42 bunting units.

Bunting Blocks
1.Sew a bunting unit to either side of a 2" piece of ribbon. Press away from the bunting unit. (Note: the ribbon is only 3/4" wide so your seam allowance may overlap a little).
2. Make 21 bunting blocks.
3. Add a 1 1/2" x 2" rectangle to one side of the completed bunting blocks.

Row Assembly
1.Lay out the bunting blocks as shown diagram 2.
2. Sew 7 completed bunting blocks together. Press open seams.
3. Sew a 2" x 4 3/4" rectangle to the bottom of row 1 and row 3 and the top of row 2.
4. Make 3 rows. Each row should measure 4 3/4" x 12 1/2".
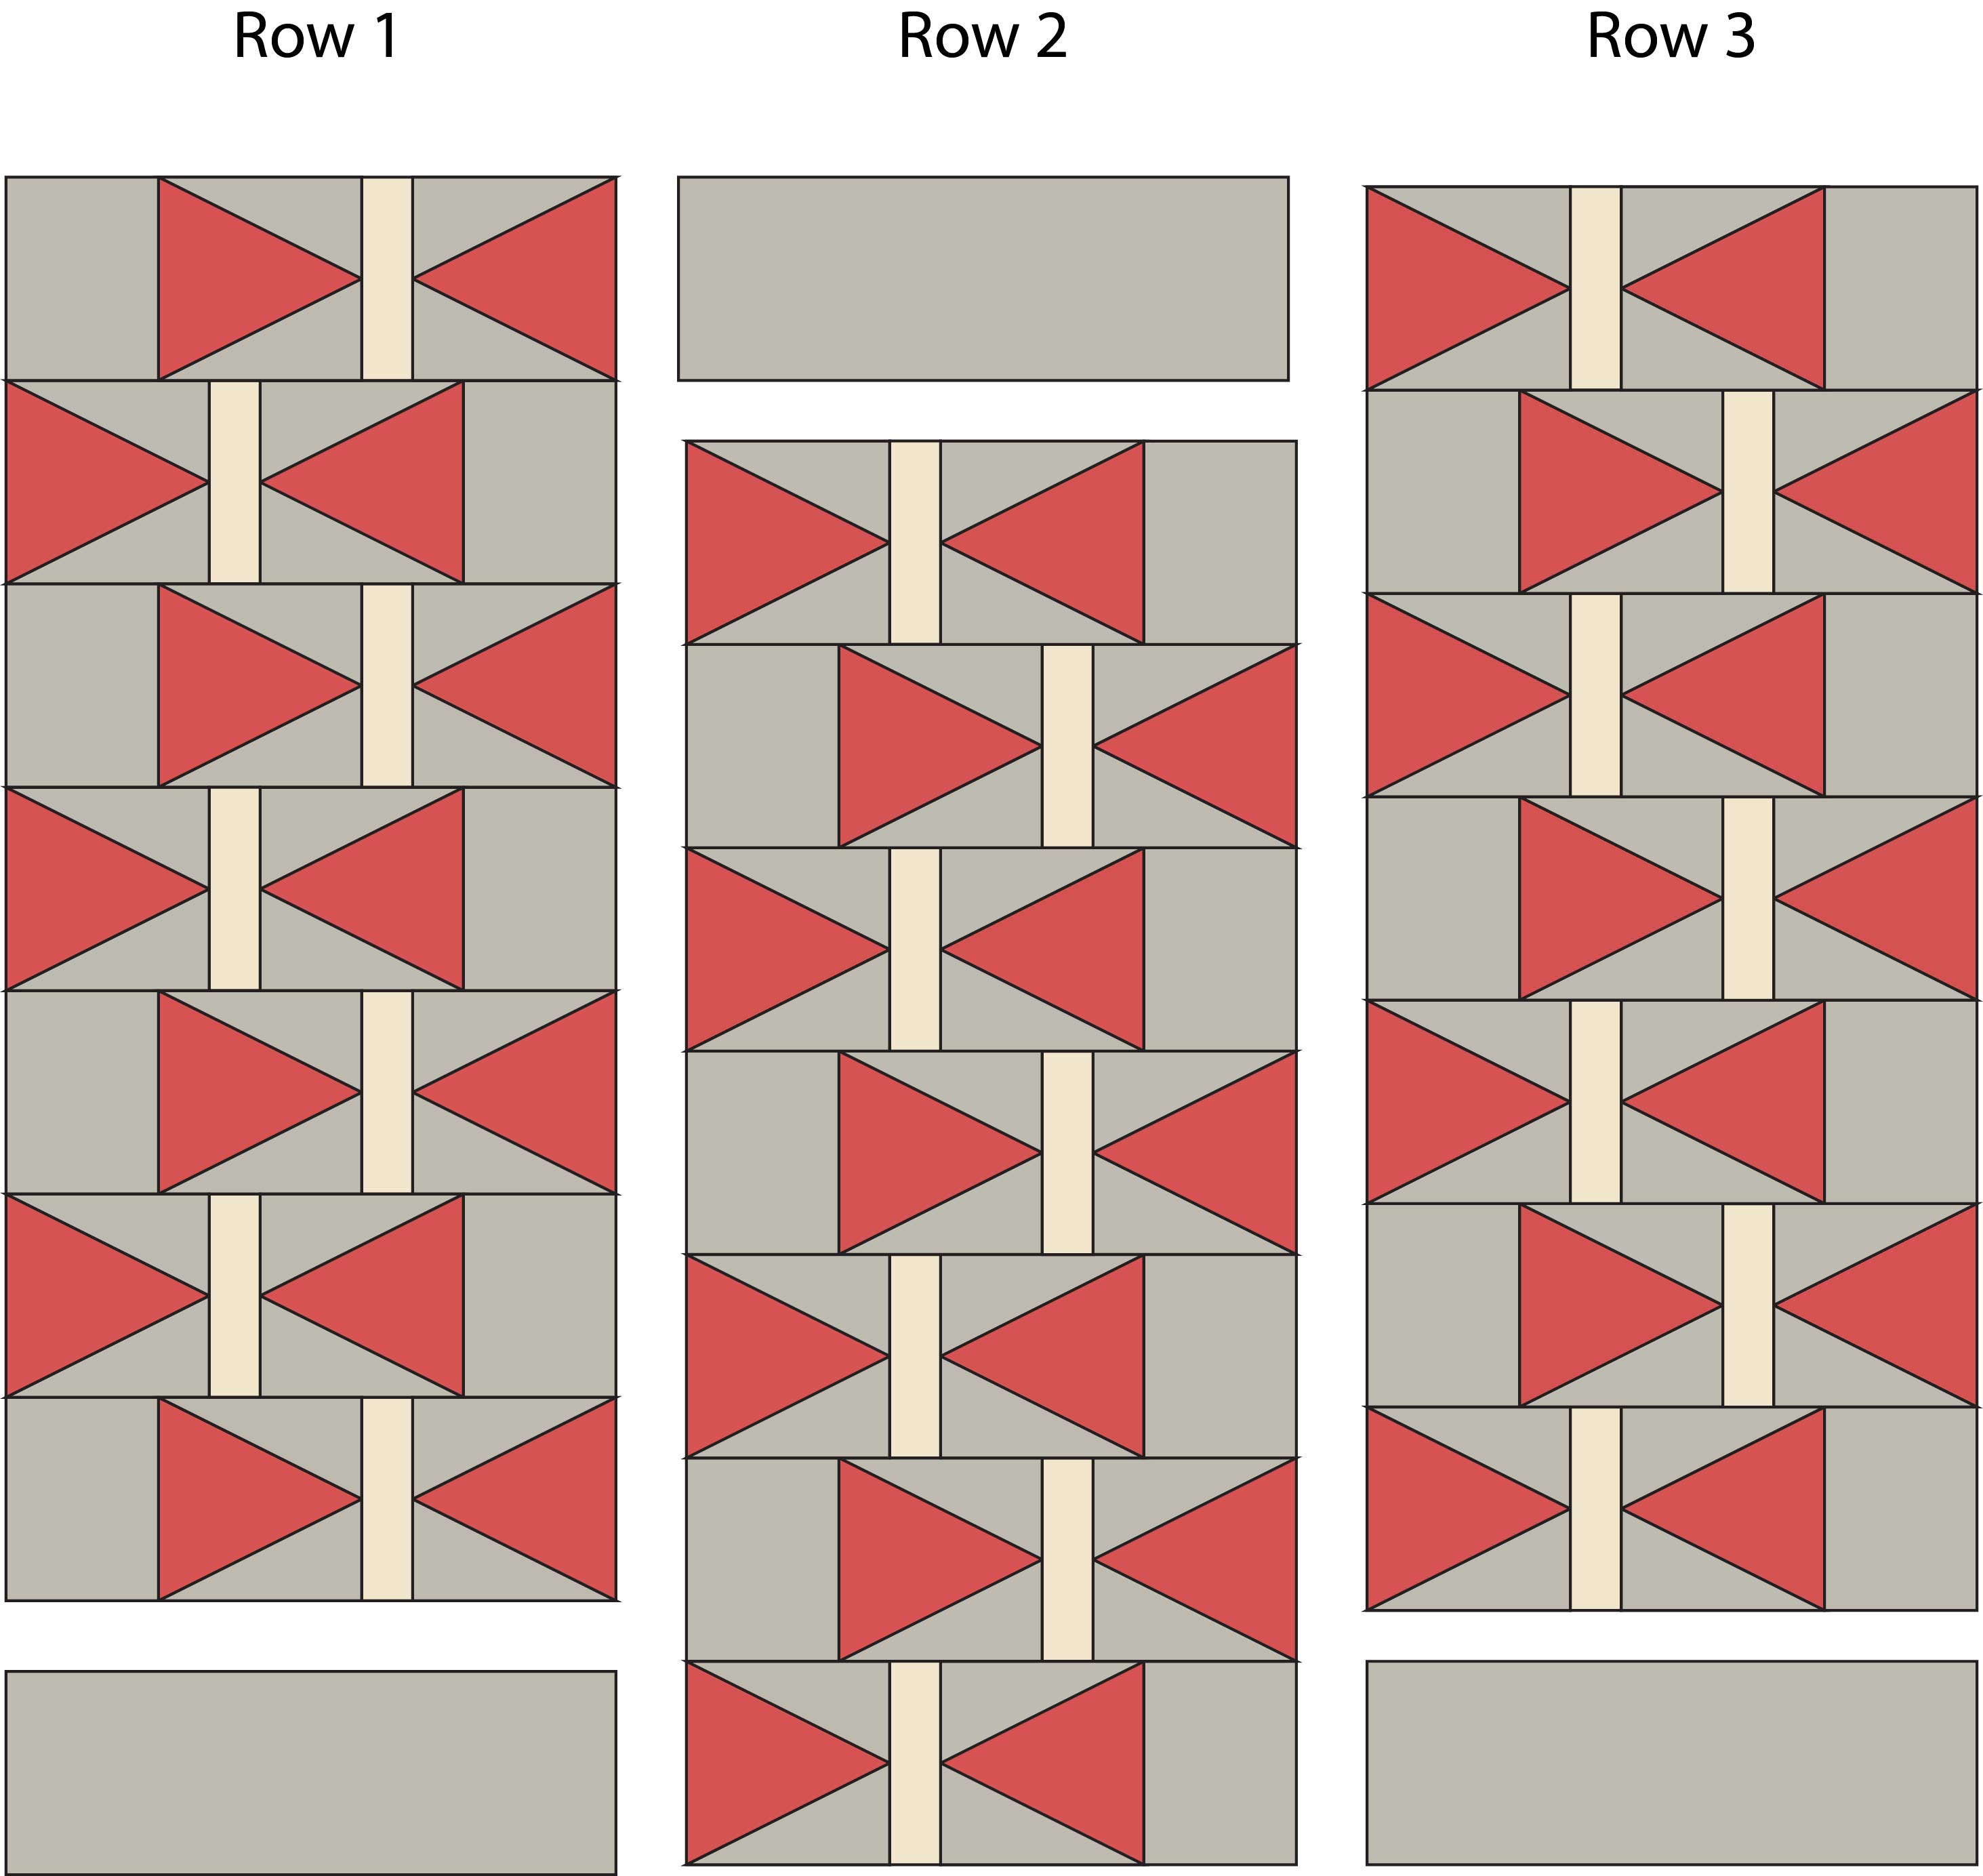 Diagram 2
Quilt Assembly
1.Sew a 2" x 12 1/2" sashing strip between each row. Press seams towards sashing.
2. Sew a 2 1/2" x 16 1/4" border strip to the top and bottom of the quilt. Press towards the border strip.

3. Mark a line 1/2" about the border seam. Pin and sew the 16 1/4" strip of ribbon to top border.
4. Repeat for bottom border.
Finishing the Quilt
1.Layer, baste and quilt as desired, I used a 50wt Aurifil cotton thread in light grey (2600 Dove) and an all over design with soft swirls and ribbons to complement the block design.
3. Sew binding strips together and bind quilt.
4. Enjoy!
![]()
This quilt finishes at 16 1/4" x 16 1/2".
I would love to see your finished:
IG and Twitter : @quiltjane
FB: Want it Need it Quilt
Hashtag #quiltjane #wantitneeditquilt #SweetLittleBunting
Jane Davidson
www.quiltjane.com

![]()
Posted in: