Welcome to Moda Fabrics!
Bake Shop Basics: Tools
Bake Shop Basics: Tools
Published:
Sep 23 2016 - 23:00

Hello! My name is Amy Harward of Sew in Love Handmade (previously Sew In Love Quilting) and I am excited to be the guest chef of the day! I am a wife and mother and when I'm not taking care of my family, you can find me at my sewing machine. I started my business 3 years ago so that I could share my love of quilting with others and enjoy growing and challenging myself at a maker. If you'd like to come visit me on the web, my blog is http://sewinlovehandmade.com and my Instagram handle is @sewinlovehandmade.
So, have you ever wanted to quilt a specific design on a quilt top, but for whatever reason you weren't able to just dive in and do it? I mean, you just spent a lot of time and money on a beautiful quilt top and it can be really intimidating to start the quilting process. Whatever design you choose to quilt, marking tools can be a little quilting roadmap to help your vision come to life. So, let's talk about some of the common tools that quilters use to mark their quilts.
*A little disclaimer before you use any marking tool is to read the packaging directions thoroughly before using and ALWAYS test the tool on a fabric swatch before marking on your gorgeous quilt! There would be nothing worse than to have permanent markings on an otherwise amazing quilt!
**I also need to say a big "thank you" to the folks at Clover for generously donating the tools shown in this post so I could experiment with them and help you learn more about them!
Water Erasable Markers
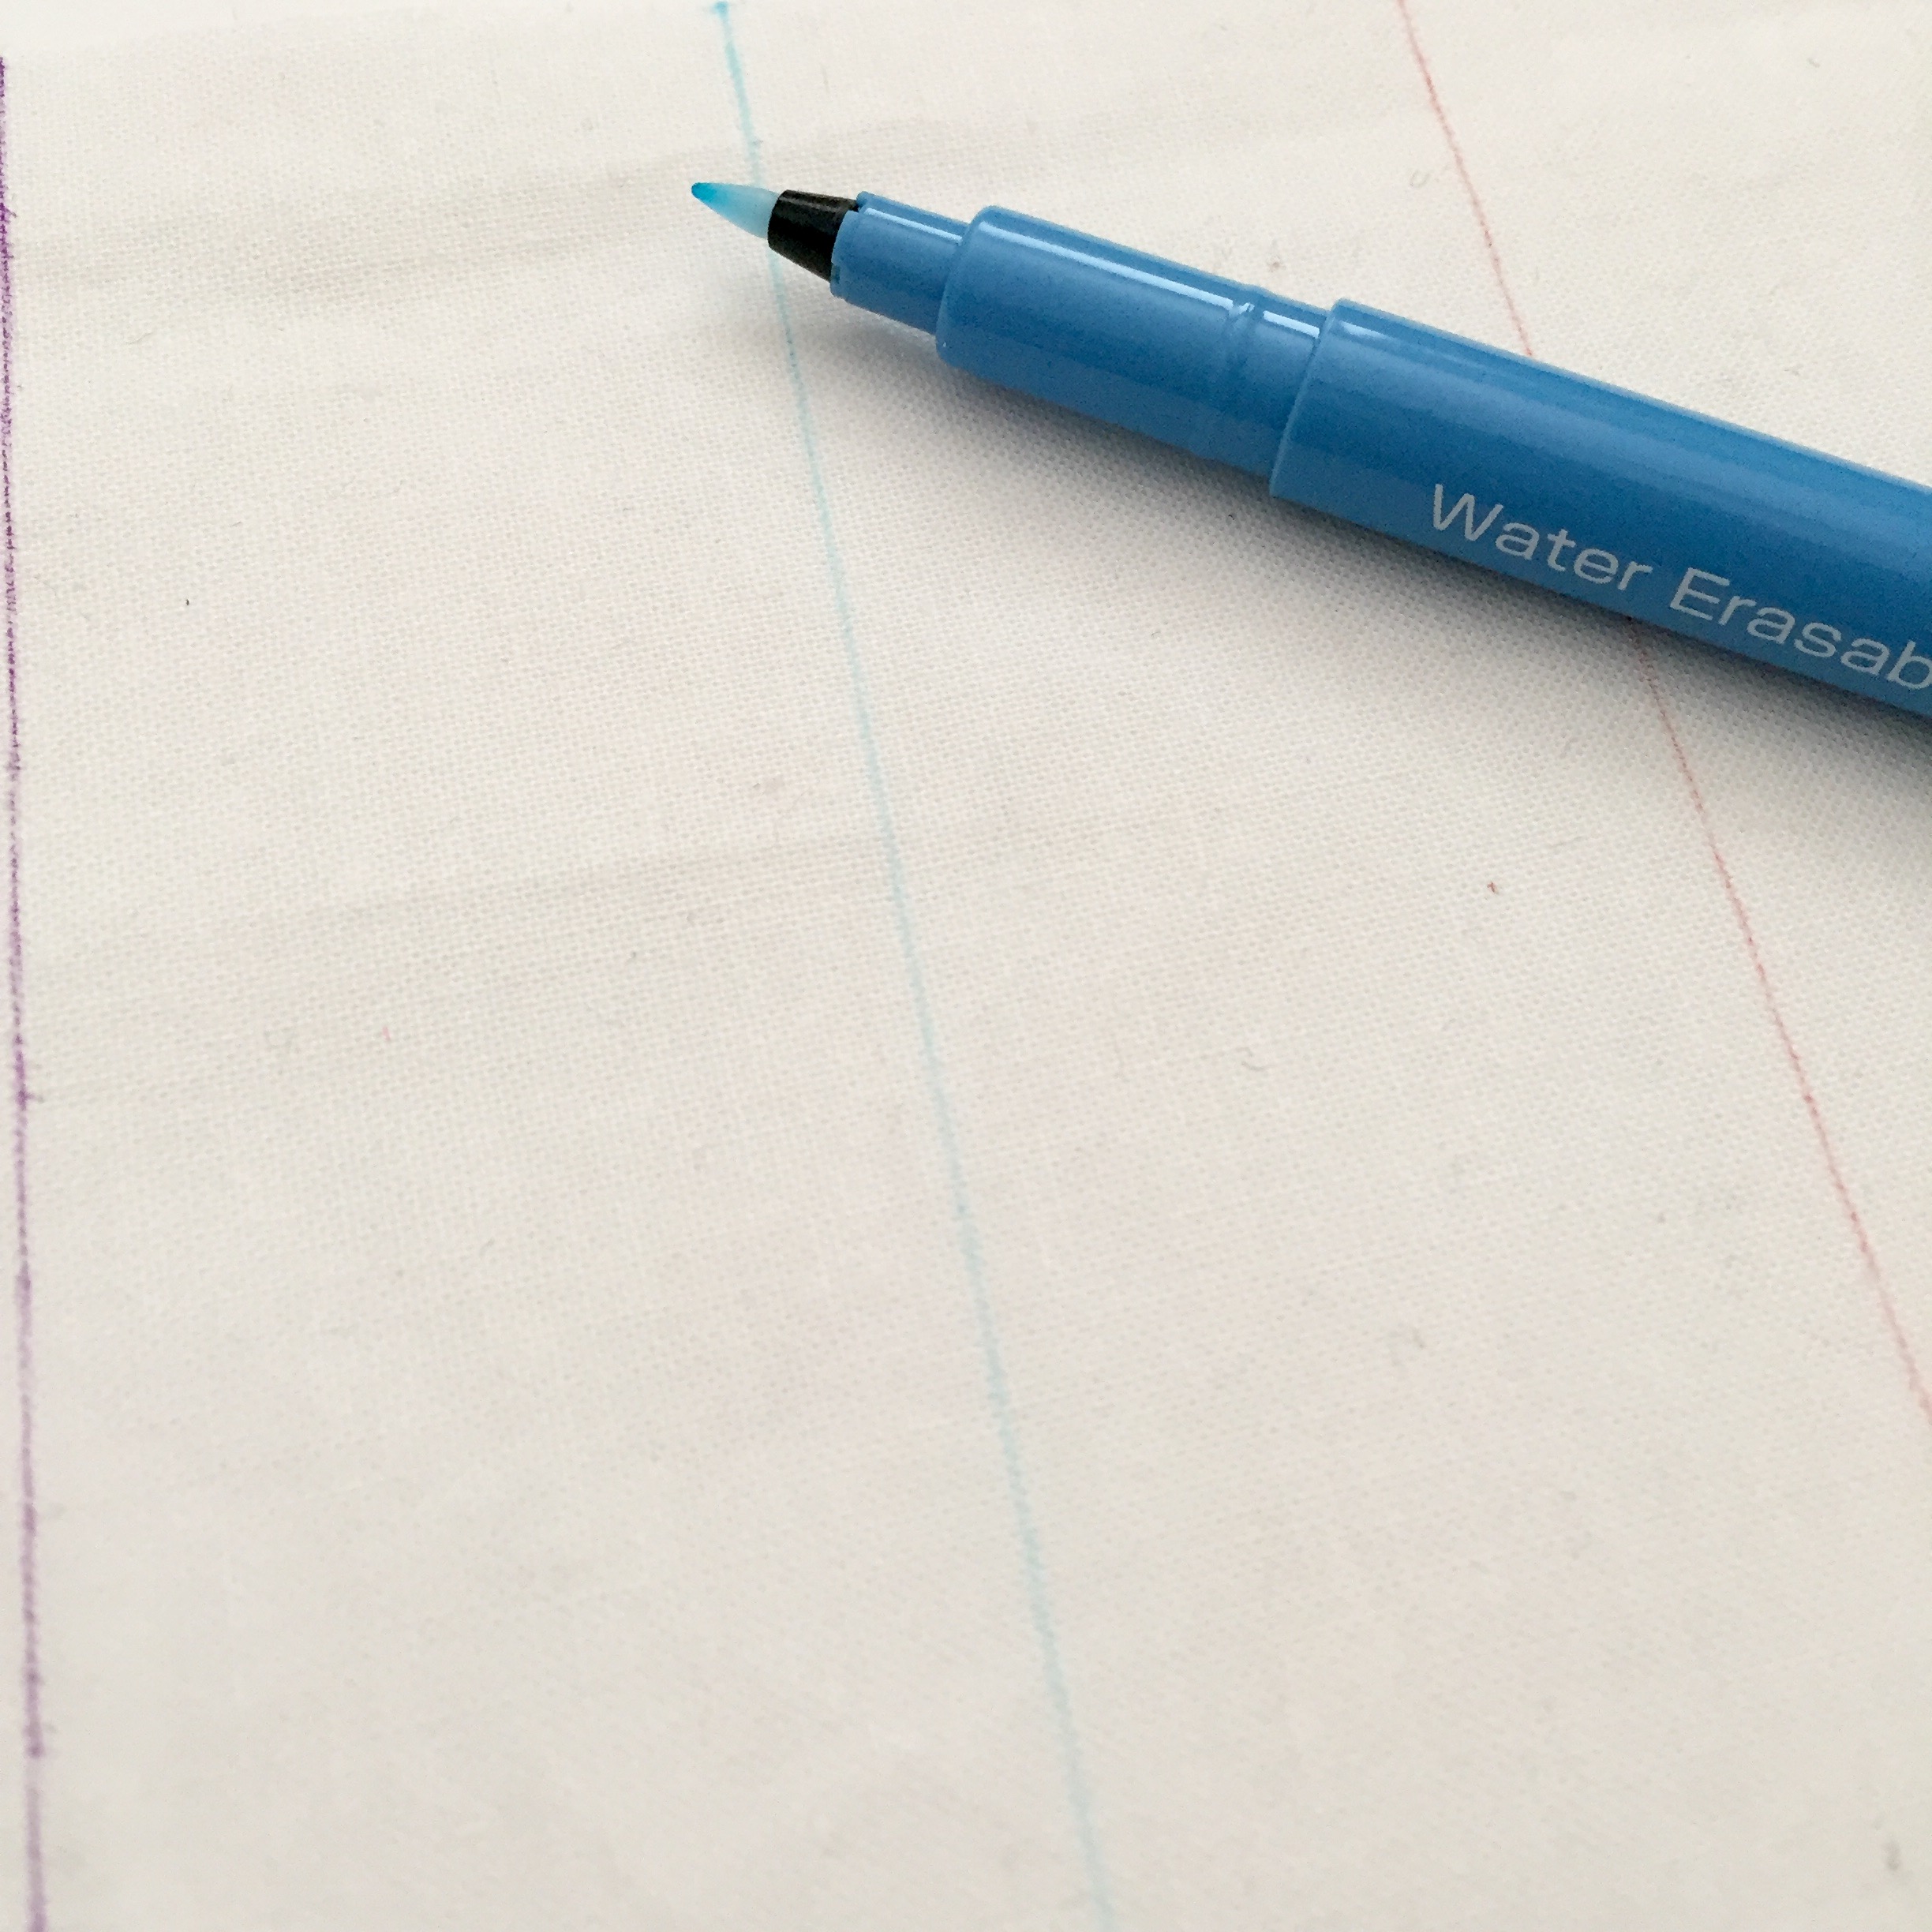
Water erasable markers/pens are usually blue and come in thicknesses ranging from fine to extra thick. The great thing about this marking tool is that you can mark on your quilt, quilt over the lines, throw the quilt in the washer when you're done, and voila! You have an amazing quilt that is mark free.

If you are like me and don't wash your quilts when they are done, then you can also use a damp white washcloth or a spray bottle of water to erase the markings.

Also, keep in mind that the markings can become visible again in cold temperatures.
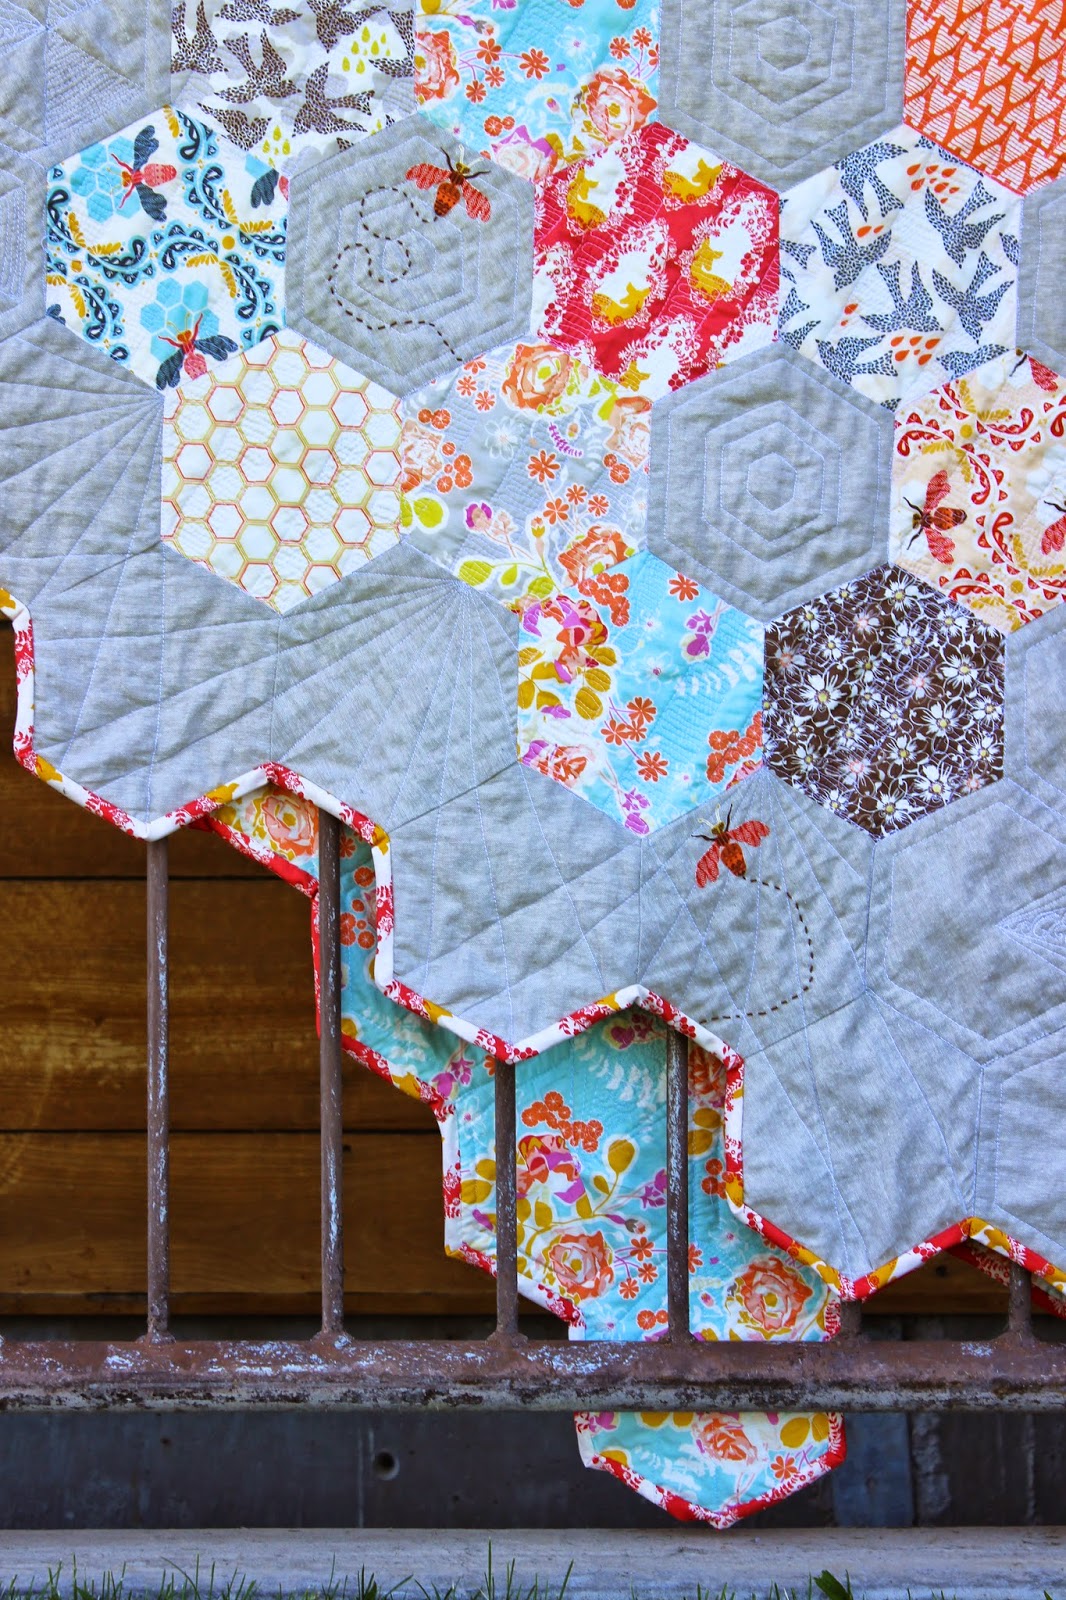
Here is a quilt that I made using a water erasable marker to assist me. I used a circular ruler as a template, marked each "fan" with the marker, and used a spray bottle to erase the marks.

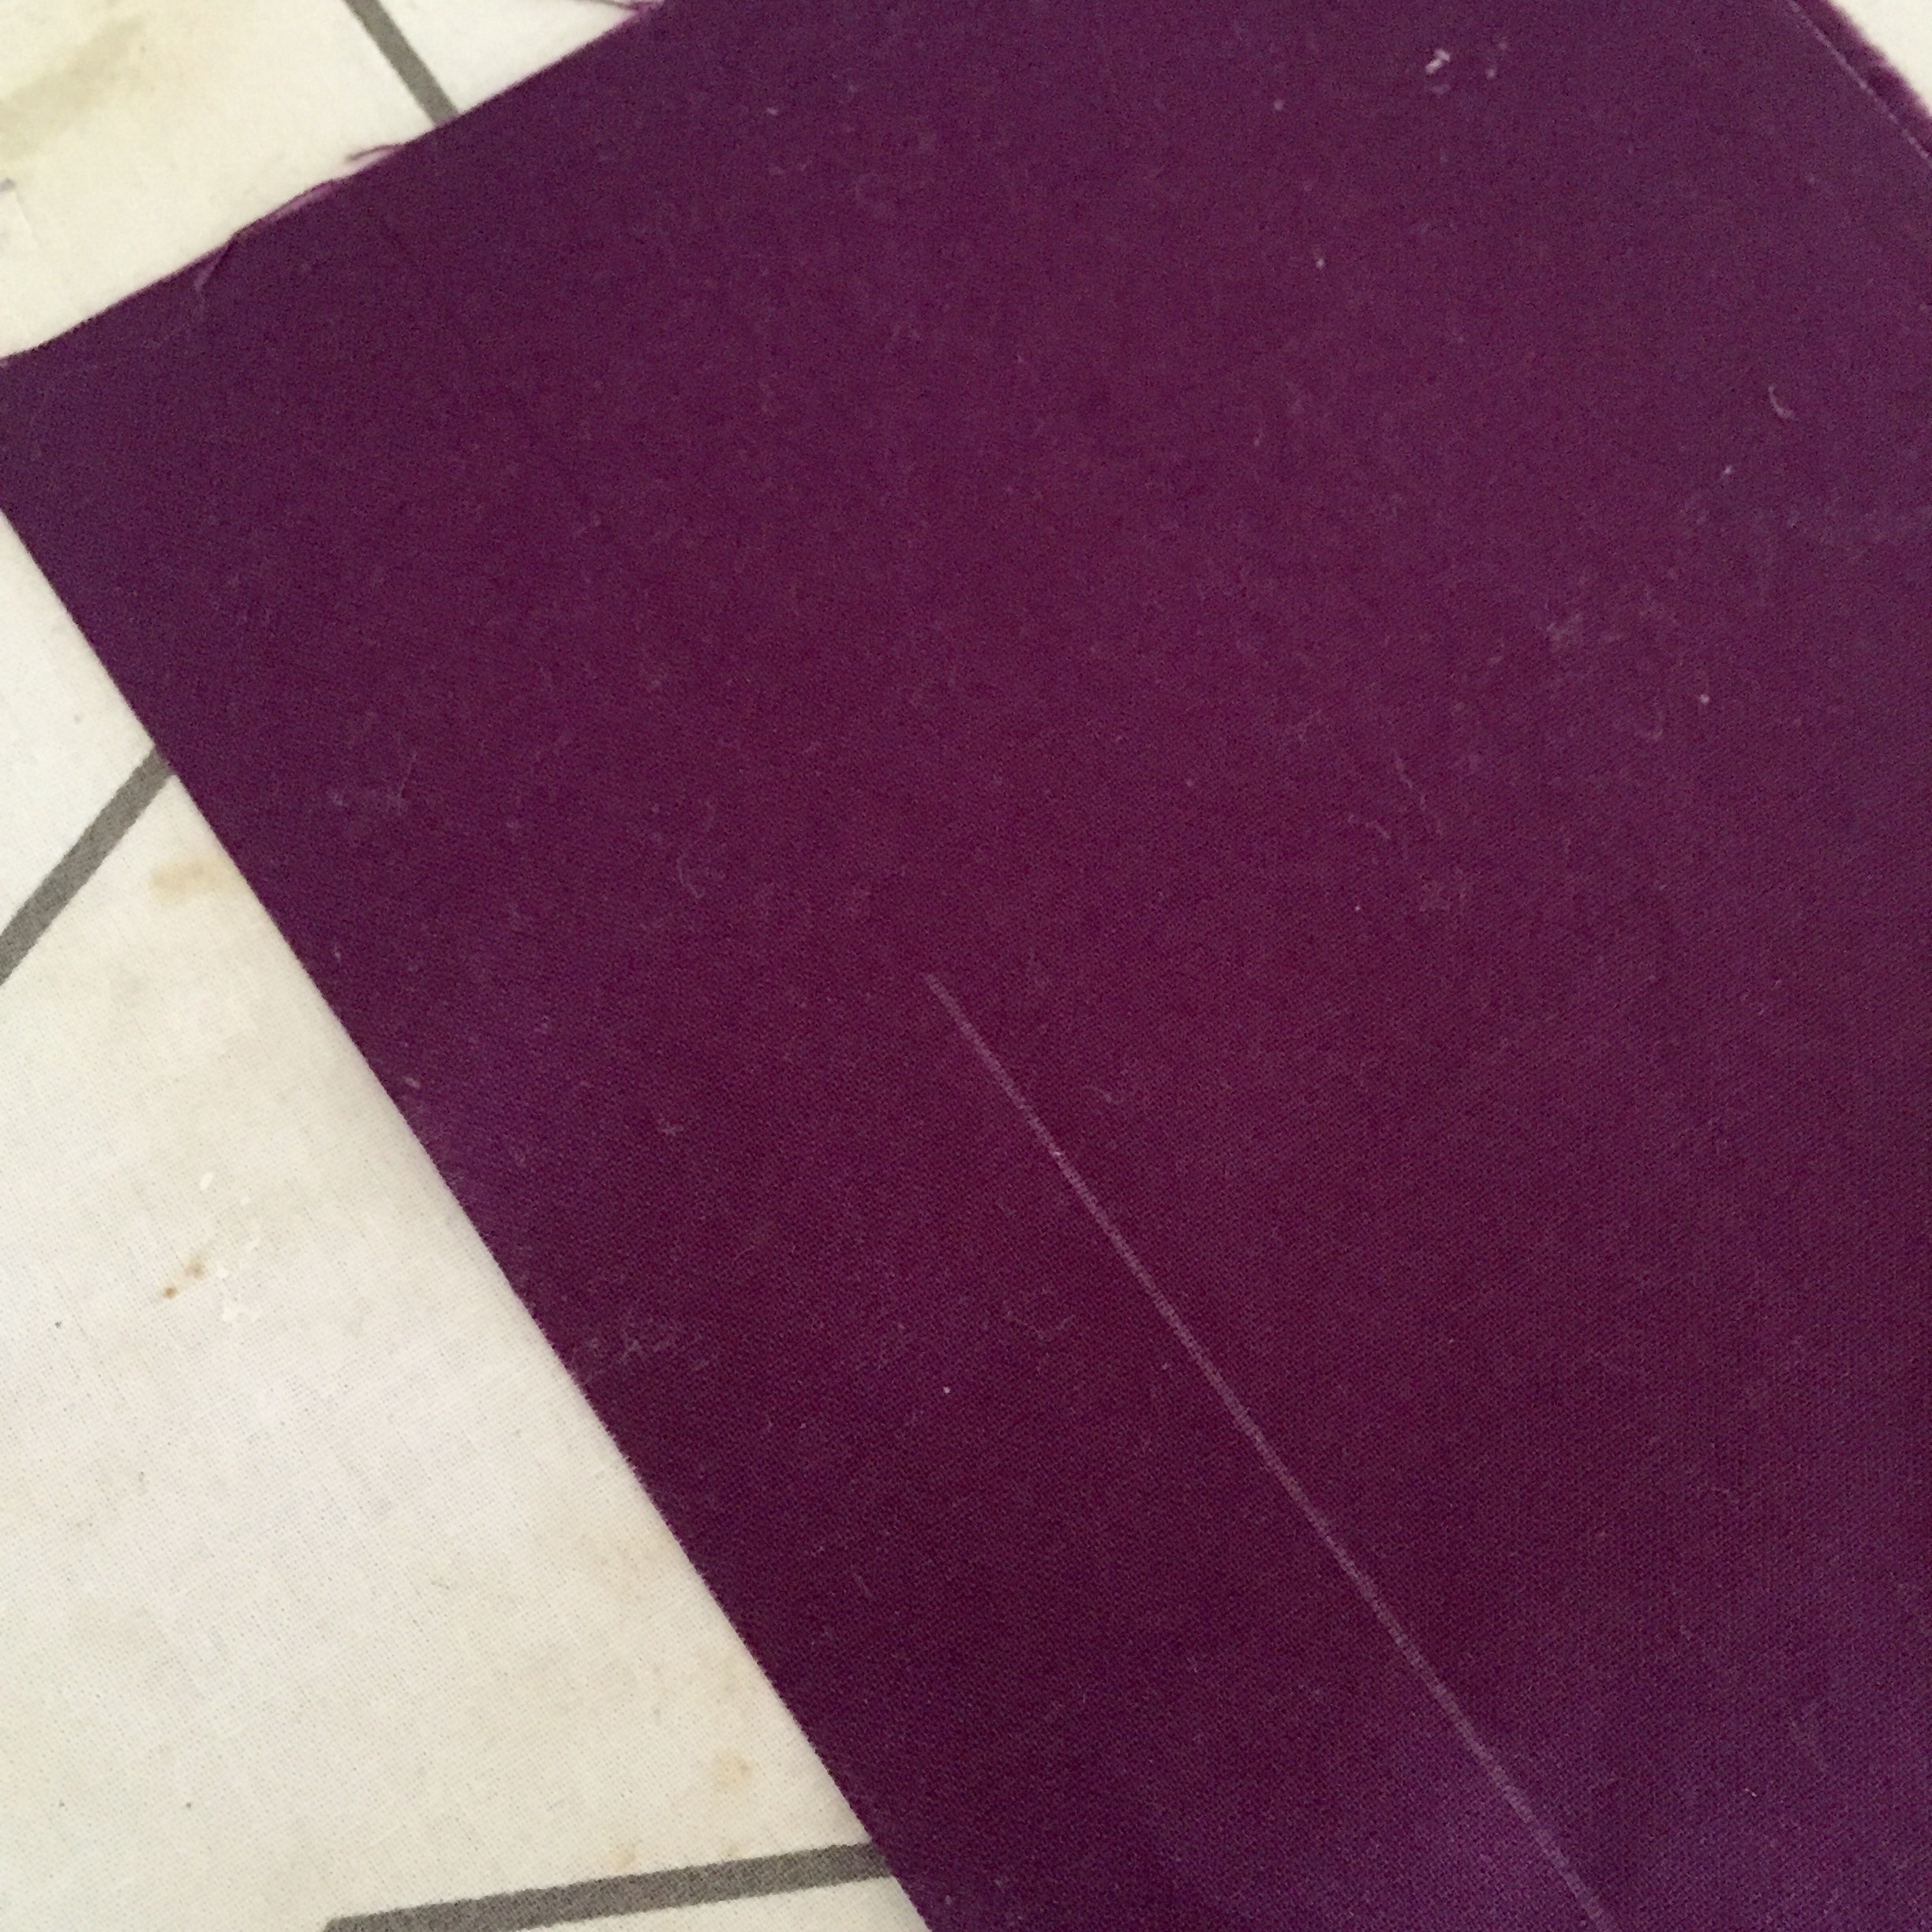
Air Erasable Markers

Air erasable markers/pens are usually purple and all that is required for them to dissolve is time. Just like the water erasable markers, these marking tools come in different thicknesses and are great for marking whatever quilt design you have in mind. A word of caution: don't mark an entire quilt with these unless you are planning to finish it within a couple hours. Their erasing time varies, but it's usually within 4-14 hours. Just like the water erasable markers, this one can reappear in extreme cold temperatures.
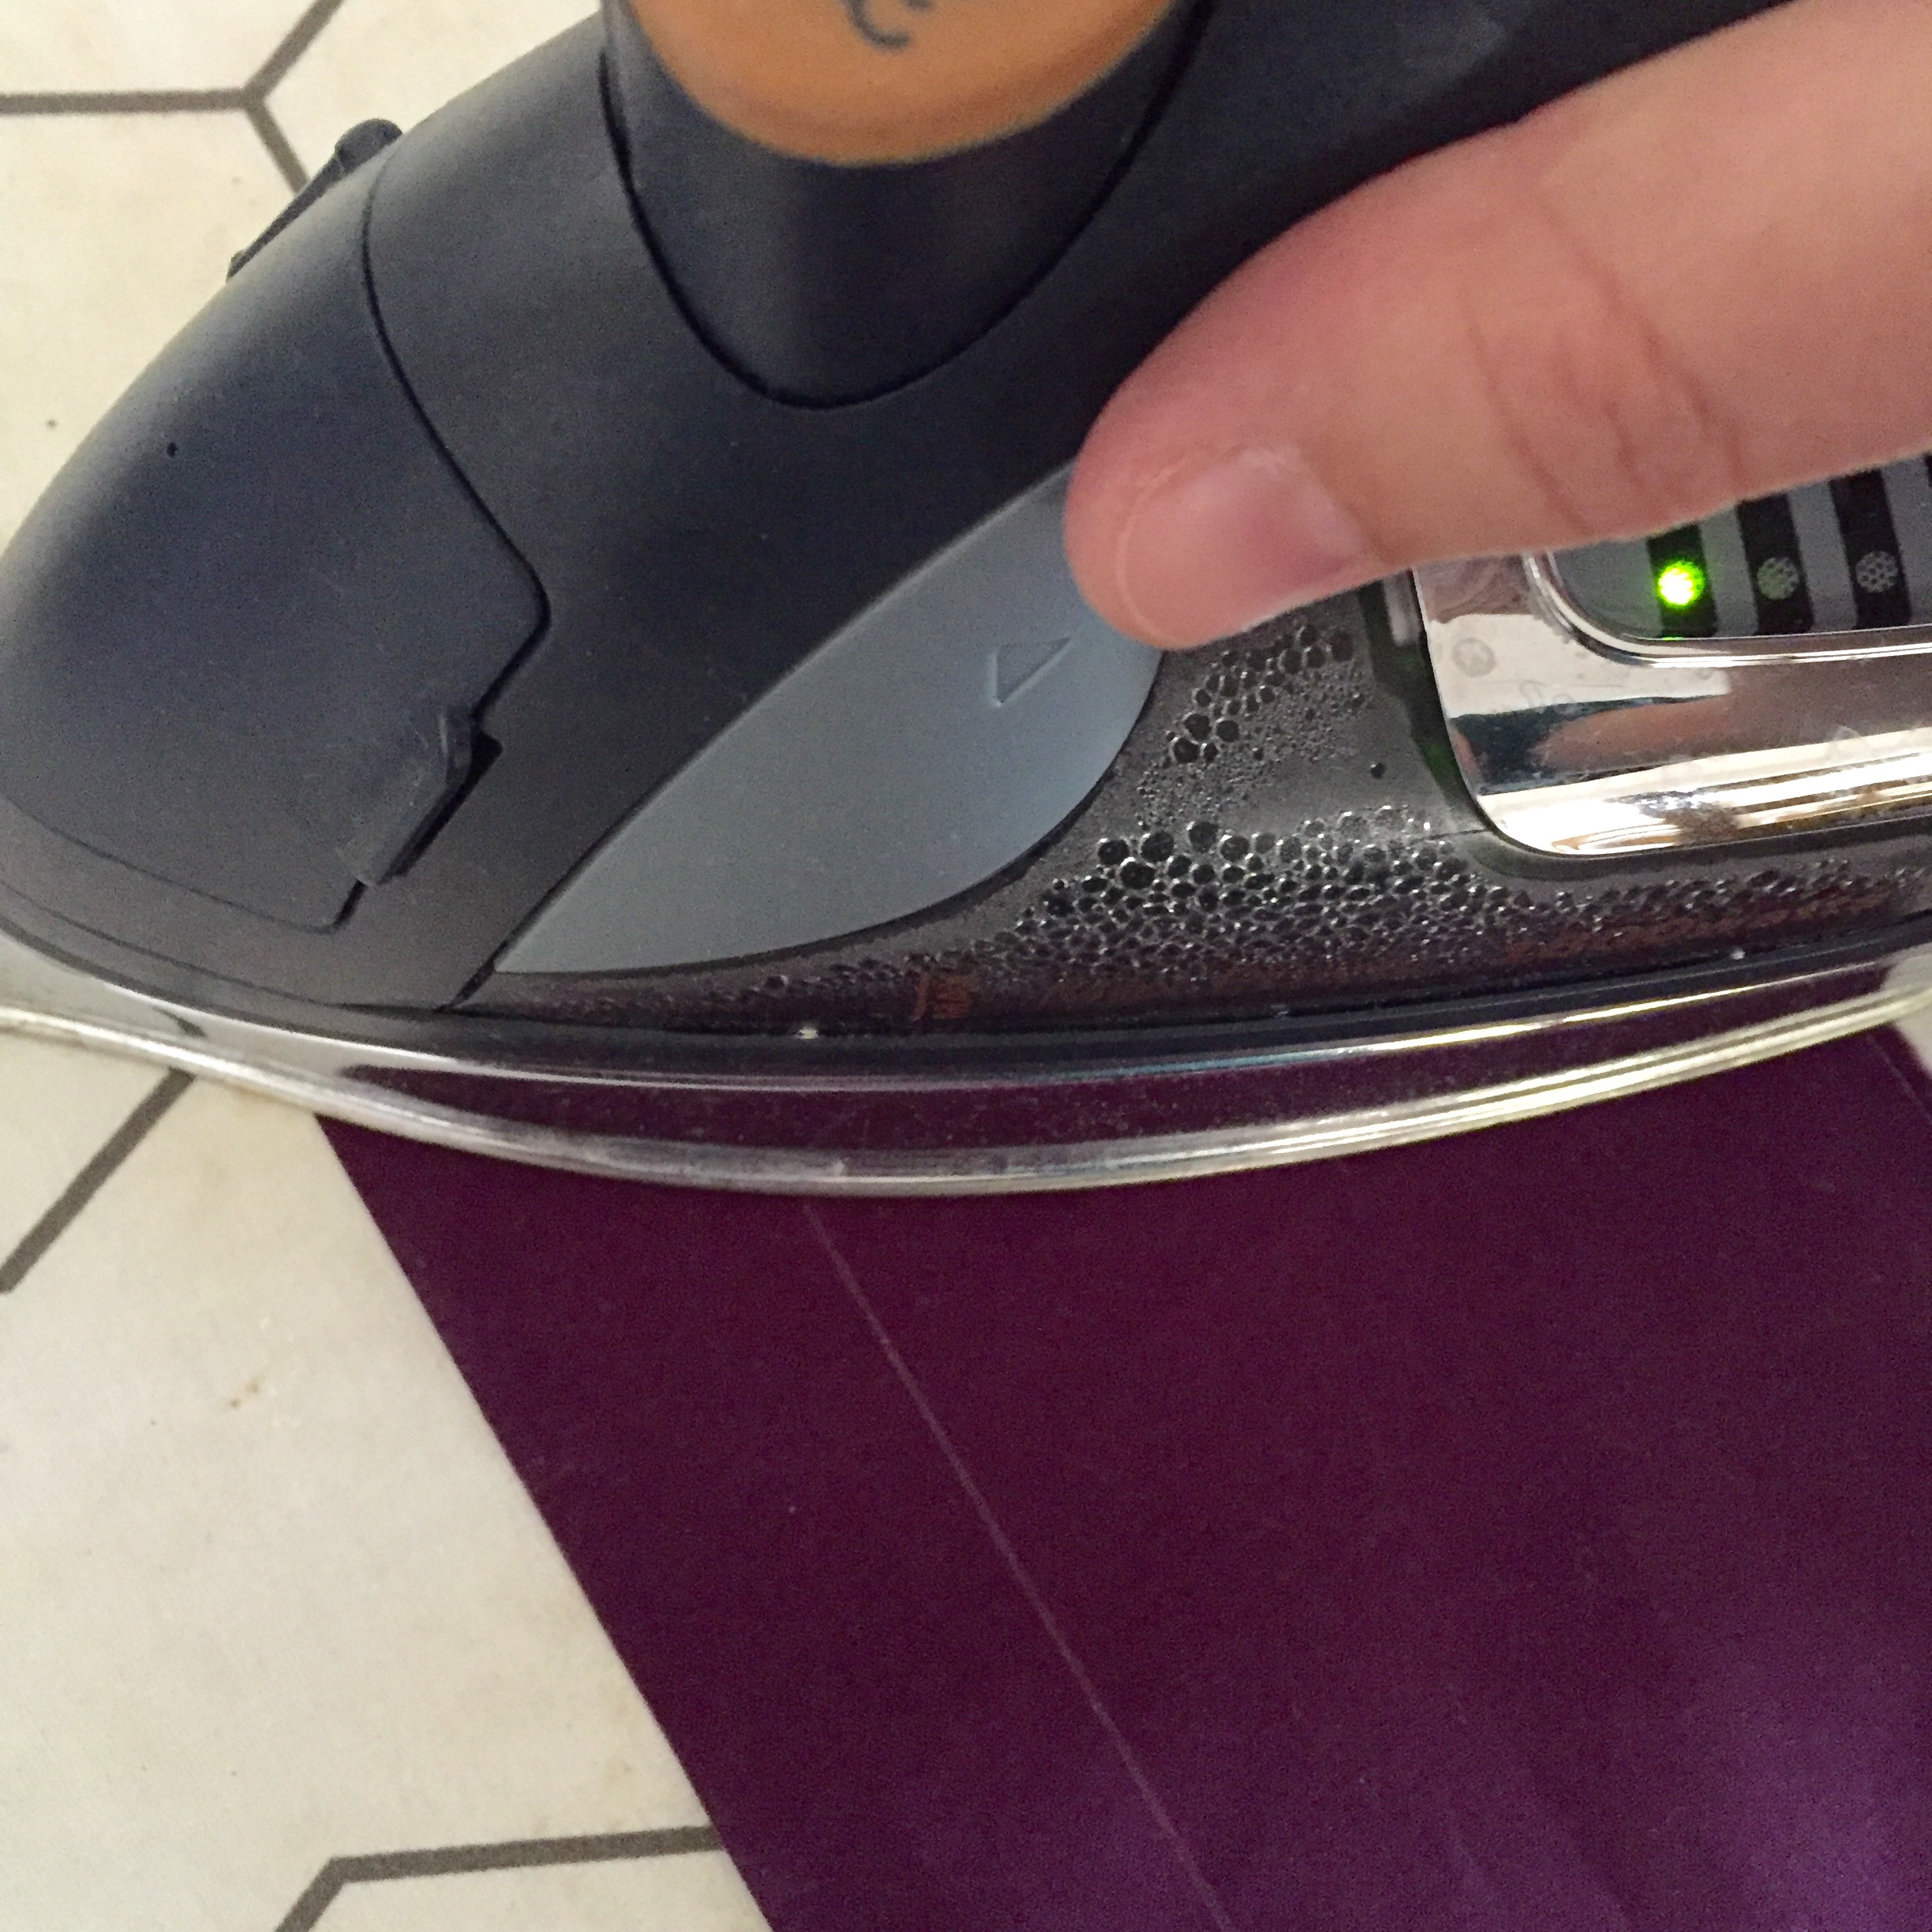
Friction Erasable Pens
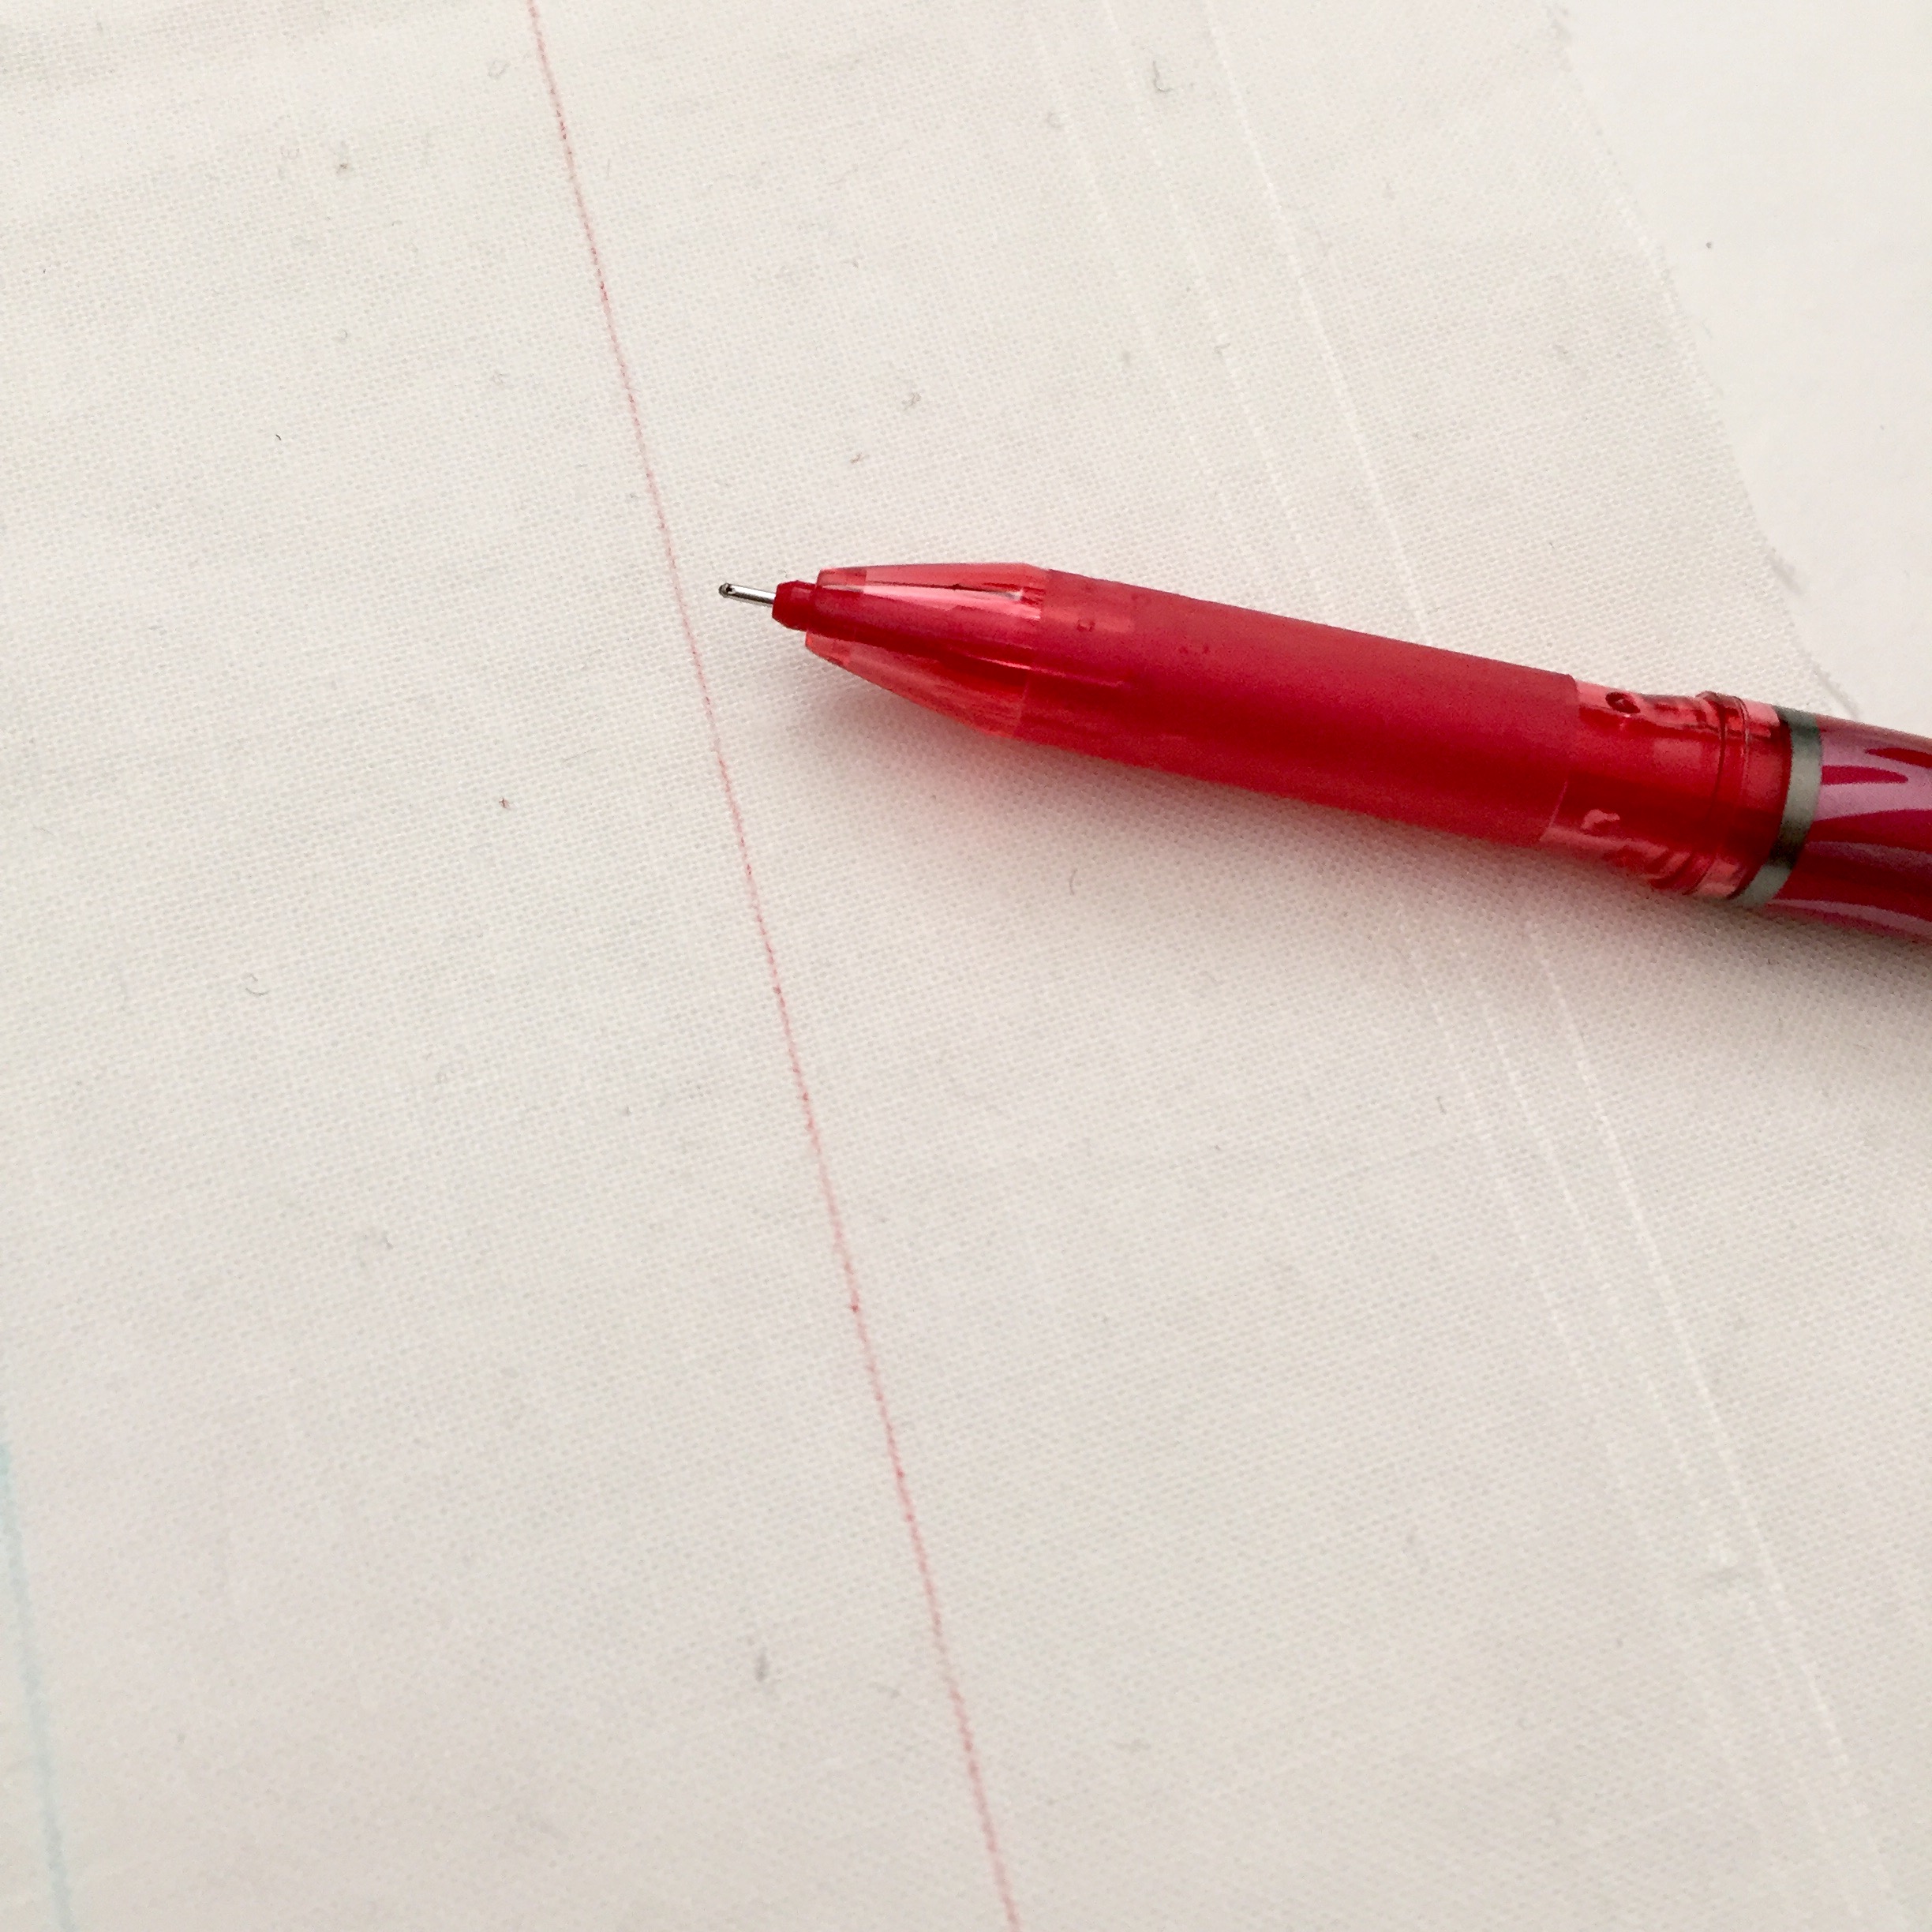
Friction erasable pens/markers come in a variety of colors and thicknesses. Now, when it says "remove by friction", what it really means is remove by ironing.

This has honestly been my go-to marking tool for the past couple years because it is so easy and convenient! As with the water, air, and friction erasable markers, this one may reappear with extreme cold.
Here's one of my favorite quilts that I used this marking tool on:

Hera Marker

Hera markers are amazing little plastic tools that mark quilts with a creased line. These are great for straight line quilting and the marks are easily removed with a little starch and a good press with an iron.


White Marking Pens

I was so excited when I found this little tool! Every quilter needs this heat erasable marking tool to use on dark fabrics! Simply remove the markings with a hot iron.
As with the water, air, and friction erasable markers, this one may reappear with extreme cold.
I hope you were able to find a new tool that you would like to use and that if you haven't previously marked on your quilts that you will not be too intimidated to do so now! I know marking my quilts has increase my confidence and allowed me to try new quilting designs that I wouldn't have otherwise dreamed I could. Happy quilting!
Amy Harward
{sewinlovehandmade.com}}
Posted in: